This post may contain affiliate links. I try to make my posts as helpful as possible and have great products easy for you to access. The use of these links provides me a small commission at no cost to you. As an Amazon Associate, I earn from qualifying purchases.
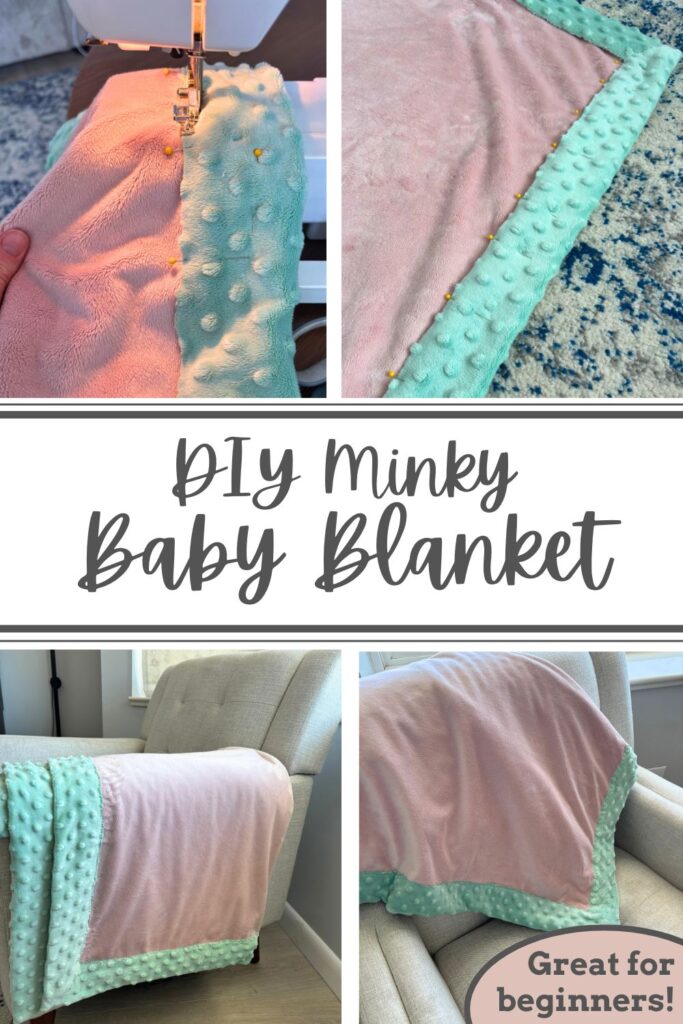
My posting has slowed down a bit – but for good reason! I am pregnant! And with that, I have been quite sick. I have missed projecting deeply, so I am thrilled to finally be feeling well enough to be dipping my toes back in. And of course to celebrate – I’m making a DIY Baby Blanket! I’ll be sharing a very simple, beginner friendly, blanket pattern using minky fabric.
In this post you’ll find:
- How to Sew a DIY Baby Blanket
- Average Size of Baby Blanket
- How to Wash a Minky Blanket
- How to Sew Minky Blanket Tips
How to Sew a DIY Baby Blanket
Supplies:
- 2 Yards Minky fabric (depending on the blanket size you want)
- Matching thread
- Pins or clips
Step 1: Select & Wash Your Fabric
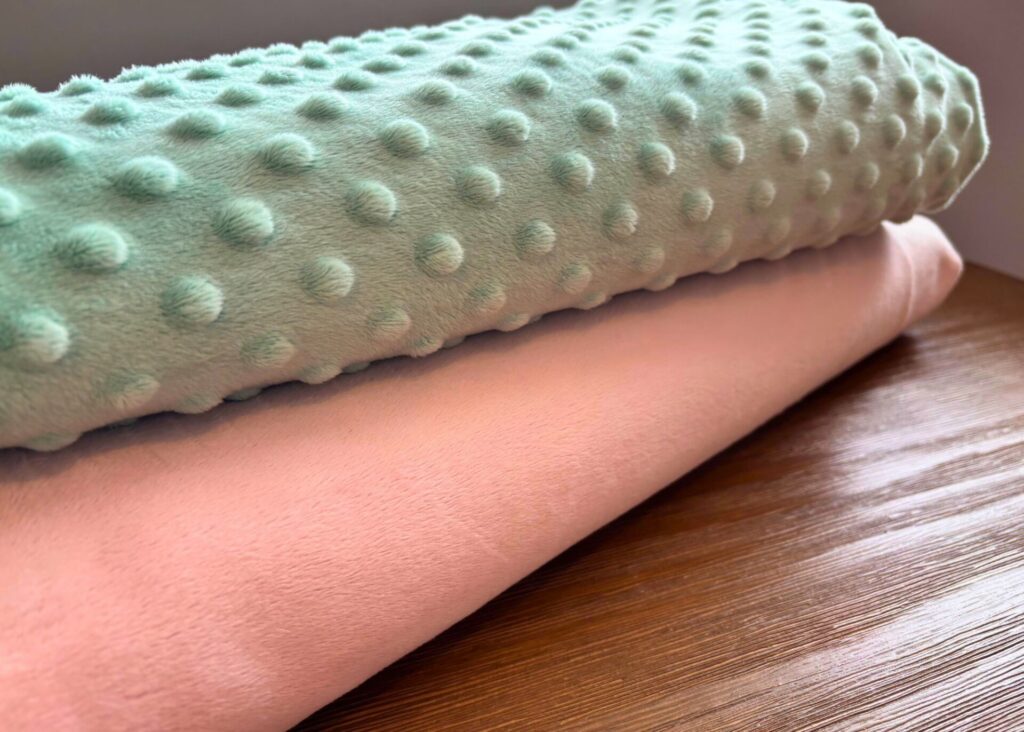
There are a lot of great options for locations to buy your fabric. This project is the first time I’ve used Fabric Wholesale Direct. And it won’t be the last! I absolutely loved their selection. I got giddy scrolling through thinking about all the different things I could make. I used two (sage and blush) fabrics from their minky collection and I’m super happy with the product!
Muslin or cotton are also good fabric types for baby blankets if you don’t want to use minky.
Once you have your fabric, you want to wash it before sewing with it. This is a good sewing practice in general. For tips on washing Minky fabric specifically, head down to the “How to Wash a Minky Blanket” section of this post.
Step 2: Cut Fabric to Size
There really aren’t any “rules” to what size your blanket should be, it just depends on the purpose of what you hope to use it for. For some guidance check out the different baby blanket sizes below.
I wanted something that could be used for tummy time and grow with a little bit. So I went with 45″ x 45″.
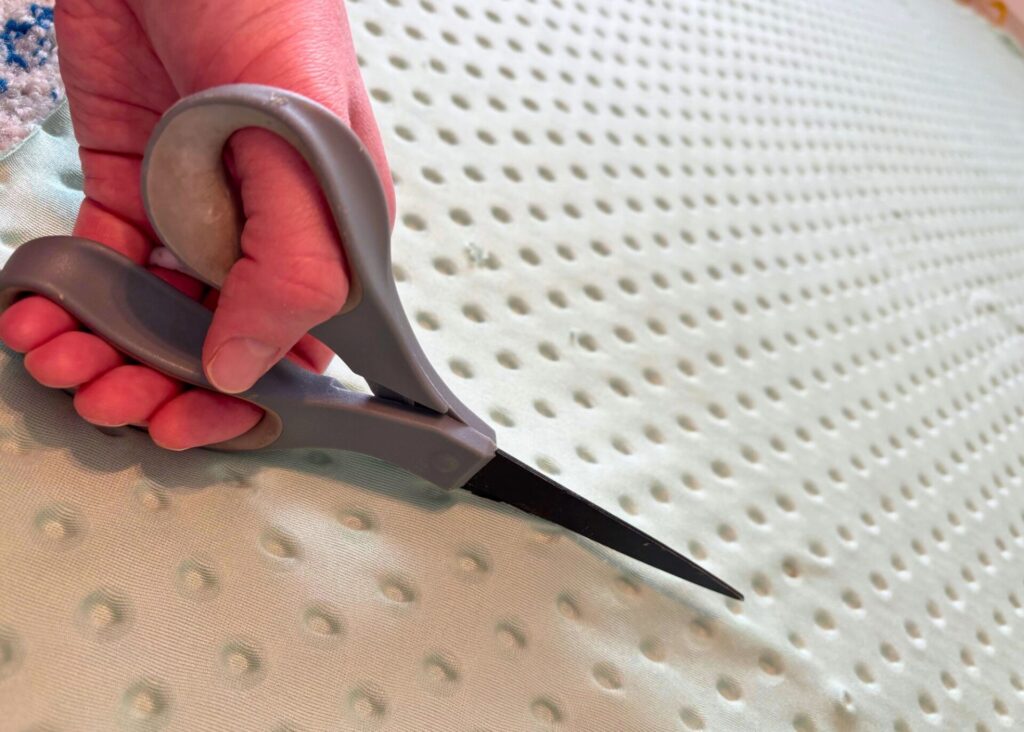
To cut your fabric, you’ll want a nice flat hard surface and sharp scissors or a rotary cutter. I just went with classic sharp scissors for this project.
Always double check your measurements and take care to make sure you are cutting “square”. Sometimes the cut edge of the fabric is not square and it can mess up your end result. So measure in multiple points to keep your piece square.
The design I am doing has two pieces – the back/border and the front. I’m using the dotted green as the back and the blush pink as the front. The back piece needs to be slightly bigger as it will also be the border. These measurements allow for a 2 1/2″ border on a 45″ blanket.
Back piece: 50″ x 50″
Front piece: 45″ x 45″
Step 3: Prep and Sew the Border
In each corner of your back piece measure in 2.5″ from both edges.
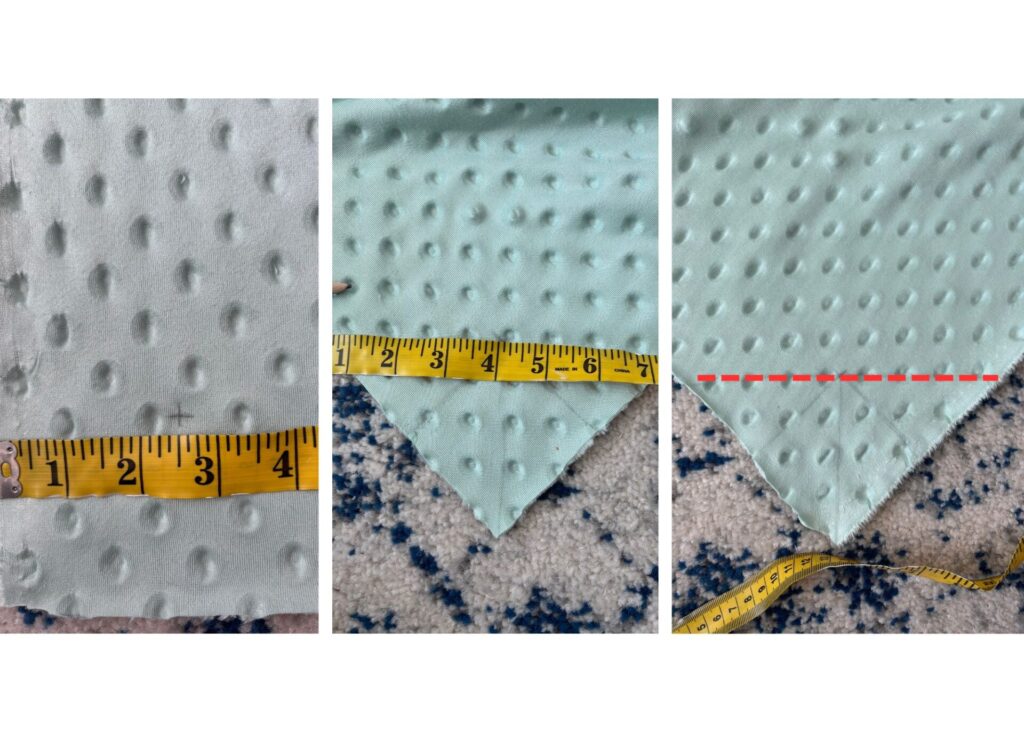
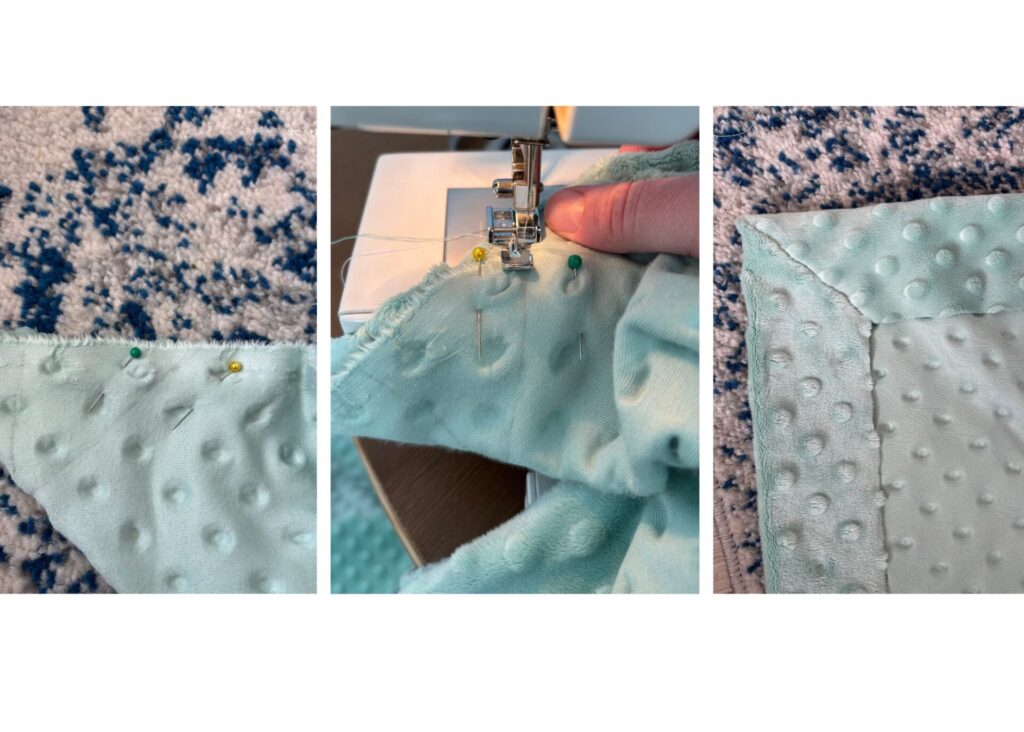
Fold each corner in half, matching the line you created (the red dotted one above). Pin together and sew along this line.
Once you have sewn each of the corners, they should lay flat as seen in the last picture below. If it doesn’t lay flat, you may have sewn the wrong lines together. But don’t worry, simply unpick and re-do it. Mistakes are a great chance to learn.
Cut off the excess fabric on the corners (you can do this before or after you sew, I just like doing it after to make sure I’ve sewn in the correct place).
Step 4: Add Blanket Front
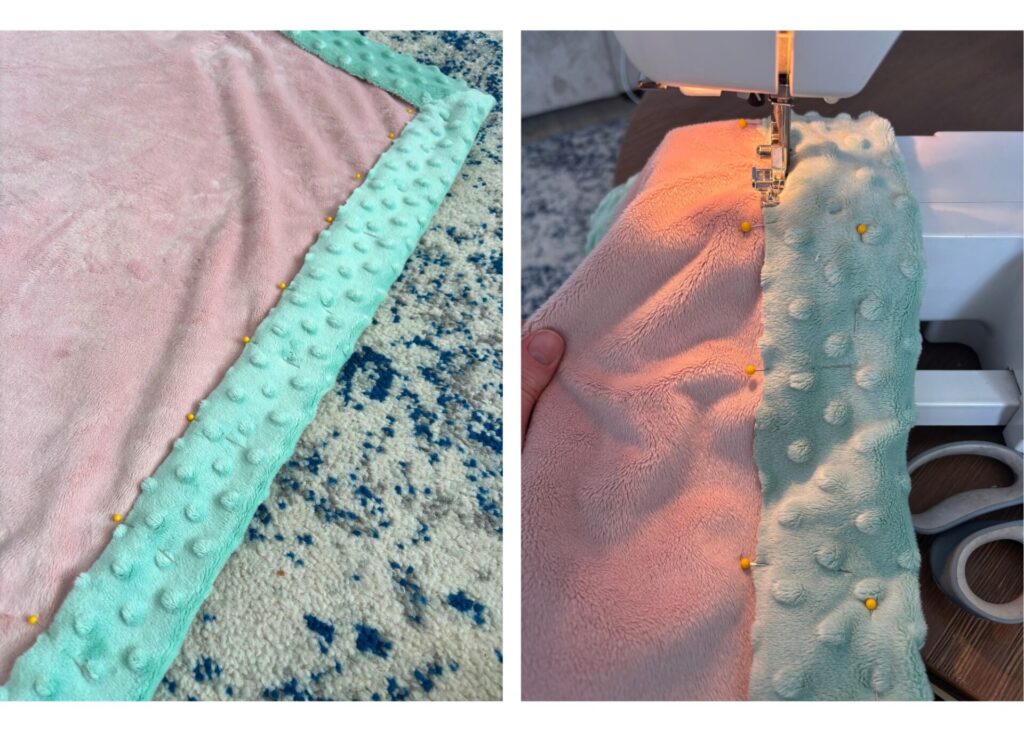
Now things start to get really exciting! Lay out the bottom piece, nice and flat. Add your top piece and tuck it under your newly created border. spread out as flat as possible. Working with one side at a time, pin every 2-3 inches.
Set your sewing machine to a zigzag stitch. Set your width to 5 and your length to 5. This part can get a little tricky because the minky fabric is really slippery. So take it slow and sew along your edge. If it looks terrible, you can always unpick and try again. You can also refer to the “Tips for Sewing with Minky” section of this post if you are struggling.
You can use a walking foot on your sewing machine, or adding a piece of tissue paper under your fabric can be helpful for it to feed through smoothly.
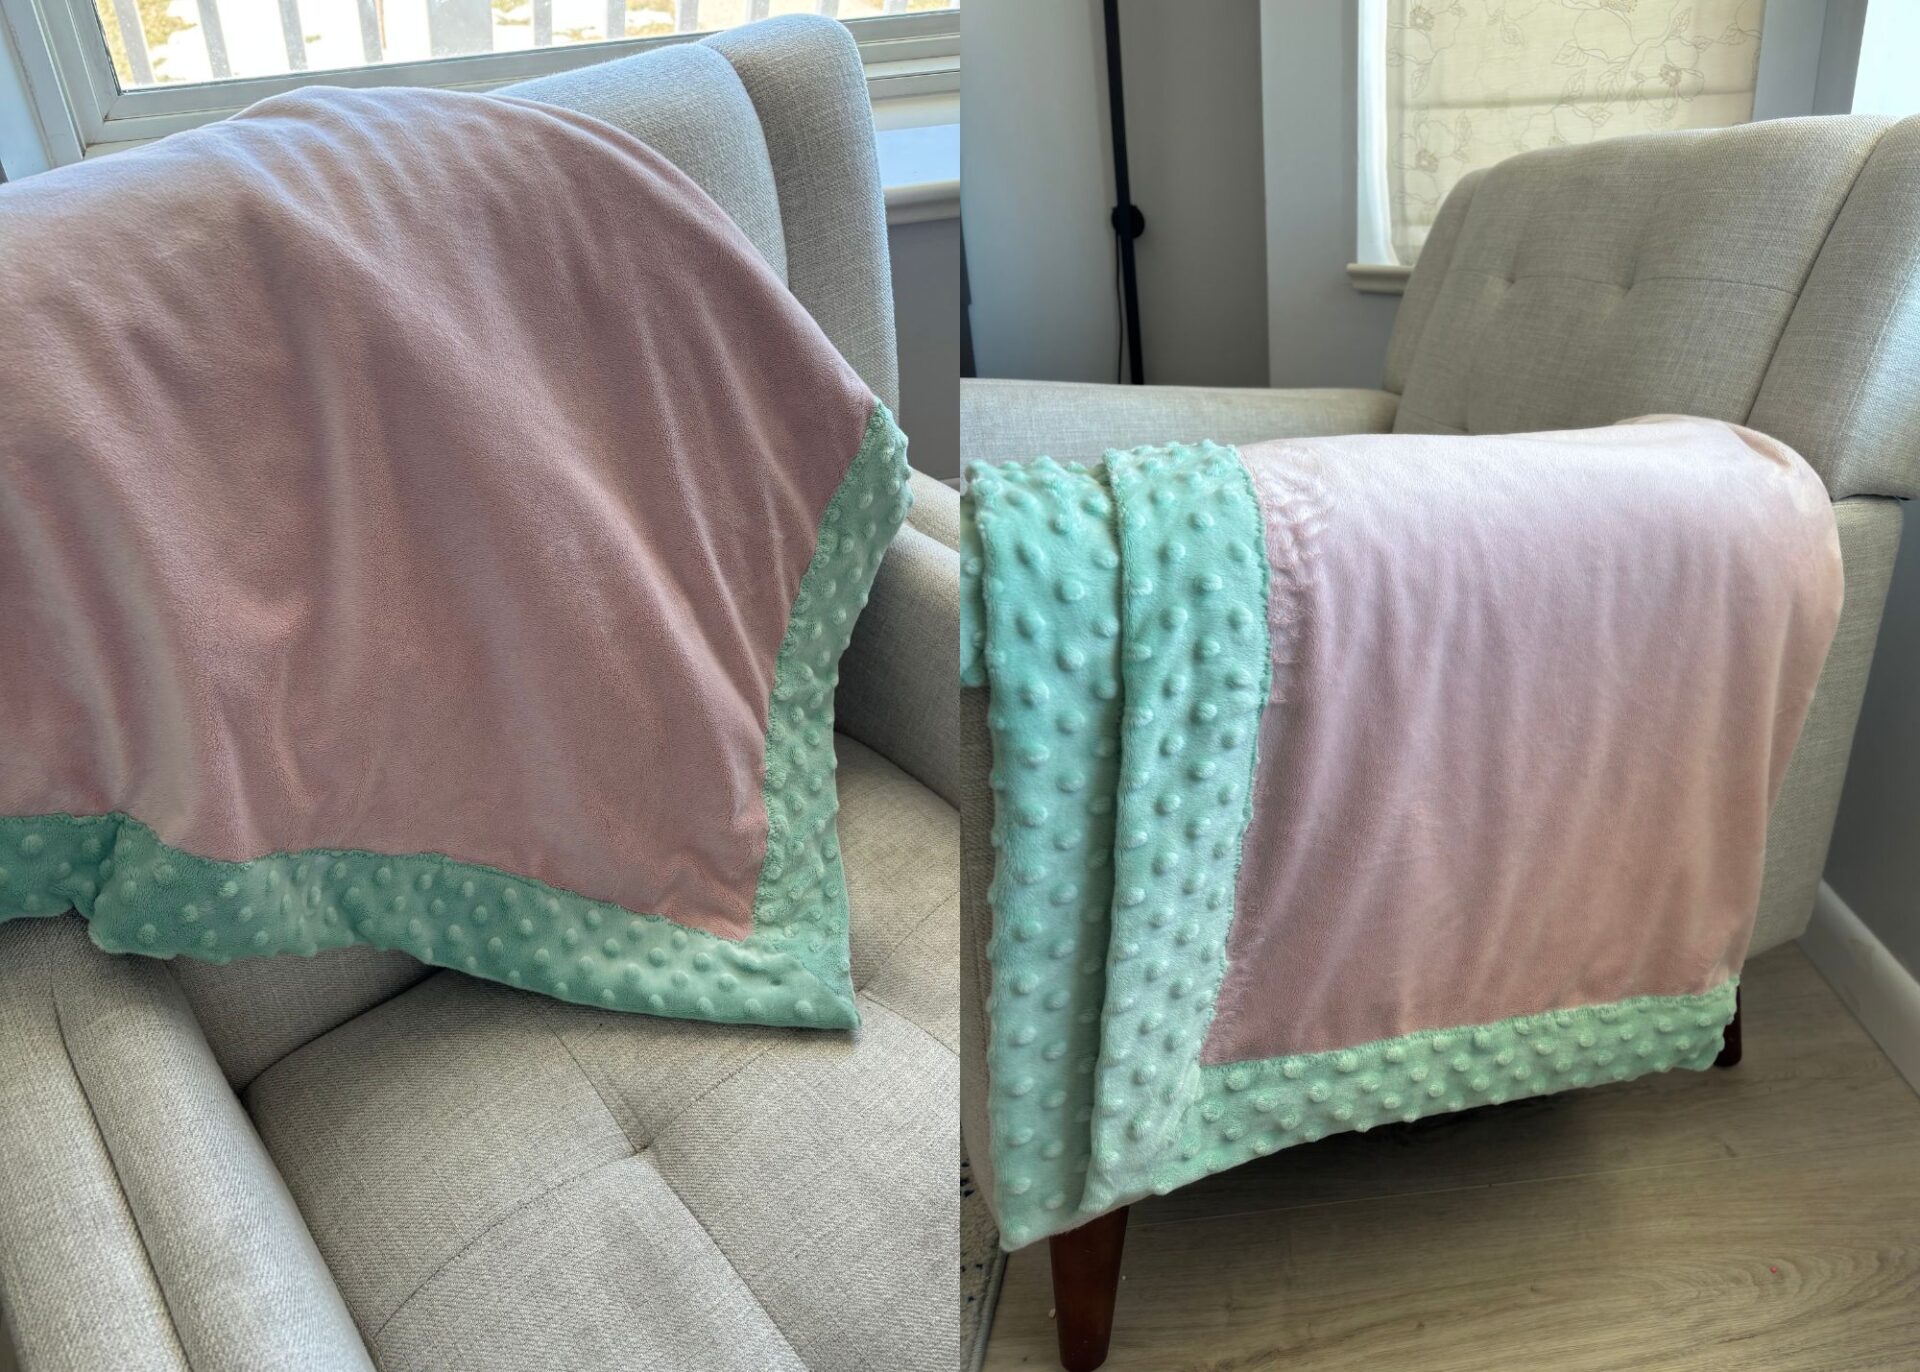
Step 5: Cuddle Up and Enjoy Your DIY Baby Blanket!
And that’s it! This is a fun, quick project that is perfect for beginners. Plus, the result is the most perfect snuggly blanket. I might just make one for myself.

Average Size of Baby Blanket
There are a lot of different types of baby blankets, here are a few of the average sizes for you to pick from:
Receiving Blanket – 30″ x 30″ (76 x 76 cm)
- A lightweight blanket used for swaddling, burping, or covering a newborn.
Swaddle Blanket – 40″ x 40″ to 48″ x 48″ (102 x 102 cm to 122 x 122 cm)
- Larger than a receiving blanket, perfect for wrapping newborns snugly.
Crib Blanket – 36″ x 52″ (91 x 132 cm)
- Fits well inside a standard crib but should not be used for sleep safety with infants under 12 months.
Lovey or Security Blanket – 12″ x 12″ to 18″ x 18″ (30 x 30 cm to 46 x 46 cm)
- A small, cuddly blanket for comfort, often with a soft texture or stuffed animal attached.
Playmat or Tummy Time Blanket – 45″ x 45″ or larger (114 x 114 cm)
- Used as a soft surface for baby to lay on during playtime.
How to Wash a Minky Blanket
Don’t let all your hard work be ruined by poor washing! Here are some tips on how to wash a minky blanket:
Use Cold Water – Wash on a gentle cycle with cold or warm water (never hot) to prevent damage to the fibers.
Air Dry or Low Heat – The best option is to air dry, but if using a dryer, tumble dry on low or no heat. High heat can melt the fibers and ruin the softness.
No Dryer Sheets – They can coat the fibers and reduce the plush feel.
How to Sew Minky Blanket Tips
Minky is so wonderfully soft, but that softness sometimes makes it a little tricky to sew with because it gets slippery. But don’t let that intimidate you! I have gathered some tips for sewing minky blankets that should help –
Use a Walking Foot – This helps feed both the top and bottom layers evenly, preventing shifting.
Use Plenty of Pins – Pin or clip generously, especially around curves, to keep the fabric from sliding.
Cut with a Rotary Cutter – Minky sheds a lot when cut, so using a rotary cutter with a fresh blade can give you cleaner edges and reduce fuzz.
Reduce Presser Foot Pressure – If your machine allows, lowering the pressure can help prevent stretching and puckering.
Use a Stretch or Ballpoint Needle – A size 90/14 or 100/16 stretch needle works well to prevent skipped stitches.
Choose the Right Stitch – A longer stitch length (around 3.0–4.0) and a slight zigzag (if needed) help maintain stretch without puckering.
Pin “How to Sew a Simple DIY Baby Blanket” to Pinterest