This post may contain affiliate links. I try to make my posts as helpful as possible and have great products easy for you to access. The use of these links provides me a small commission at no cost to you. As an Amazon Associate, I earn from qualifying purchases.
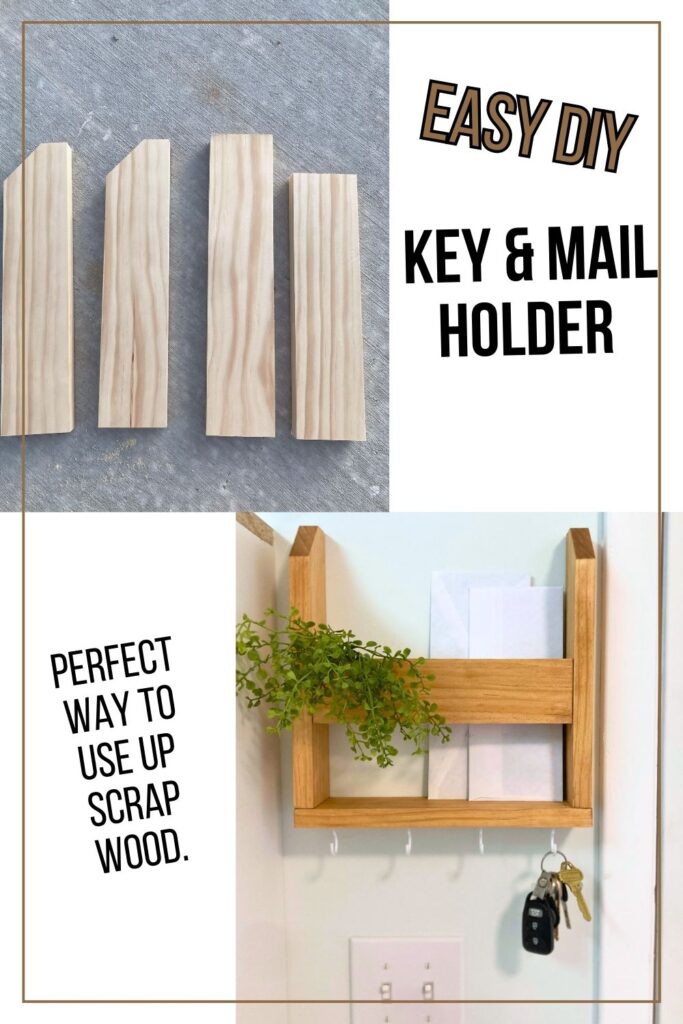
My husband often says that my greatest weakness is keeping track of my car keys… which I think I’ll take as a compliment! But it made this DIY Key and Mail Holder a necessity in my life.
This project is the perfect beginner DIY project. Plus, it can easily be made from scrap wood.
So let’s dive into the plans and how you can make your own DIY key and mail holder.
Steps to Make Your Own DIY Key and Mail Holder
1. Gather Supplies
Supplies I used while making my DIY wooden key holder:
- 1×3 select pine (roughly 4′) (I just used scrap wood I found in my shed!)
- Prestain
- Stain (I used special walnut for mine)
- Wood glue
- Brad nails
- Top coat
- Hooks
Tools I used:
- Miter Saw
- Brad Nailer
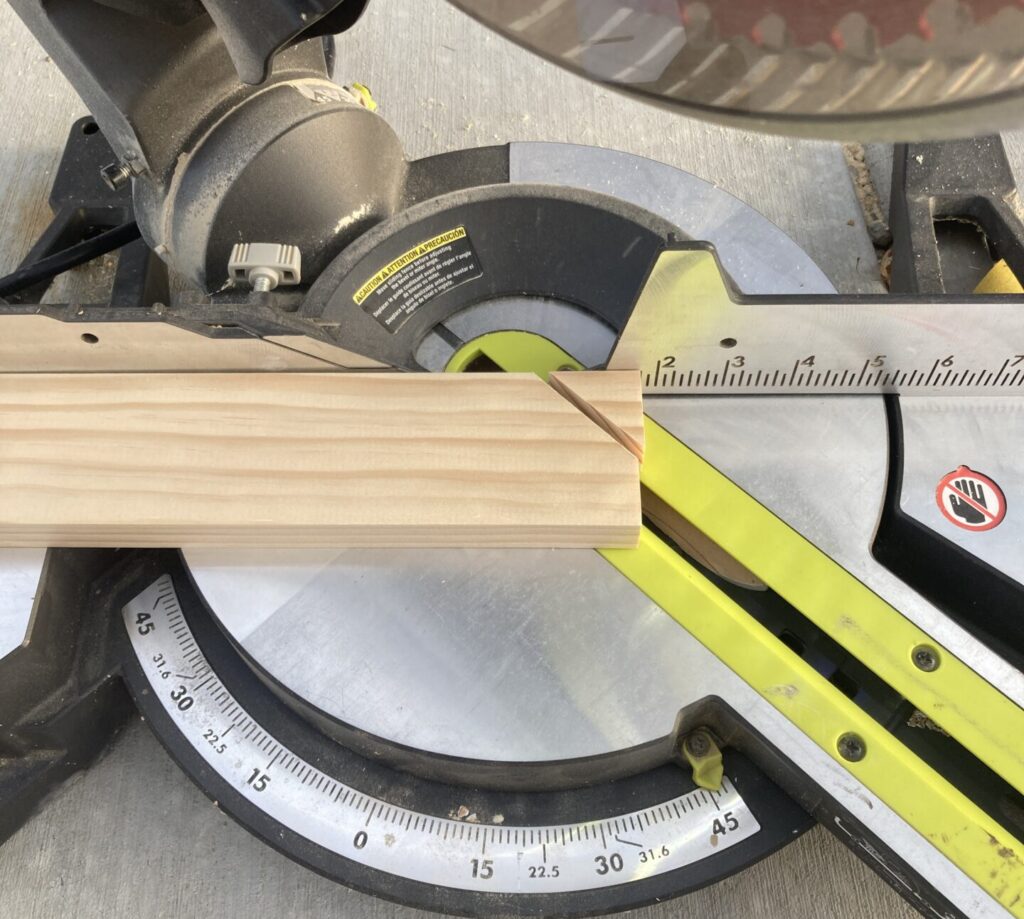
2. Make Your Cuts
This DIY wall key holder is made with just 4 simple pieces.
I wanted mine to hold standard sized paper comfortably. So my cuts were sized as follows:
- Sides (2) & Bottom: 11 1/2 inches
- Middle: 10″

For a little bit of a fun look, I cut a small angle on to each of my side pieces. I simply set my saw to roughly 45 degrees and cut in at an angle as you can see below.
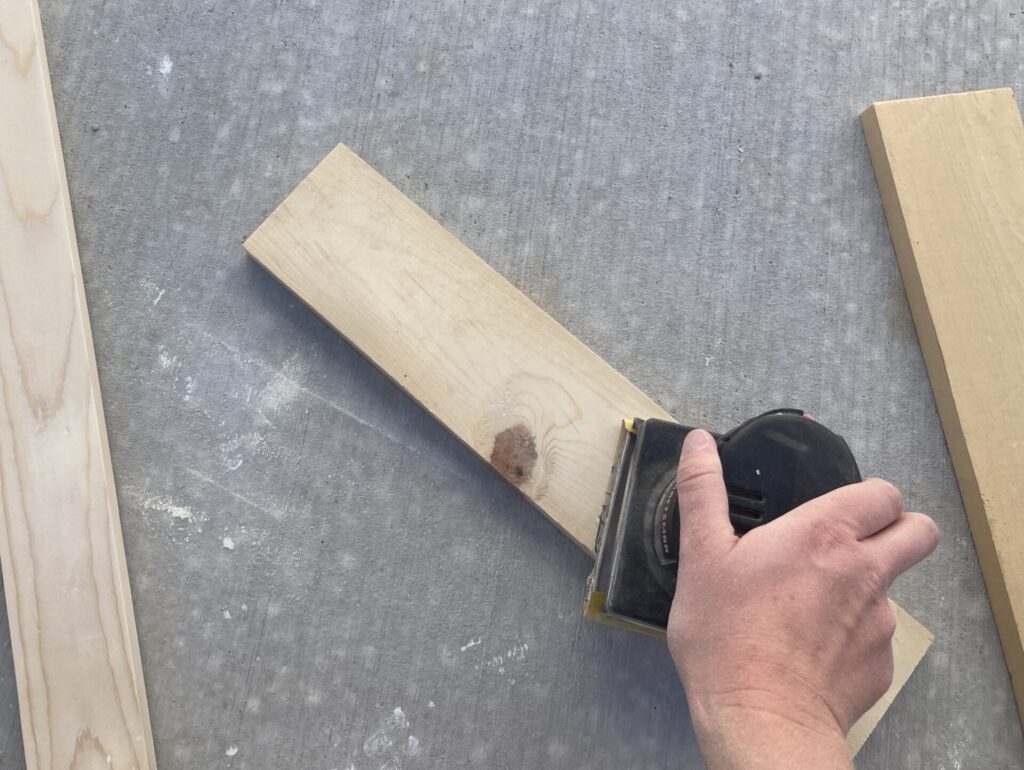
3. Sand Your Wood
Using 220 Grit, I sanded each piece. Sanding really makes a world of a difference and is totally worth the extra step.
Head to our sandpaper guide to learn more about sandpaper, the different grits and when to use them.
4. Pre-Stain and Stain
Begin with generously applying a coat of prestain. After 5 minutes, wipe off any remaining excess.
Then apply your stain color of choice. I used special walnut because it matches other wood tones in the room.
Visit this post for some extra tips and tricks to staining wood.
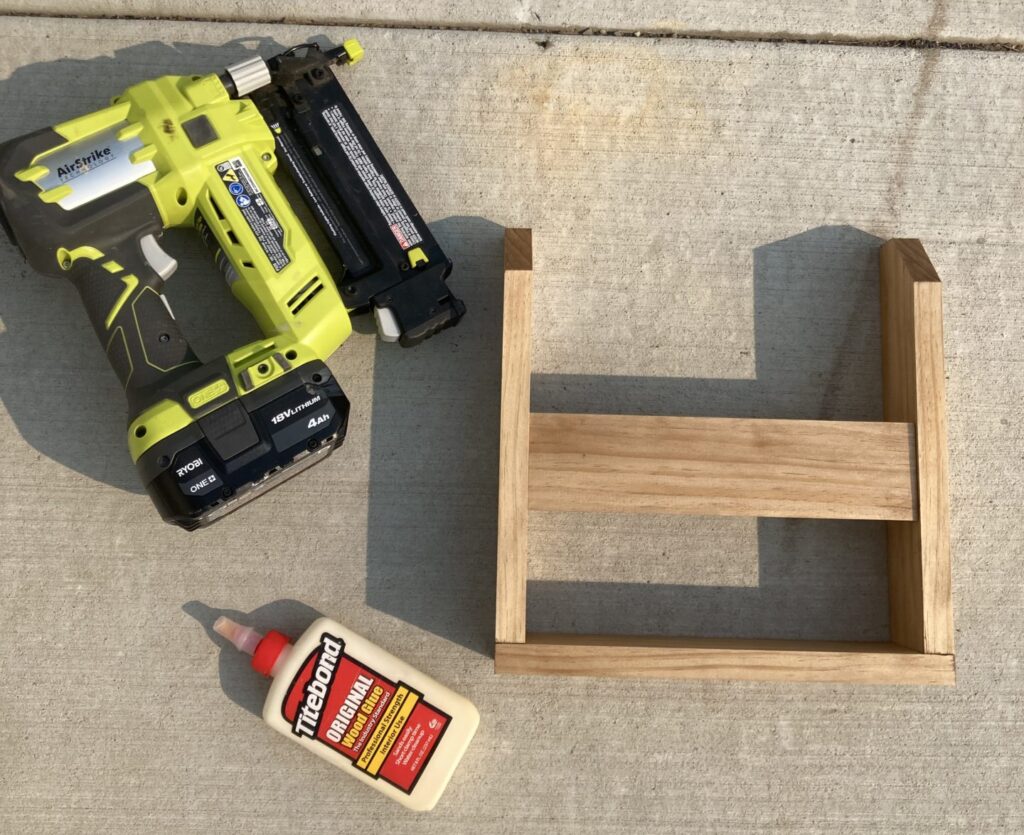
5. Assemble DIY Key Holder
Using wood glue and a brad nailer, attach the side pieces to the base. Make sure to have the pieces sitting on top of the base piece so your middle piece will fit properly.
Then attach the middle piece. I liked a slightly inset look with this piece, so as you can see in the picture below, the middle piece sits back about 1/8th of an inch.
6. Apply a Top Coat
For projects like this where there are a lot of sides and angles, I like using a spray can of top coat. But regular liquid would work fantastic too! The spray can is just so convenient (no cleaning paint brushes!). I did three coats of top coat, waiting at least 1 hour in between coats.
If you need a little extra guidance on your top coat, check out our tips for using polyurethane.
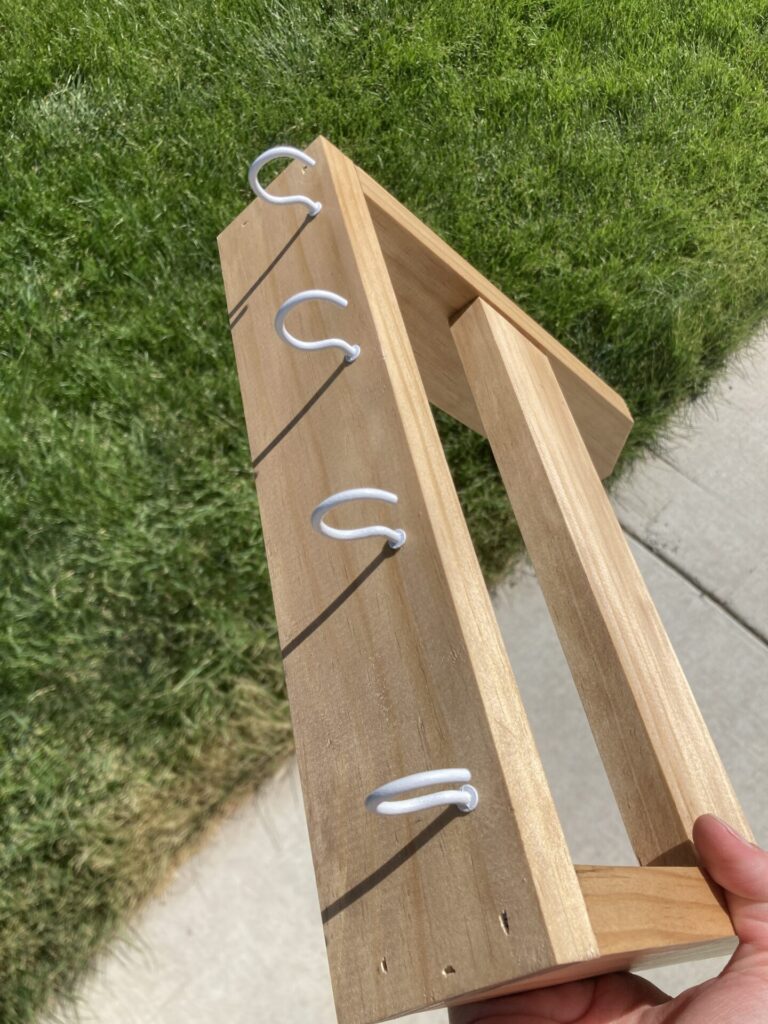
7. Add Hooks to Your DIY Key and Mail Holder
Along the bottom edge, screw in 4-5 hooks (depending on what you need).
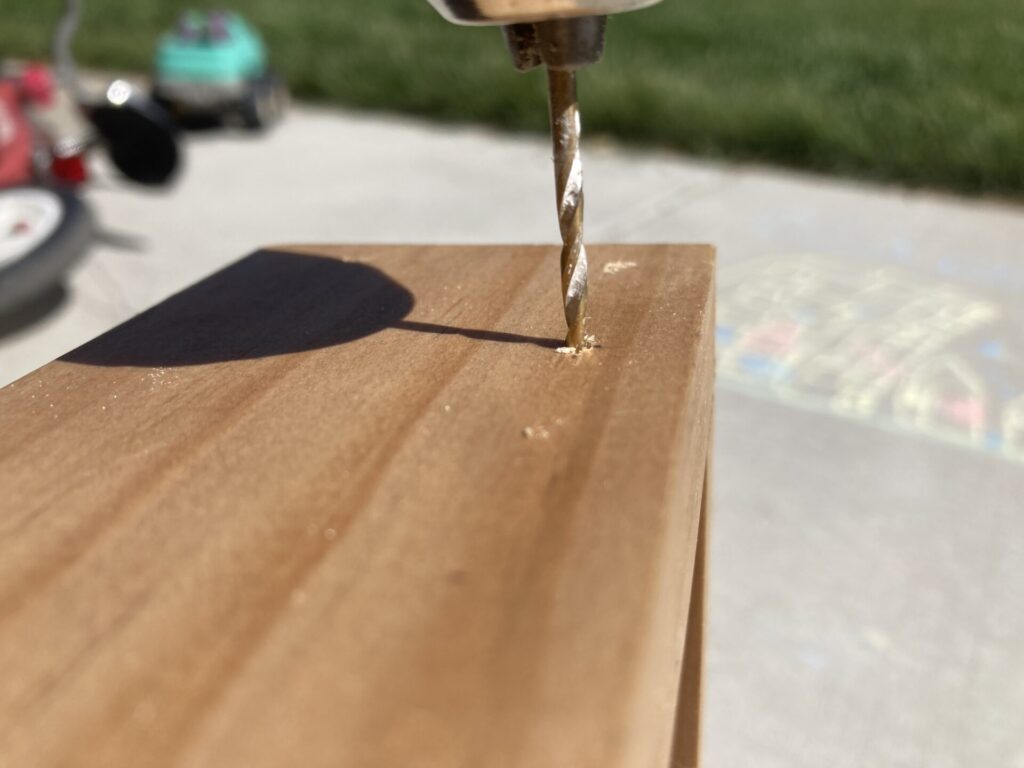
Measure equal distance between each hook and equal distance back from the front. You could center them, but I wanted them closer to the front. Drill a small pilot hole to make screwing in the hooks easier.
8. Hang the DIY Key and Mail Holder to the Wall
There are a variety of ways to hang your DIY wooden key holder. My initial plan was to use a keyhole hanger, but my local hardware store was out of them. So I opted for Command Strips and so far, they have held up perfectly!
And voila! There you have it. I am thrilled with how this DIY wall key holder turned out. And so is my husband! It’s the exact organizational touch that we needed.

Also – this DIY wall key holder was the perfect addition to my new DIY mudroom that I just added to my house. Organization brings me joy!
Will you be making this key holder? Tell me about it in the comments, I’d love to hear from you!

Pin “DIY Key and Mail Holder” to Pinterest