This post may contain affiliate links. I try to make my posts as helpful as possible and have great products easy for you to access. The use of these links provides me a small commission at no cost to you. As an Amazon Associate, I earn from qualifying purchases.
Wood Staining FAQs: Can You Stain Over Stain Without Sanding? And More!
Wood staining used to really intimidate me. I would dread doing it. But a little practice and a basic understanding of how to stain and how stain works makes all of the difference! Now I actually get really excited to see how the stain will transform my pieces.
This blog post will give you the knowledge you need to feel confident for your next staining job. And have a beautiful outcome!
In This Post You’ll Find:
- Can You Stain Over Stain Without Sanding?
- Can You Stain Wood Glue?
- How Long After Wood Conditioner Can I Stain?
- How Long Does it Take Minwax Stain To Dry?
- Can You Paint Over Stained Wood?
- How To Darken Stain?
- How Many Coats of Stain Can You Apply?
- Oil Based Stain vs Water Based Stain
- How Long Between Coats of Stain?
- How to Get Wood Stain off Skin
Can You Stain Over Stain Without Sanding?
Can You Stain Over Stain Without Sanding? Yes, it is possible to stain over an existing stain without sanding, but there are a few important considerations to keep in mind.
- Compatibility: Ensure that the new stain you plan to apply is compatible with the existing stain. Different types of stains (oil-based, water-based) may not adhere well to each other. It’s generally best to use the same type of stain for the new layer as the existing one. Check the manufacturer’s recommendations and test the compatibility on a small, inconspicuous area before proceeding with the full project.
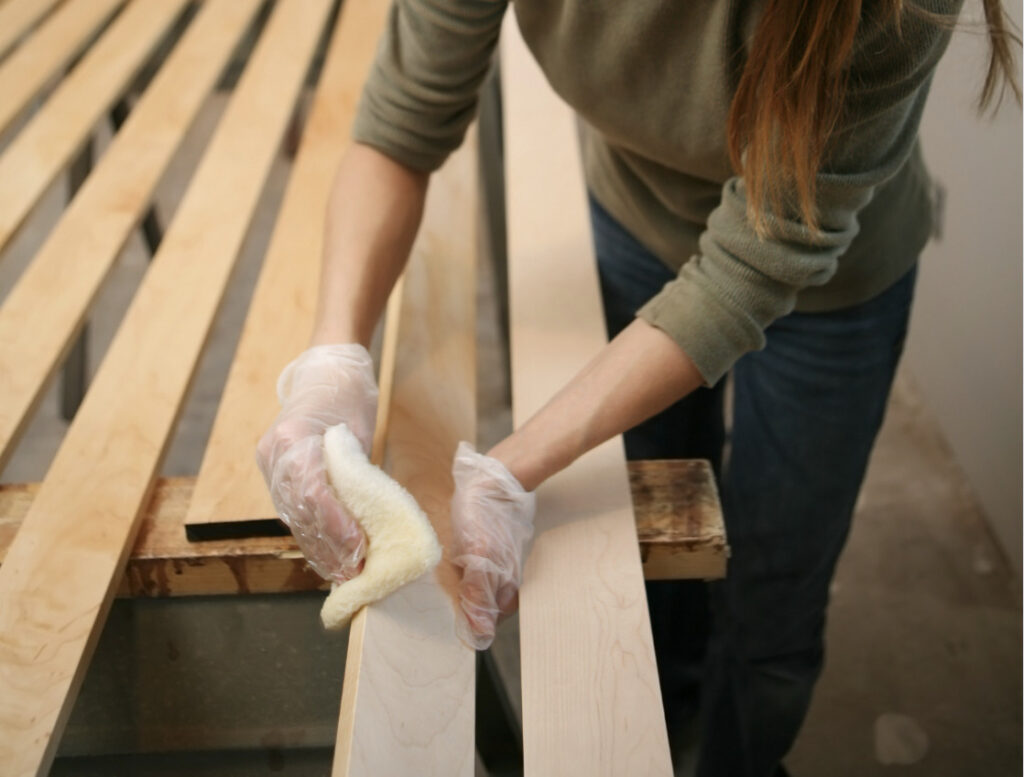
- Clean the surface: Before applying the new stain, thoroughly clean the surface to remove any dirt, grease, or wax that may interfere with adhesion. Use a gentle cleaner and a soft cloth or sponge to clean the wood. Make sure the surface is completely dry before proceeding.
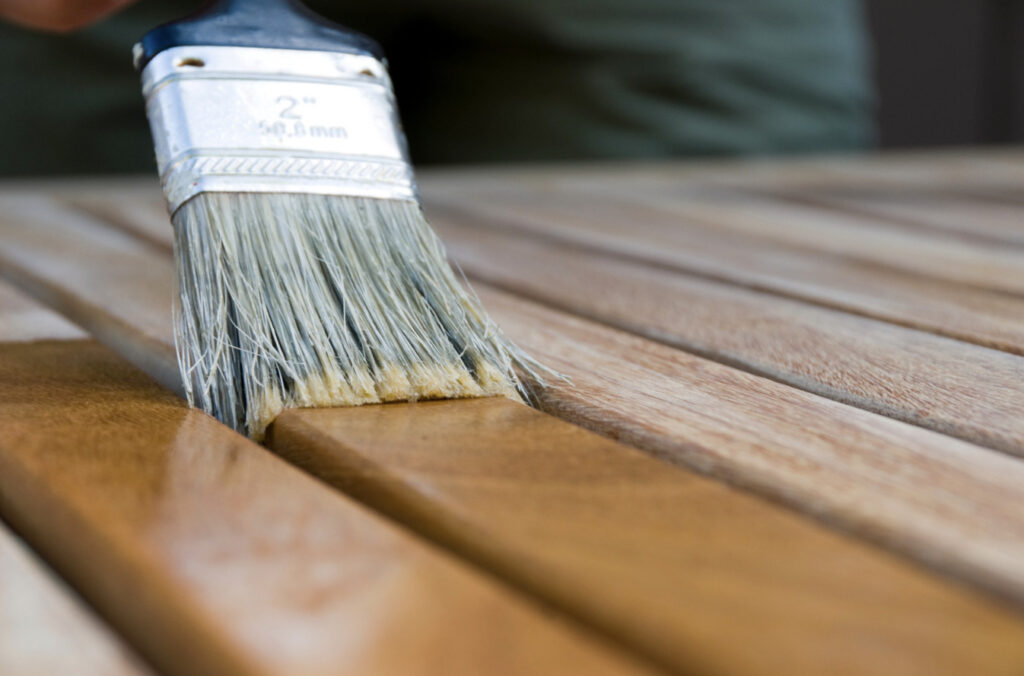
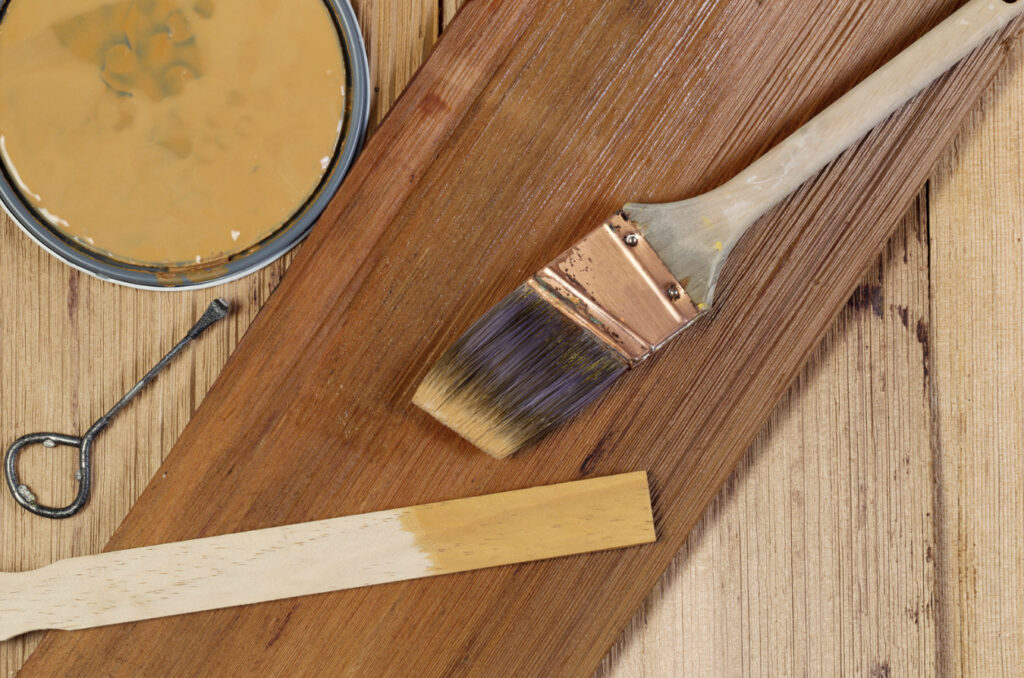
- Apply the new stain: Once the surface is clean, you can directly apply the new stain over the existing stain. Use a brush, cloth, or sponge to apply the stain evenly, following the manufacturer’s instructions. Depending on the desired result, you may need multiple coats to achieve the desired color intensity.
- Test and assess: As you apply the new stain, periodically check the color and appearance. The existing stain may affect the final color outcome, so it’s essential to monitor the progress and make adjustments if needed. Keep in mind that the new stain may interact differently with the existing stain, leading to variations in color and tone.
While it is possible to stain over stain without sanding, it’s important to note that this technique may not completely hide or remove the previous stain. The new stain may blend with the existing stain, resulting in a different color or a layered effect. If you’re looking for a more consistent and uniform result, sanding the previous stain off may be necessary.
Can You Stain Wood Glue?
Can You Stain Wood Glue? The short answer is: No.
The long answer is: When wood glue is applied to a surface, it forms a barrier that prevents the stain from penetrating the wood fibers. As a result, the stain will not adhere to the glue, and any attempt to stain over it will likely result in an uneven or blotchy appearance.
If you need to stain a project that involves glued wood pieces, it’s best to apply the stain before gluing the pieces together. This way, you can ensure that the wood receives an even application of stain and achieves the desired coloration.
How Long After Wood Conditioner Can I Stain?
How Long After Wood Conditioner Can I Stain? After applying a wood conditioner, it’s important to allow sufficient time for it to penetrate and dry before applying stain. Wood conditioners are typically used to prep the wood surface and improve stain absorption, especially for soft or porous woods. The drying time can vary depending on the specific brand and product you’re using, as well as environmental conditions such as temperature and humidity. However, as a general guideline, it’s recommended to wait approximately 15 to 30 minutes after applying a wood conditioner before applying the stain.
During this waiting period, the wood conditioner needs time to be absorbed into the wood fibers and allow the excess to evaporate. This helps ensure that the stain will be applied evenly and achieve the desired results. Just be sure to not leave it sitting more than two hours, at that point it becomes more of a sealer and doesn’t allow your stain to properly absorb.
To be certain about the appropriate waiting time, it’s always best to refer to the instructions provided by the wood conditioner manufacturer. They will provide the most accurate guidance on drying times and when it’s safe to proceed with staining.
How Long Does it Take Minwax Stain To Dry?
Minwax stain drying times can vary depending on several factors, such as the type of stain, the wood’s porosity, humidity levels, and temperature. However, as a general guideline, Minwax recommends the following drying times for their oil-based and water-based stains:
- Oil-Based Stains: Oil-based stains typically take around 8 hours to dry to the touch. However, it’s important to note that the stain will still require additional time to fully cure and harden. Minwax suggests waiting at least 24 hours before applying a protective finish or handling the stained surface.
- Water-Based Stains: Water-based stains dry more quickly than oil-based stains. Generally, water-based stains will be dry to the touch within 1-2 hours. Again, it’s essential to allow for additional curing time before applying a topcoat or handling the stained wood. Minwax recommends waiting at least 24 hours.
Can You Paint Over Stained Wood?
Can You Paint Over Stained Wood? Definitely! Here’s what you need to know:
- Prepare the surface: Before painting, it’s essential to prepare the stained wood surface. Start by cleaning the wood to remove any dirt, dust, or grease. If the stain has a glossy finish, consider sanding it lightly to create a better surface for the paint to adhere to. Wipe away the sanding residue and ensure the surface is smooth and clean.
- Apply a primer: To ensure good paint adhesion and a smooth finish, it’s recommended to apply a primer before painting over stained wood. Choose a primer that is suitable for both wood and the type of paint you plan to use. Apply the primer evenly using a brush or roller, following the manufacturer’s instructions.
- Select your paint: When it comes to choosing paint for your stained wood, you have various options. Latex or acrylic paint is a popular choice due to its easy application, quick drying time, and low odor. Make sure to select a paint that is compatible with the primer you used. Satin, semi-gloss, or high-gloss finishes can be used depending on your desired look and level of durability.
- Paint the wood: Once the primer is dry, it’s time to paint! Use a brush or roller to apply the paint evenly, working with the grain of the wood. Apply multiple thin coats rather than one thick coat for better coverage and smoother results. Allow each coat to dry fully before applying the next one, following the drying time recommended by the paint manufacturer.
- Optional: Seal and protect: If desired, you can apply a clear topcoat or sealant over the painted surface to enhance durability and protect the paint finish. Choose a topcoat that is suitable for the type of paint you used and follow the manufacturer’s instructions for application.
How To Darken Stain?
Are you wondering how to darken stain? Here are some tips to consider:
- Apply additional coats: One way to darken a stain is by applying additional coats. The more coats you add, the deeper and darker the color will become. Remember to let each coat dry and cure properly before applying the next one.
- Use a darker stain color: If you find that multiple coats aren’t achieving the desired darkness, you can try using a darker stain color altogether. Stain colors come in various shades, so choose one that is darker than your current stain to achieve the depth you’re looking for. Consider Dark Walnut, Ebony, or Jacobean.
- Apply a gel stain: Gel stains are a great option when you want to darken a stain. They have a thicker consistency that allows for better control over color intensity. Apply the gel stain over the existing stain and follow the manufacturer’s instructions for application and drying times.
- Mix stains: Another trick to darken a stain is by mixing different stain colors together. Experiment with mixing small amounts of darker stains into your current stain until you achieve the desired shade. Remember to keep track of the ratios so you can replicate the mixture for the rest of your project.
How Many Coats of Stain Can You Apply?
In most cases, applying two coats of stain is recommended to achieve the desired depth of color and enhance the wood’s natural beauty. Two coats usually provide a more even and consistent appearance.
However, depending on your preference and the look you’re going for, you can apply more coats if needed. Just keep in mind that each additional coat will deepen the color and intensify the richness of the stain. So, if you want a darker or more saturated look, go ahead and add another coat or two.
Remember, when applying multiple coats, it’s crucial to let each coat dry and cure properly before moving on to the next one. Follow the drying time recommendations provided by the stain manufacturer to ensure the best results. Taking the time to let each coat dry will help you achieve that flawless finish you’re aiming for.

Oil Based Stain vs Water Based Stain
Let’s chat about Oil Based Stain vs Water Based Stain.
Oil-based stain is like the traditional, tried-and-true option. It’s made with oils and solvents that give your wood a rich, gorgeous color. Think of it as the classic choice that brings out the natural beauty of the wood. Plus, it’s super durable and can handle all the spills and messes that come with little ones running around.
On the other hand, water-based stain is like the modern, time-saving hero. It’s made with water and has a wide range of vibrant colors to choose from. It dries quickly, so you don’t have to wait around forever. Plus, cleanup is a breeze—you can just use soap and water.
So which one is better? Well, it depends on your preference and the project you’re working on. If you want that traditional, deep color and don’t mind the longer drying time, go for oil-based stain. But if you’re looking for convenience, a quick turnaround, and easy cleanup, water-based stain is your go-to.
How Long Between Coats of Stain?
How Long Between Coats of Stain? Let’s talk about waiting time between coats when it comes to oil-based and water-based stains.
Oil-based stains take a bit longer between coats. We’re talking around 24 to 48 hours. I know it can feel like forever, but trust me, it’s worth it. Giving that stain enough time to dry and cure ensures a beautiful finish without any smudging or unevenness.
On the other hand, water-based stains dry much faster. You can usually apply another coat within 1 to 3 hours or once the previous coat is dry to the touch.
But remember, always check the instructions on the stain product you’re using. They might have specific recommendations for waiting times between coats, so it’s best to follow their guidance.
Also, remember that drying times can be affected by factors like humidity, temperature, and the type of wood you’re staining. So, if it’s super humid or chilly where you are, it might be a good idea to give it a little extra time.
Waiting allows the previous coat to fully dry and cure, so you’ll avoid any smudging or uneven color issues. Nobody wants a sticky mess, right?
How to Get Wood Stain off Skin
How Do I Get Wood Stain off My Skin? Accidentally getting wood stain on your skin can be frustrating, but there are several effective methods to remove it safely. Here are some steps you can follow:
- Act quickly: As soon as you notice the wood stain on your skin, try to remove it promptly. The longer it sits, the harder it becomes to remove.
- Wash with soap and water: Start by washing the stained area with soap and warm water. Gently scrub the skin to loosen the stain. This method works well for water-based wood stains.
- Use oil or petroleum jelly: If the stain persists, apply a small amount of oil, such as cooking oil or baby oil, directly to the affected area. Rub it in gently and let it sit for a few minutes to loosen the stain. You can also use petroleum jelly as an alternative.
- Use a stain remover or solvent: If the stain is stubborn, you can try using a stain remover specifically designed for removing wood stains. Follow the product instructions carefully and test it on a small area of skin first to ensure there are no adverse reactions. Acetone or nail polish remover with acetone can also be effective, but exercise caution as they can be drying to the skin.
- Rinse: Once the stain is lifted, rinse the area thoroughly with warm water and mild soap to remove any residue.
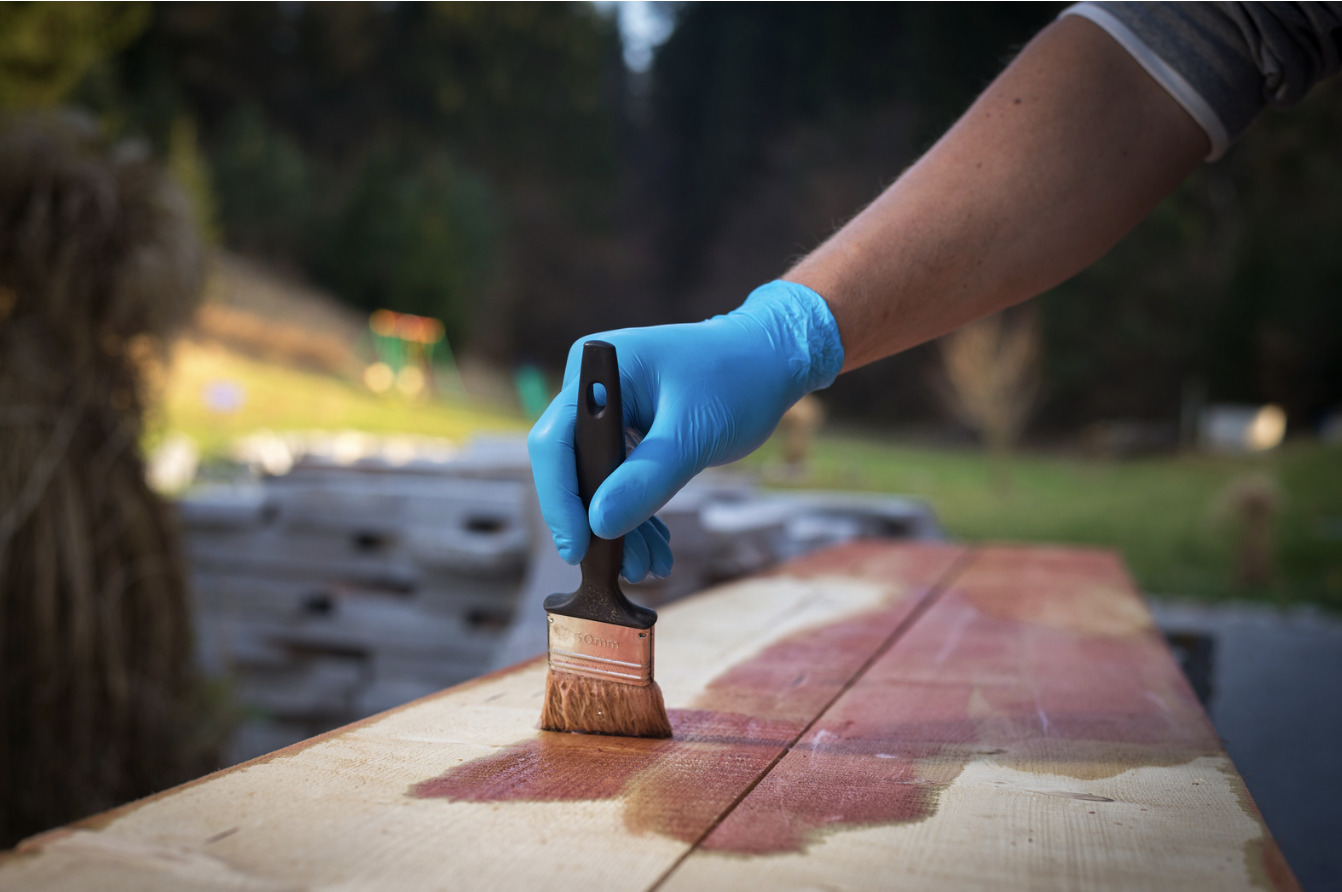
All that being said, this is why I use latex gloves any time I’m working with stain. Easier to prevent it then treat it! But even with gloves accidents happen. So hopefully these tips come in handy!
Wood Staining FAQs: Can You Stain Over Stain Without Sanding? And More!
I hope you found this Wood Staining FAQ helpful! Below are a few of my favorite projects I have used stain on.
What is your next staining projects? Have any tips or tricks to share? I’d love to hear about it in the comments!
Pin “Wood Staining FAQs: Can You Stain Over Stain Without Sanding? And More!” to Pinterest!