This post may contain affiliate links. I try to make my posts as helpful as possible and have great products easy for you to access. The use of these links provides me a small commission at no cost to you. As an Amazon Associate, I earn from qualifying purchases.
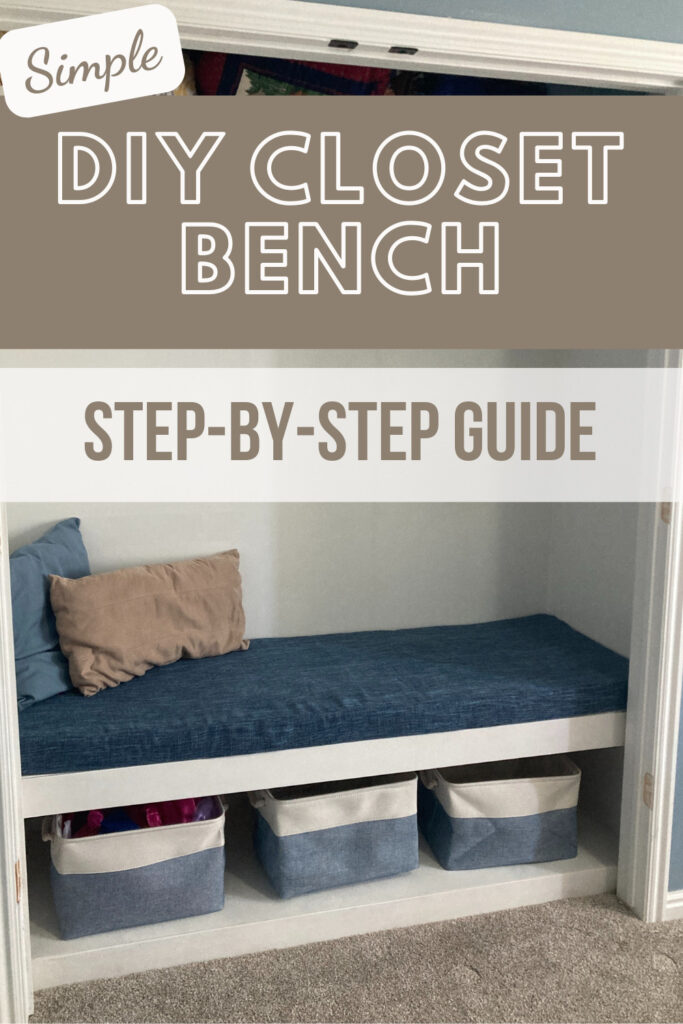
DIY Closet Bench
My kid’s playroom has two large closets. The storage space is great! But I really wanted a comfy spot to hang out on while my kids play. And there wasn’t any space for a couch or chair.
So… I decided to convert one of the closets into a cushioned reading nook! And the best part is, I still have a lot of great storage space AND a perfect spot to hang out on.
Plus, it has made for the perfect reading nook for my kids. So if you are looking for some inspiration for kids reading nook ideas, this closet conversion was a real win for me!
In this post you’ll find:
- How to Build a Built-in Nook Bench
- Step One: Demo and Repair
- Step Two: Remove the Carpet and Tack Strip
- Step Three: Install New Carpet Tack Strip
- Step Four: Build and Install Frames for the Bench and Shelf
- Step Five: Cut and Install Plywood around the Frames
- Step Six: Wood Fill and Caulk
- Step Seven: Prime and Paint
- Step Eight: Make and Install Cushion
- How to Install Carpet Tack Strip
- Best Concrete Glue
How to Build a Built-in Nook Bench
Here are the steps I followed in my closet-to-bench conversion. Obviously, your project will probably look a little different. But these steps should give a helpful outline to allow you to create your own kid’s reading nook or closet bench conversion.
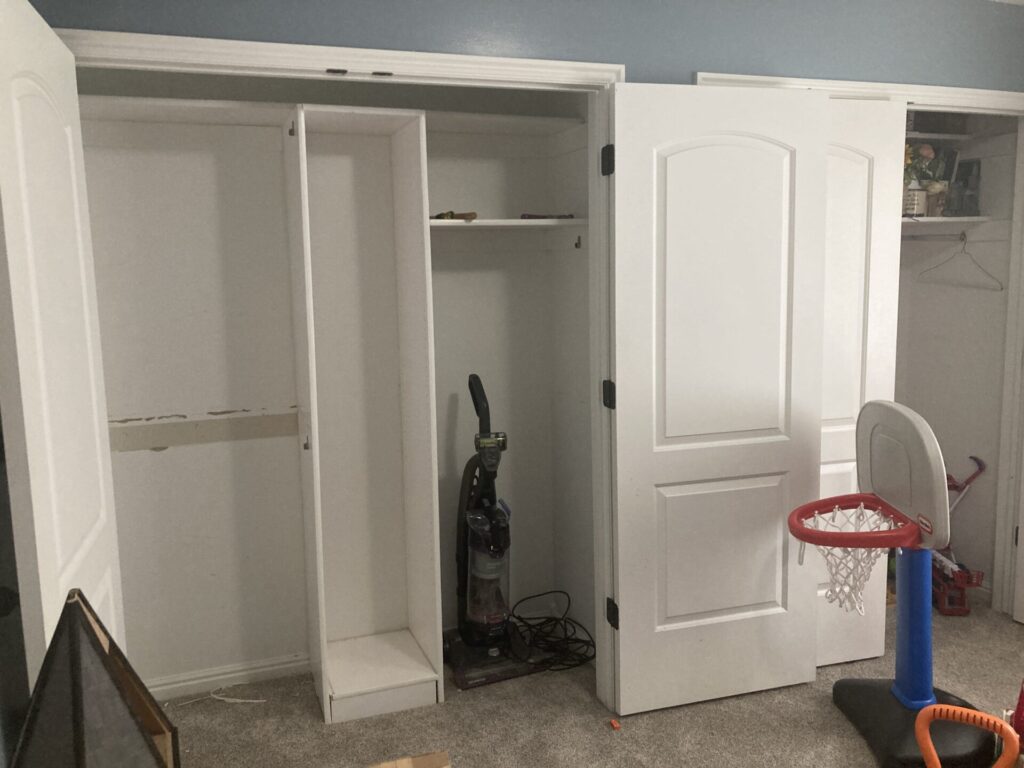
Step One: Demo and Repair
I started by demoing the existing shelving in the closet. I used a hammer and a crowbar and it all came out fairly easily.
After I removed the old shelving, I used DAP spackling to patch up any holes or damage on the drywall. After allowing the spackling adequate time to dry (see my quick guide to wood filler for more tips and tricks on this), I sanded it down smooth.
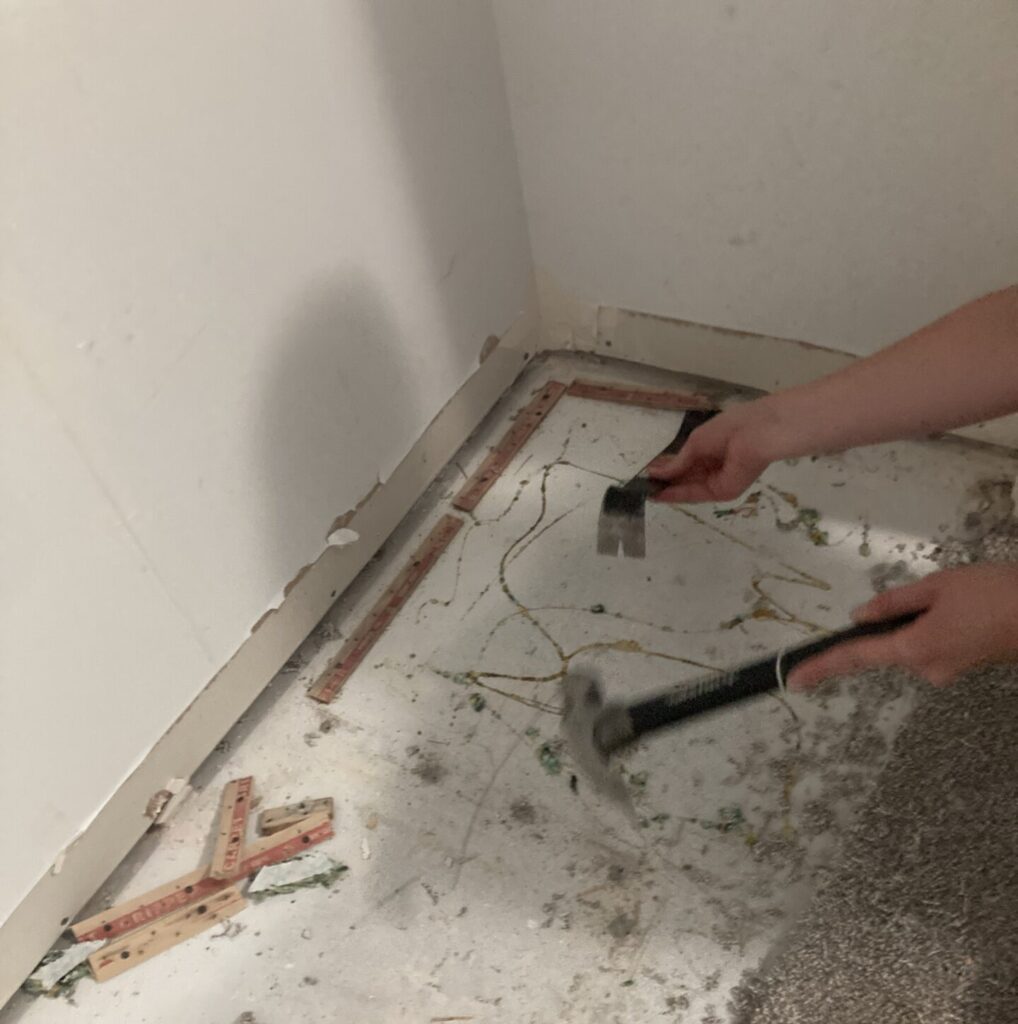
Step Two: Remove the Carpet and Tack Strip
Using a sharp utility knife, I cut a straight line across my carpet along the inside edge of the closet.
Then I used a crowbar and hammer to remove the tack strip.
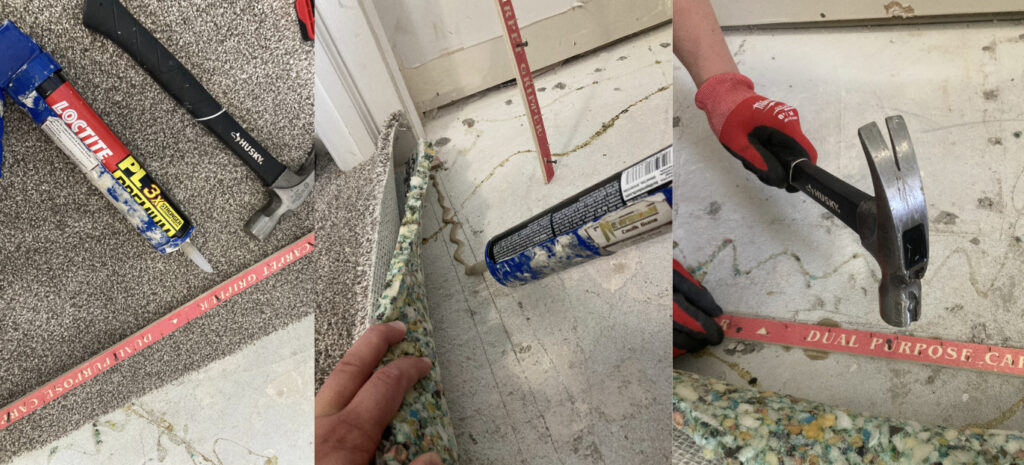
Step Three: Install New Carpet Tack Strip
How to Install Carpet Tack Strip
This was the part of the project I wasn’t totally confident in. I had never installed carpet tack strips before. But honestly, it was quite simple! A little disclaimer, this may not be how professional carpet installers do this. But, one month later, it looks great and has held up perfectly.
Best Concrete Glue: I did ask a carpet installer which construction adhesive he recommended for installing tack strips on a concrete subfloor. His recommendation was Loctite PL Premium.
I traced lines in the exact spot I wanted my tac strip and applied the construction adhesive along the lines. I pressed my tack strip into the glue and hammered in the preset nails along the tack strip.
The carpet padding should like just inside the edge of the tack strip. And the carpet will lay right on top of it.
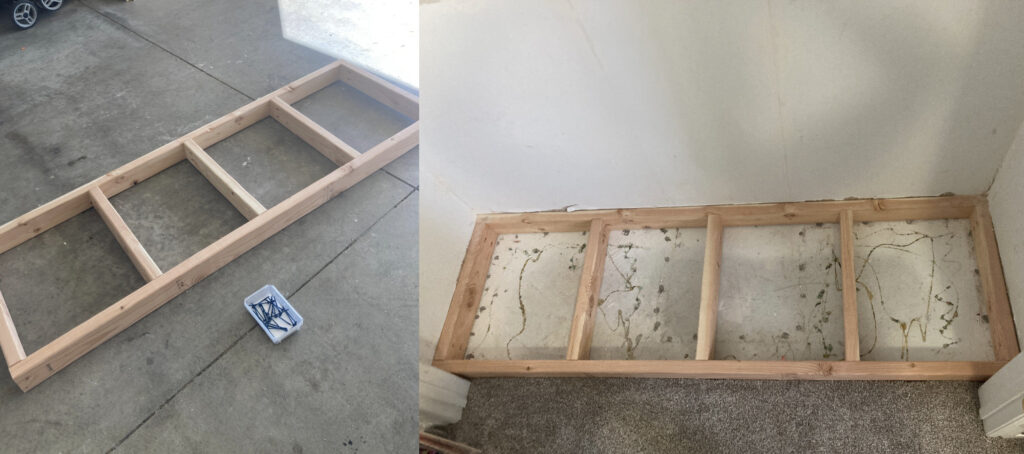
Step Four: Build and Install Frames for the Bench and Shelf
Next, I built three frames. One for the base, one for the bench, and one for the shelf.
I used 2x4s for the bench and base, and 2×3 for the shelf.
Each frame had a “stud” every 12-16 inches.
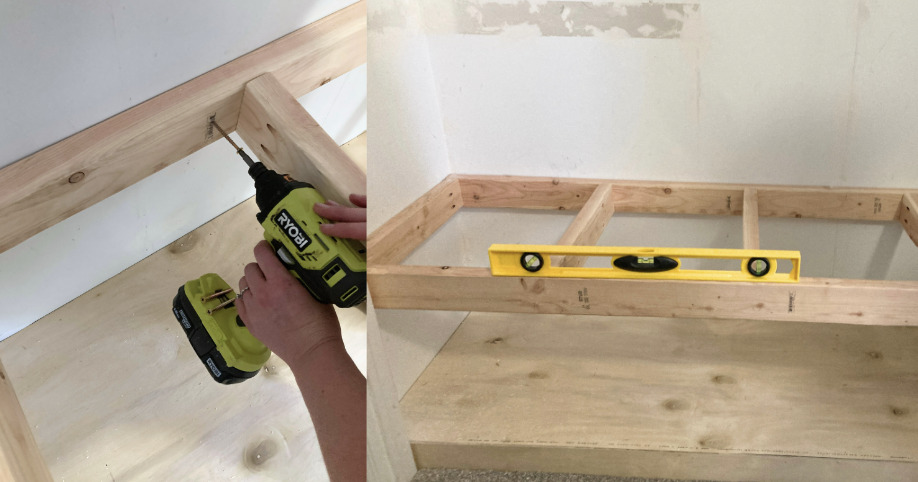
Using a stud finder, I located the studs along the walls. Then, using 2 1/2-inch screws, I attached the frames to the studs. Taking special care to keep them level.
I used my impact driver to sink the screws into the studs. I LOVE my impact driver in moments like these. It makes it so quick and easy to sink those long screws. Check out my post on impact drivers to learn everything you need to know about impact drivers.
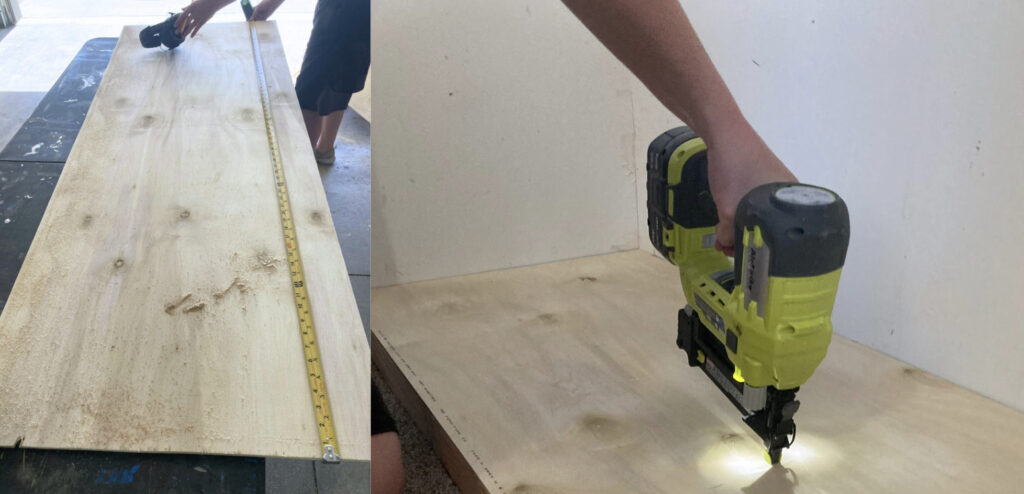
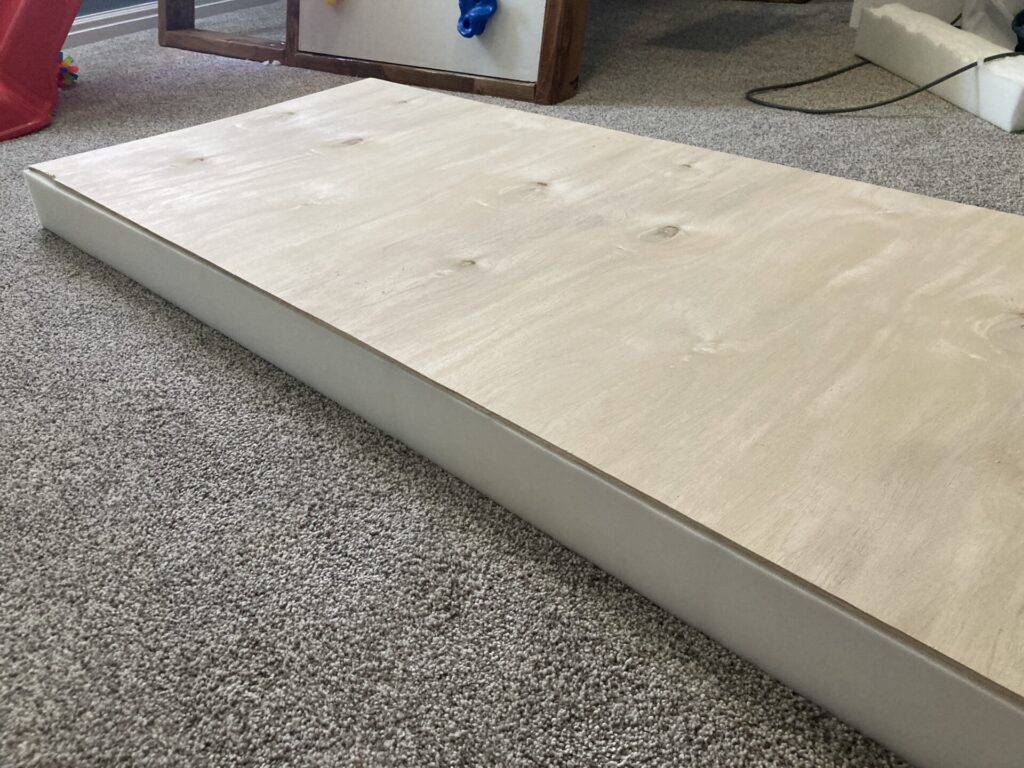
Step Five: Cut and Install Plywood around the Frames
I used my circular saw (learn all the tips and tricks to using a circular saw at this post) to cut my 1/8″ plywood to wrap the frames in. I started with the top and bottom of each frame (except the bottom, I just did one for the top). Then I cut and installed the front pieces. I did it in this order so the seams wouldn’t face the front.
I installed the plywood with my Ryobi Brad nailer. If you’re looking to learn more about using a brad nailer, check out my Brad nailer guide.
Step Six: Wood Fill and Caulk
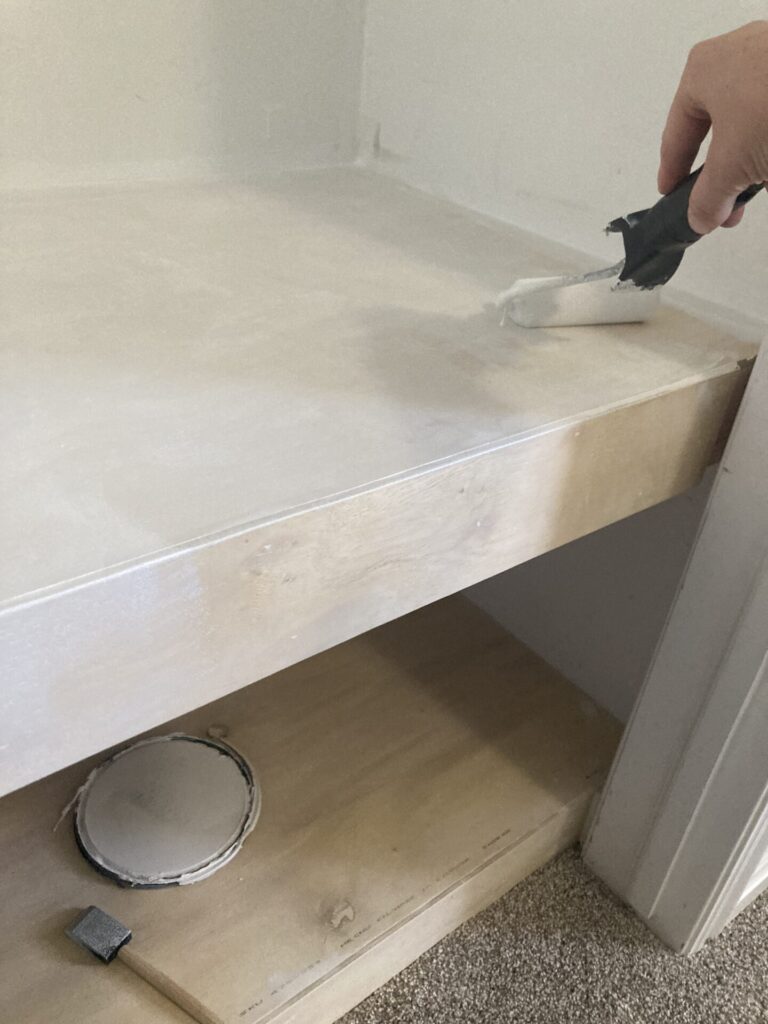
After installing the plywood, I applied wood filler to all the nail holes and seams. I used DAP wood filler for this step.
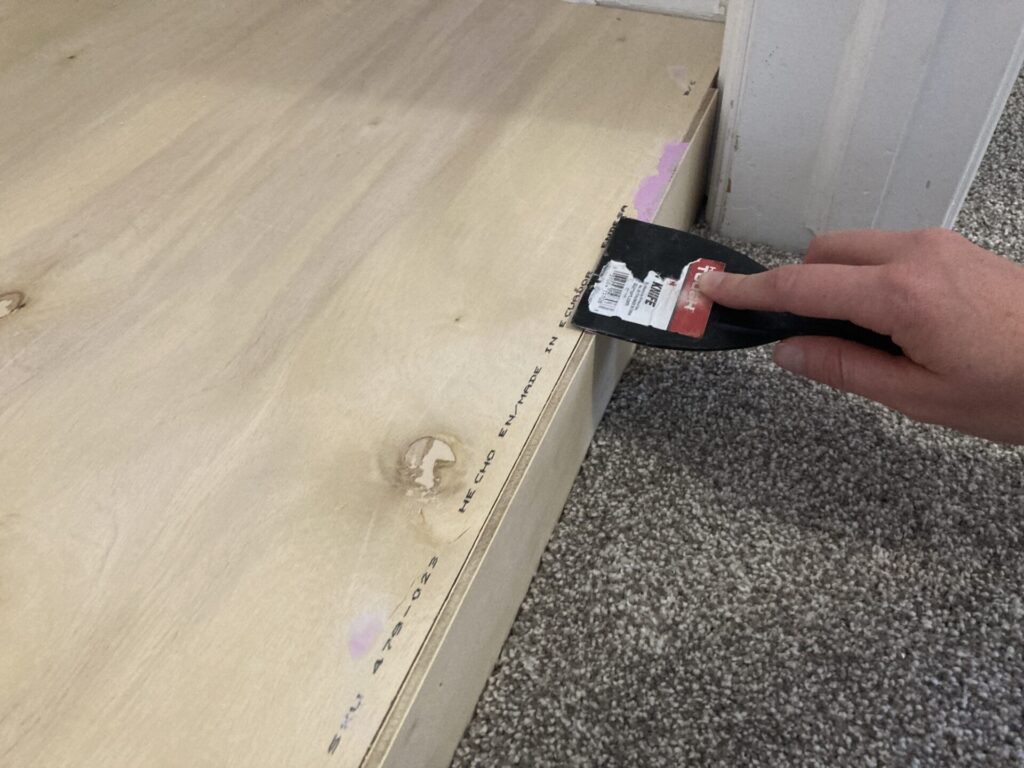
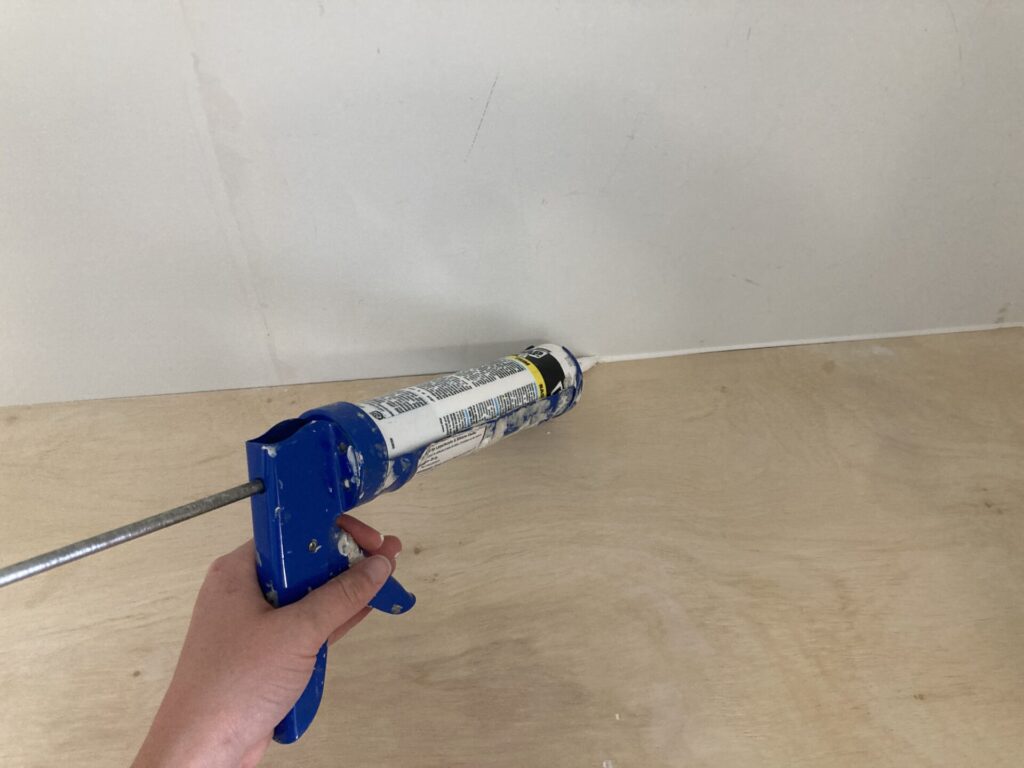
After sanding the wood filler, and cleaning up the dust, I caulked all of the seams with paintable caulk.
When applying caulk, I run a small bead along the seam. Then I run my finger along the bead to smooth it out. After smoothing it out, I wipe the excess off with baby wipes. I have tried the fancy smoothing caulking tools, but they just don’t work as well as a finger in my opinion!
Step Seven: Prime and Paint
Once the caulk has dried, I painted a coat of Zinsser Bulls Eye Primer. And two coats of Behr Interior Plus Paint and Primer.
Step Eight: Make and Install Cushion
I searched around for some good heavy-duty fabric. And I ended up landing on a black-out curtain. It was nice and thick, and much cheaper than buying it by the yard.
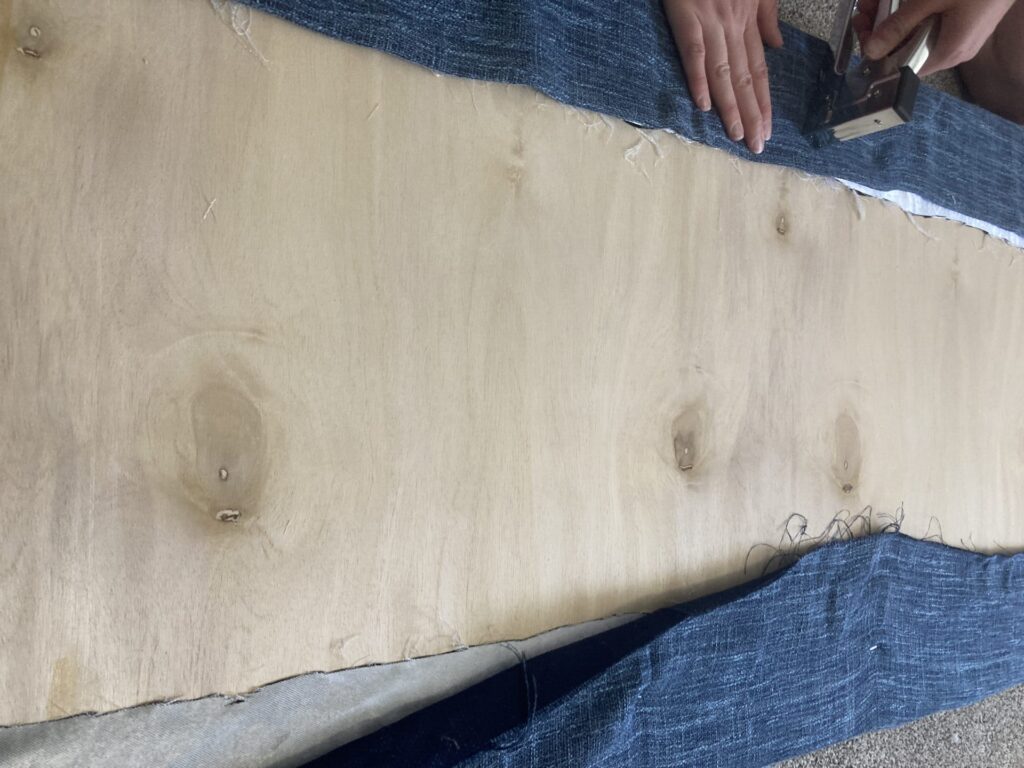
I purchased this cushion from Amazon, and cut it to size. Then I glued it to 1/8″ plywood using the leftover construction adhesive from the tack strip.
Then I evenly wrapped my fabric around and stapled it using a staple gun.
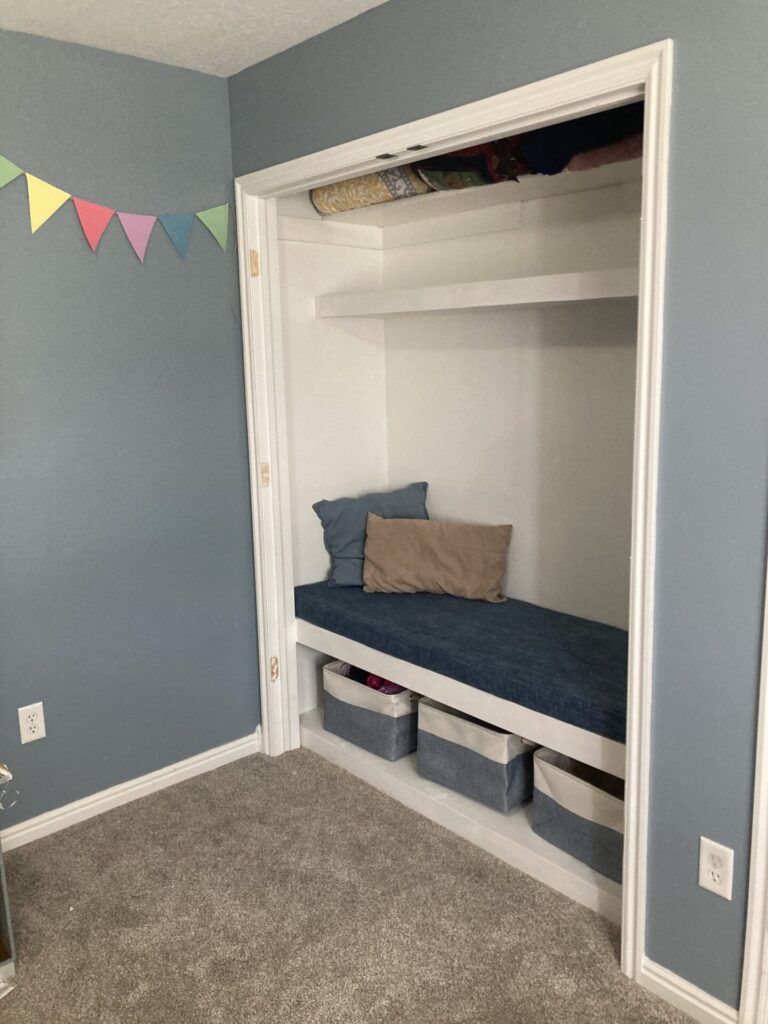
I am still looking for some more storage baskets to finish it off, especially for that top shelf. But I found these great baskets from Amazon for the bottom. You get a set of 3 for $30. They are big and seem super durable. Perfect for my kids toys!
So there you have it! A comfortable, functional DIY Closet Bench. Perfect for a kids reading nook, or a place to hang out while your kids play. I am so happy with how it turned out!
Will you be converting your closet into a bench? Tell me about it in the comments!
Save “DIY Closet Bench” to Pinterest!