This post may contain affiliate links. I try to make my posts as helpful as possible and have great products easy for you to access. The use of these links provides me a small commission at no cost to you. As an Amazon Associate, I earn from qualifying purchases.
It seems that just about every DIY project I do I end up needing wood filler. So if you have found yourself in the same place or found yourself wondering how to fill holes in wood. Then you’re in the right place!
This guide will go over everything you need to know about filling holes in wood (and other materials). Plus some great frequently asked questions about using wood filler.
In this post you’ll find:
- How to Fill Holes in Wood?
- How Long Does It Take for Wood Putty to Dry?
- Can You Screw into Wood Filler?
- Can You Paint Over Wood Filler?
- Can You Stain Wood Filler?
- Caulk vs Wood Filler
- How to Make Wood Filler With Sawdust
- Wood Glue vs Wood Filler
How to Fill Holes in Wood?
Are you wondering how to fill holes in wood? Here’s a step-by-step guide on how to use wood filler effectively:
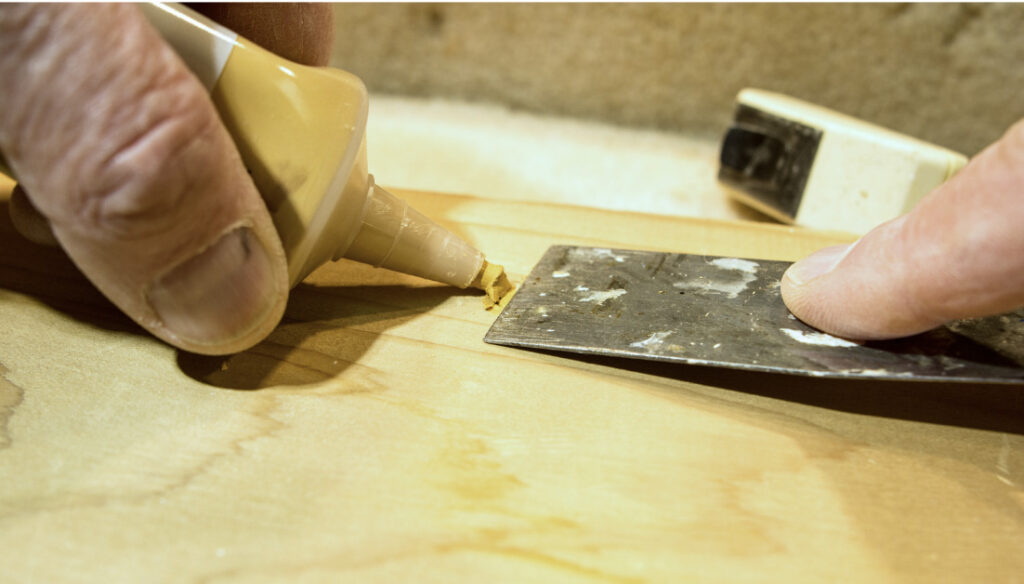
- Start by preparing the surface: Ensure that the wood surface is clean, dry, and free of any loose debris, paint, or varnish. Use a scraper or sandpaper to smooth the area around the damaged or uneven section.
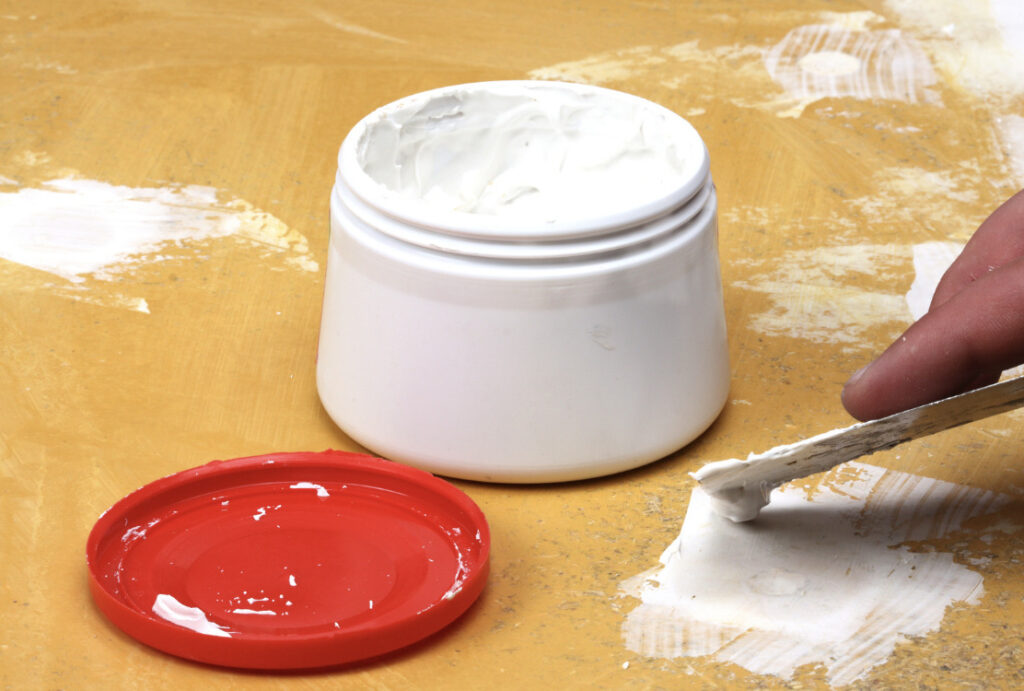
- Select the right filler: There are different types of wood fillers available, such as water-based, solvent-based, stainable, paintable, etc… Choose a filler that suits your specific needs.
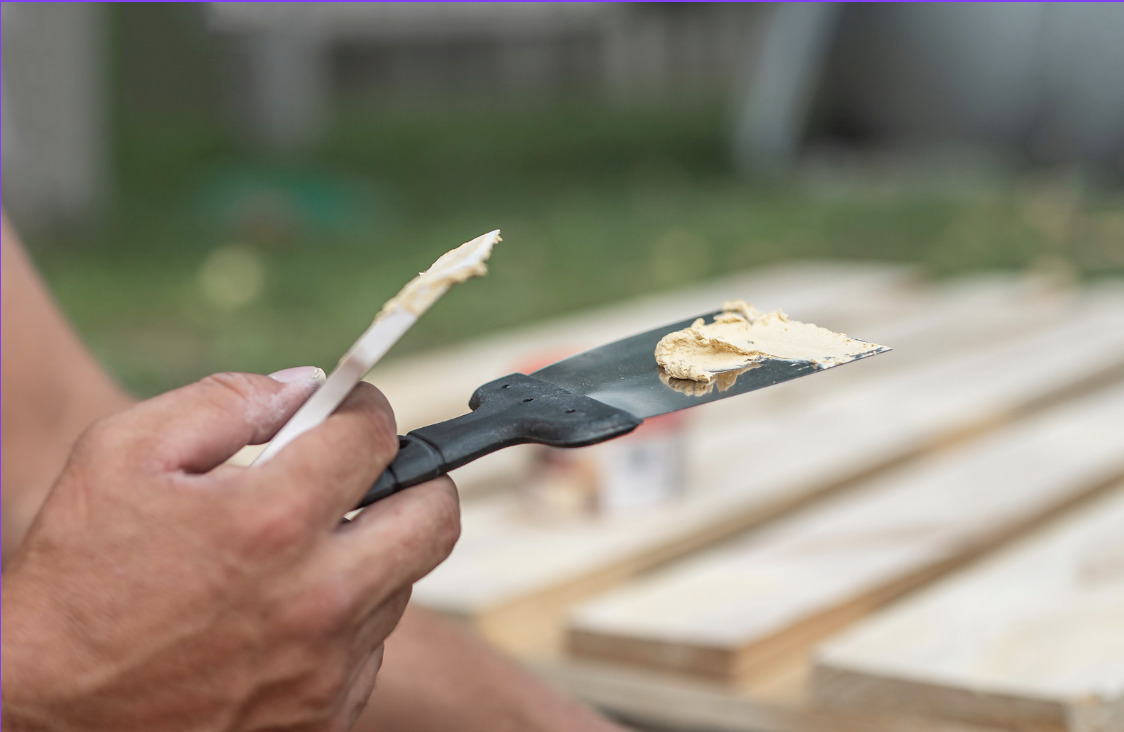
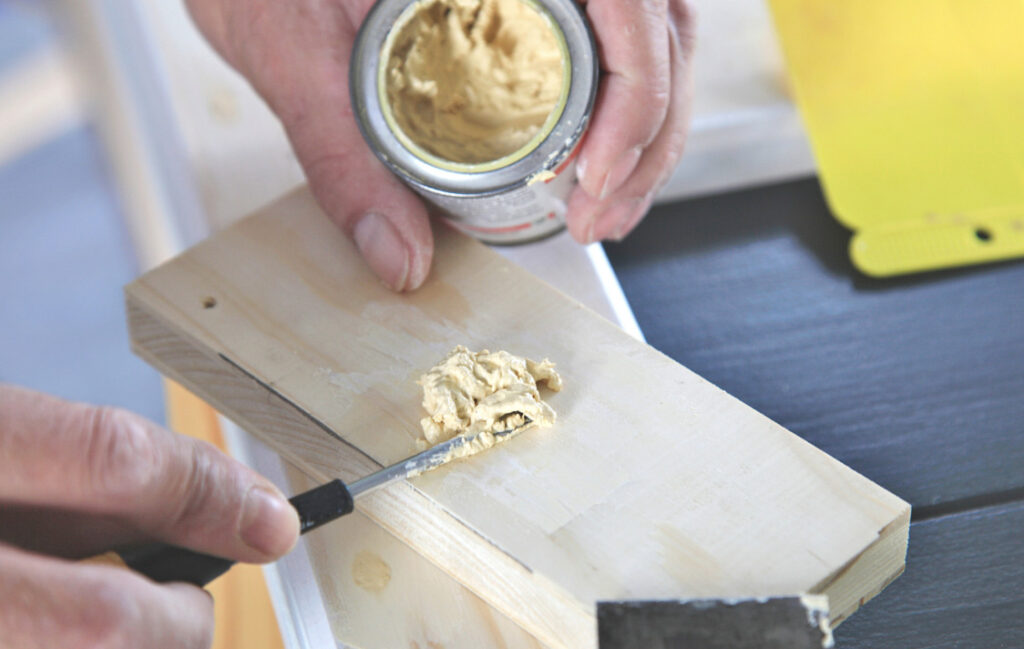
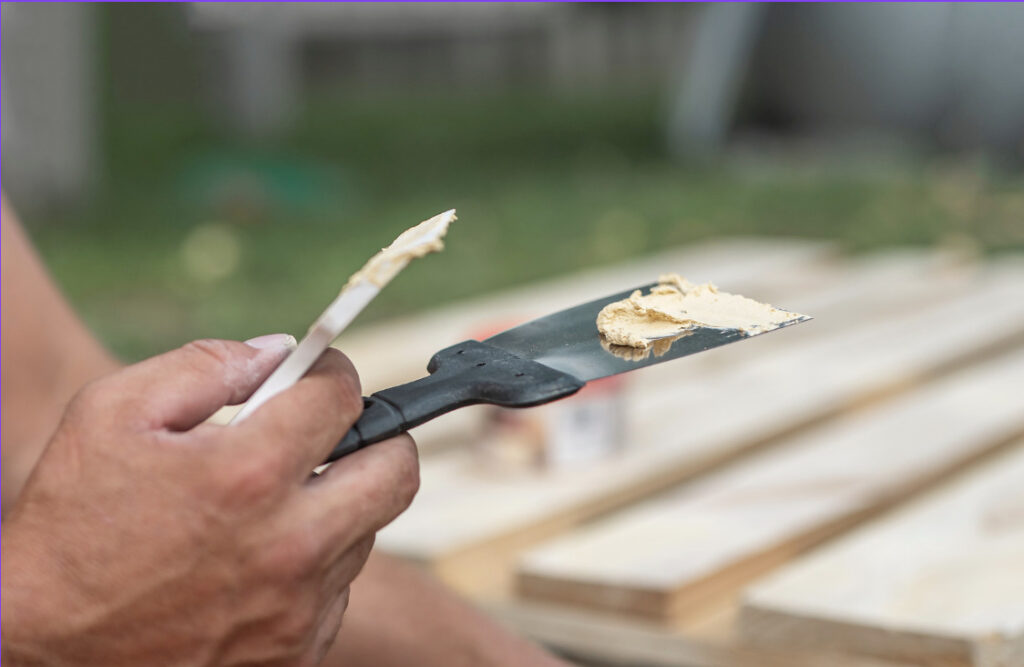
- Apply the filler: Using a putty knife or a flexible plastic scraper, apply the wood filler to the damaged area. Press it firmly into the crack, hole, or gap, ensuring it fills completely. Overfill the damaged area slightly to allow for shrinkage during drying.
- Smooth the filler: With a putty knife or a scraper, level the excess filler with the surrounding wood surface. Smooth it out and remove any excess filler.
- Let it dry: Allow the wood filler to dry completely according to the manufacturer’s instructions. This may take a few minutes or a few hours depending on the product and the depth of the repair. Avoid touching or disturbing the filler while it’s drying.
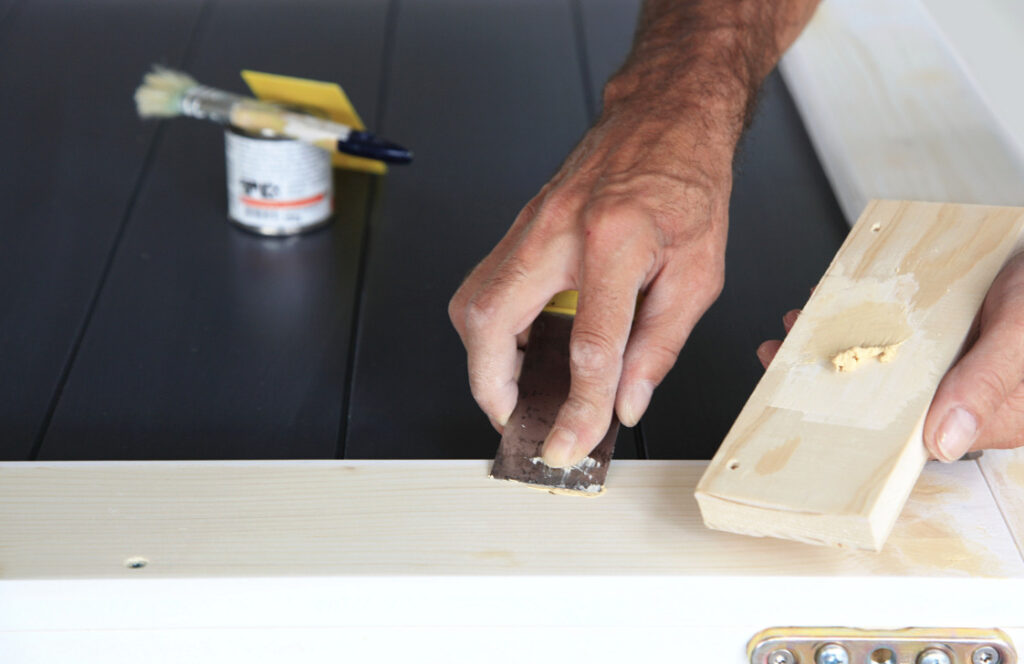
- Sanding and finishing: Once the wood filler is dry, use sandpaper to smooth the repaired area. For extra tips on sandpaper. and what grit to use & when, check out my Ultimate Sandpaper Guide.
- Wipe away any dust with a clean cloth or a tac cloth. Then you are ready to prime, paint, or stain!
How Long Does It Take for Wood Putty to Dry?
How long does it take for wood putty to dry? Well, it turns out there is quite a range. Depending on the brand you are using the drying time can range from 15 minutes to 24 hours. So the best bet you have is to read the manufactures guide on your product.
I know that probably isn’t the answer you’re wanting, so let’s dig into it a little more.
Here are some general estimates for drying times based on common wood putty brands:
- Minwax Wood Putty: Typically dries within 2-6 hours, depending on factors like temperature and humidity. Full curing may take up to 24 hours.
- DAP Plastic Wood: Generally dries within 4-6 hours, but larger or deeper repairs may require longer drying times. Allow at least 24 hours for full curing.
- DAP Spackling: Typically dry in 1 hour. It may take up to 5 hours depending on the depth of the application and the humidity/temperature.
- Elmer’s Carpenter’s Wood Filler: Typically dries within 2-6 hours, depending on conditions. Allow at least 24 hours for complete drying and curing.
- Bondo Wood Filler: Dries in only 15 minutes and is rock solid and ready to sand at that point.
Can You Screw into Wood Filler?
Can You Screw into Wood Filler? Screwing directly into wood filler is generally not recommended. Wood filler is a compound used to fill gaps, cracks, or holes in wood, but it is not designed to provide a strong anchor for screws. Wood filler is typically composed of a mixture of wood fibers and a binder, which may not offer the structural integrity required for secure screwing.
If you have already filled a hole with wood filler, it’s advisable to remove the filler and replace it with a more appropriate method such as using a wooden plug or dowel to create a stable screw anchor.
Can You Paint Over Wood Filler?
Can You Paint Over Wood Filler? Yes, you can paint over wood filler. Once the wood filler has fully dried and cured according to the manufacturer’s instructions, you can sand it lightly to ensure a smooth surface. Then, you can proceed to apply primer and paint over the wood filler as you would with any other painted surface.
Before painting, make sure the wood filler is completely dry and hardened. As mentioned previously, this may take anywhere from a few hours to 24 hours, depending on the brand and type of wood filler used. It’s important to note that some wood fillers may shrink slightly as they dry, so you might need to apply multiple layers of filler and sand in between to achieve a flush surface before painting.
Can You Stain Wood Filler?
Can You Stain Wood Filler? You can stain wood filler, as long as you use stainable wood filler. Depending on the size of the hole you filled, the stain will appear slightly darker along the filler than on the wood. Which can be a little annoying. So if possible, conceal nail holes in areas that are less likely to be seen. Also, using a pin nailer rather than a finish nailer or brad nailer will create smaller nail holes that will hide better.
Caulk vs Wood Filler
Ever wonder when you are supposed to use caulk vs wood filler? The most simple rule of thumb is: When your surface is flat, use wood filler. If there is an angle such as the edge of baseboards, a corner, or trim, then you want to use caulk.
Here are some specific examples of when to use caulk vs wood filler:
Use Caulk:
- Waterproofing gaps and joints: Caulk is ideal for sealing gaps and joints where flexibility and waterproofing are required. Common areas include gaps around windows, doors, baseboards, and trim.
- Expansion and contraction: Caulk is suitable for areas that experience movement or expansion/contraction due to temperature changes, such as gaps between different materials or along seams.
- Exterior applications: Caulk is commonly used for exterior repairs and sealing, as it provides a protective barrier against moisture, drafts, and pests.
- Flexible sealing: When you need a sealant that can flex and move with the surrounding materials, caulk is the appropriate choice.
Use Wood Filler:
- Filling holes and voids: Wood filler is specifically designed for filling holes, voids, and damaged areas in wood surfaces, such as nail holes, cracks, or gouges.
- Smoothing and repairing: Wood filler is used to create a smooth, even surface on wood, preparing it for painting, staining, or finishing. It helps achieve a seamless appearance.
- Solid repairs: If you need a solid and rigid repair that can be sanded, painted, or stained, wood filler is the suitable option.
- Interior applications: Wood filler is typically used for interior woodworking projects, furniture repairs, and other indoor applications where a durable, paintable finish is desired.
How to Make Wood Filler With Sawdust
Did you know you can make wood filler with sawdust? If you’re caught in a moment when you’re out of wood filler, this DIY wood filler can totally save the day.
Materials you’ll need:
- Fine sawdust: Collect sawdust from sanding or cutting wood. Ensure it is dry and free from debris or contaminants.
- Wood glue: Choose a high-quality wood glue that dries clear and has a strong bond.
- Mixing container: Use a clean container for mixing the sawdust and wood glue.
- Mixing tool: A putty knife or a small spatula can be used for mixing.
Step-by-step process:
- Collect and prepare sawdust: Gather fine sawdust from sanding or cutting wood. Ensure it is clean, dry, and free from any paint or finish.
- Mix sawdust and wood glue: In a mixing container, combine the sawdust and wood glue. Start with a small amount of sawdust and gradually add the wood glue until you achieve a thick, paste-like consistency.
- Mix thoroughly: Use a mixing tool, such as a putty knife or a small spatula, to thoroughly mix the sawdust and wood glue. Make sure all the sawdust is coated with the glue, and there are no dry patches.
- Adjust consistency: Depending on your project and the size of the holes or gaps you’re filling, you can adjust the consistency of the wood filler. If it’s too dry, add more wood glue. If it’s too wet, add more sawdust until you reach the desired consistency.
- Let it sit: Allow the wood filler mixture to sit for a few minutes to let the sawdust absorb the wood glue and achieve a more uniform texture.
- Apply the wood filler: Use a putty knife or a similar tool to apply the homemade wood filler to the holes, cracks, or gaps you’re filling. Press the filler firmly into the damaged area, ensuring it is level with the surrounding surface.
- Remove excess filler: Immediately after applying the wood filler, use the putty knife to scrape off any excess filler from the surface. This will help achieve a smooth and even finish.
- Let it dry: Allow the wood filler to dry and cure according to the drying time specified by the wood glue manufacturer. This can range from a few hours to overnight, depending on the brand and type of wood glue used.
- Sand and finish: Once the wood filler has dried completely, use sandpaper to sand it down until it is flush with the surrounding wood surface. Finish the repaired area by staining, painting, or applying a protective finish as desired.
This DIY wood filler works great if I’m caught in a bind. I have found it does not stain well, so avoid using it if you plan to stain. But if you’re doing to paint, this is a great option!
Wood Glue vs Wood Filler
Are you wondering about the difference between wood Glue vs wood Filler? Wood glue and wood filler are both commonly used in woodworking projects, but they serve totally different purposes and have distinct properties. Here’s a quick look at the basics of both wood glue and wood filler:
- Purpose: Wood glue is primarily used for bonding and joining pieces of wood together. It creates a strong, permanent bond between wood surfaces.
- Composition: Wood glue is typically made of a water-based adhesive that dries clear. It is designed to penetrate the wood fibers and create a strong bond when it dries.
- Application: Wood glue is applied between two pieces of wood that need to be joined. It is spread evenly on the surfaces to be bonded and clamped together until the glue dries.
- Strength: Wood glue creates a strong bond between wood surfaces, enhancing the structural integrity of the wood joints. It is especially useful for load-bearing or structural applications.
- Flexibility: Once dried, wood glue forms a rigid and inflexible bond. It does not have the ability to flex or move with the wood.
Wood Filler:
- Purpose: Wood filler is used for filling gaps, cracks, holes, and other imperfections in wood surfaces. It creates a smooth and even surface for painting, staining, or finishing.
- Composition: Wood filler is typically a mixture of wood fibers or sawdust combined with a binder, such as epoxy, vinyl, or cellulose. It dries and hardens to create a solid and paintable surface.
- Application: Wood filler is applied to damaged areas or holes in wood. It is pressed into the voids, smoothed with a putty knife, and allowed to dry before sanding and finishing.
- Filling and Repairing: Wood filler is used to fill voids, cracks, gouges, or other imperfections in wood surfaces. It can be shaped, sanded, painted, or stained to match the surrounding wood.
- Flexibility: Once dried and cured, wood filler becomes solid and rigid. It does not have the flexibility to accommodate movement or changes in the wood.
So when it comes to wood glue vs wood filler, wood glue is used for bonding, while wood filler is used for filling gaps. Wood glue creates strong, permanent bonds, while wood filler creates a smooth, paintable surface.
Quick Guide: Learn How to Fill Holes in Wood
Now you know everything you need to know about how to fill holes in wood!
What project are you working on? Tell me about it in the comments below!
Pin “Quick Guide: Learn How to Fill Holes in Wood” to Pinterest!