This post may contain affiliate links. I try to make my posts as helpful as possible and have great products easy for you to access. The use of these links provides me a small commission at no cost to you. As an Amazon Associate, I earn from qualifying purchases.
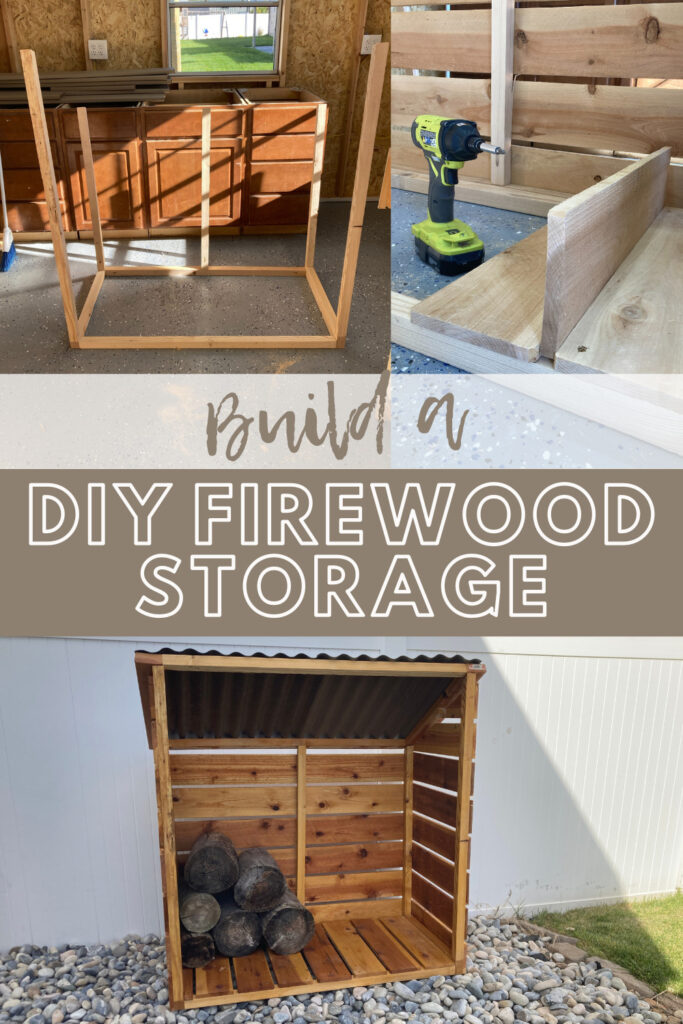
We have a little outdoor firepit in our backyard, it is one of my favorite places on our little property. But it has been slowly falling apart and messy for a while now. So I have several projects in mind to bring this space new life. The first thing I’m tackling is organizing our firewood with a DIY firewood Rack plans.
In this post, I’ll share everything I learned in the process of building my DIY outdoor firewood rack while on a tight budget.
Supplies for DIY Firewood Rack:
- 6– Pressure-treated 2x2s
- 2 1/2″ Pocket Hole Screws
- 10 – Cedar Wood Fence Pickets
- 1 – Corrugated Roof 8 ft Panel
- 1 1/2 Exterior Wood Screws
- Sheet to Wood Fasteners
- Wood Glue
- Outdoor Wood Stain and Sealer
Tools I used:
- Measuring Tape
- Miter Saw
- Pocket Hole Jig
- Impact Driver
- Drill
DIY Firewood Rack Plan Steps:
- Step 1: Make your cuts
- Step 2: Drill your pocket holes
- Step 3: Assemble frames
- Step 4: Add planks
- Step 5: Seal the wood
- Step 6: Add roof
- Step 7: Organize your firewood and enjoy!
Step 1: Make your cuts
The cedar pickets I bought had “dog ears” (angled corners). You could leave it like that, but I wanted straight edges. So I first cut a clean straight edge on each picket.
As you can see in the picture below, I clamped a 1×2 to my miter saw to create a stop. This made it just a little quicker and easier to cut a consistent length off.
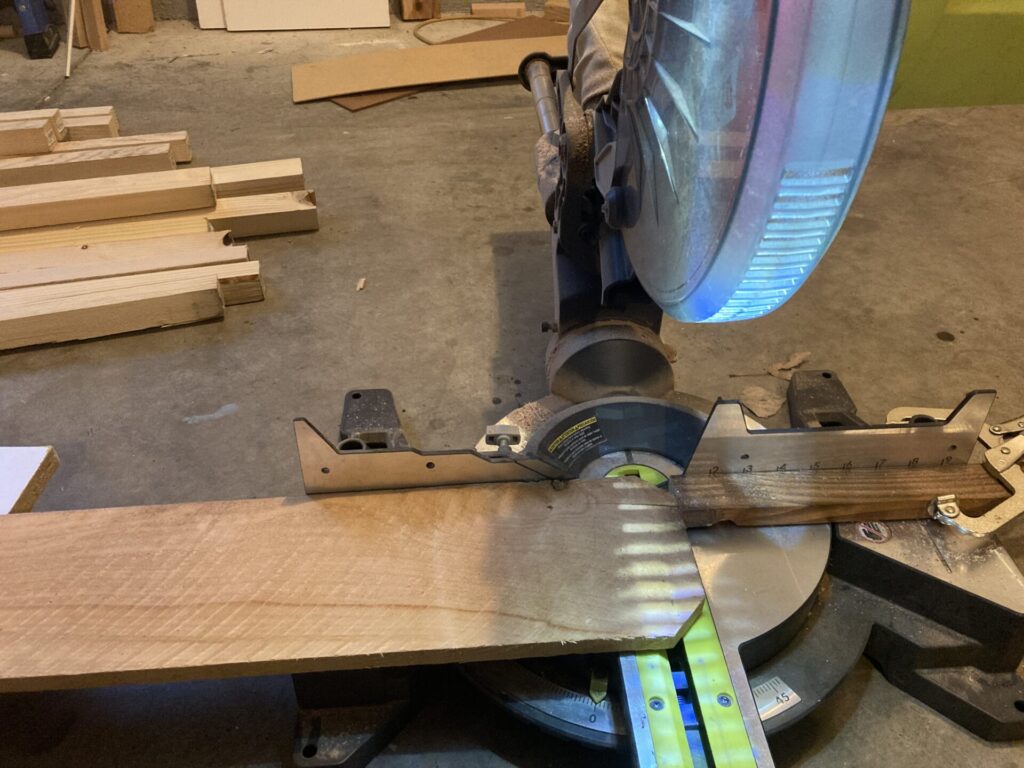
After cutting all the dog ears off, I made the rest of my cuts.
Use the list below to make your cuts. Start by making the longest cuts first.
- 2×2’s
- (4) – 44″ (base width & height width)
- (2) – 27 1/4″ (roof sides)
- (2) – 2′ (base sides)
- (2) – 3′ (front posts) – Cut one end at a 25-degree angle
- (3) – 4′ (back posts) – Cut one end at a 25-degree angle
- Cedar planks (with dog ears off)
- (6) – 45″ (back planks)
- (24) – 2′ (sides and floor)
- (4) – custom angle cuts (see step four)
- Roof
- (2) 29 1/4″
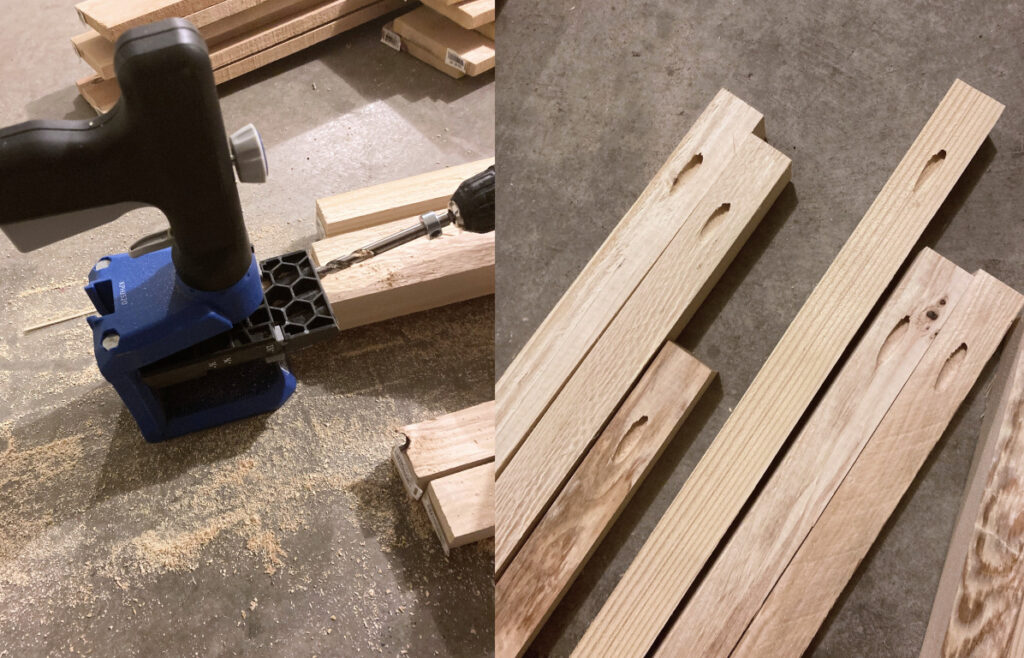
Step 2: Drill your pocket holes
Using a pocket hole jig, drill pocket holes in both ends of your 5 post pieces, and both ends of the 44″ roof and base pieces (4).
If you want more guidance on using a pocket hole jig, check out this post on How to Use a Kreg Jig to Make Perfect Pocket Holes.
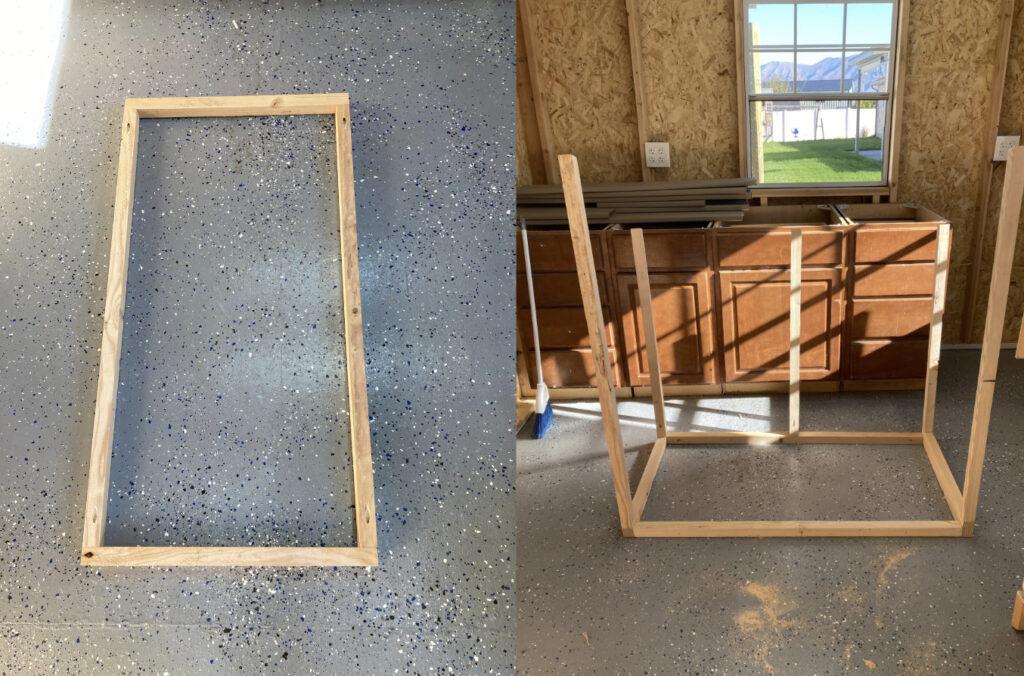
Step 3: Assemble frames of the DIY Firewood Rack
Start by assembling the top and bottom frame using pocket hole screws and wood glue.
Make sure your short pieces are on the outside of your long pieces.
Next, add the upright posts using pocket holes and wood glue. Make sure all the angles are facing the correct direction
Add wood glue to the top of each upright post and carefully place the roof frame on top. Screw together using pocket hole screws.
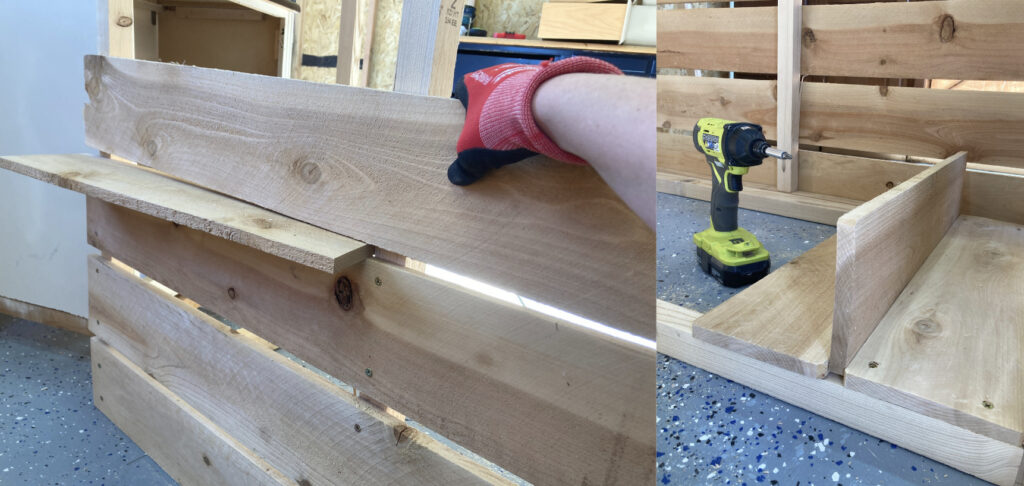
Step 4: Add planks to your DIY Firewood Rack
I used the width of the cedar planks as a spacer along the sides and floor.
You will need to need to custom cut a few corner pieces along the floor, I used my jigsaw for this.
My impact driver made this step a breeze. I love it. Check out this post if you are wanting to learn more about using an impact driver vs. a drill.
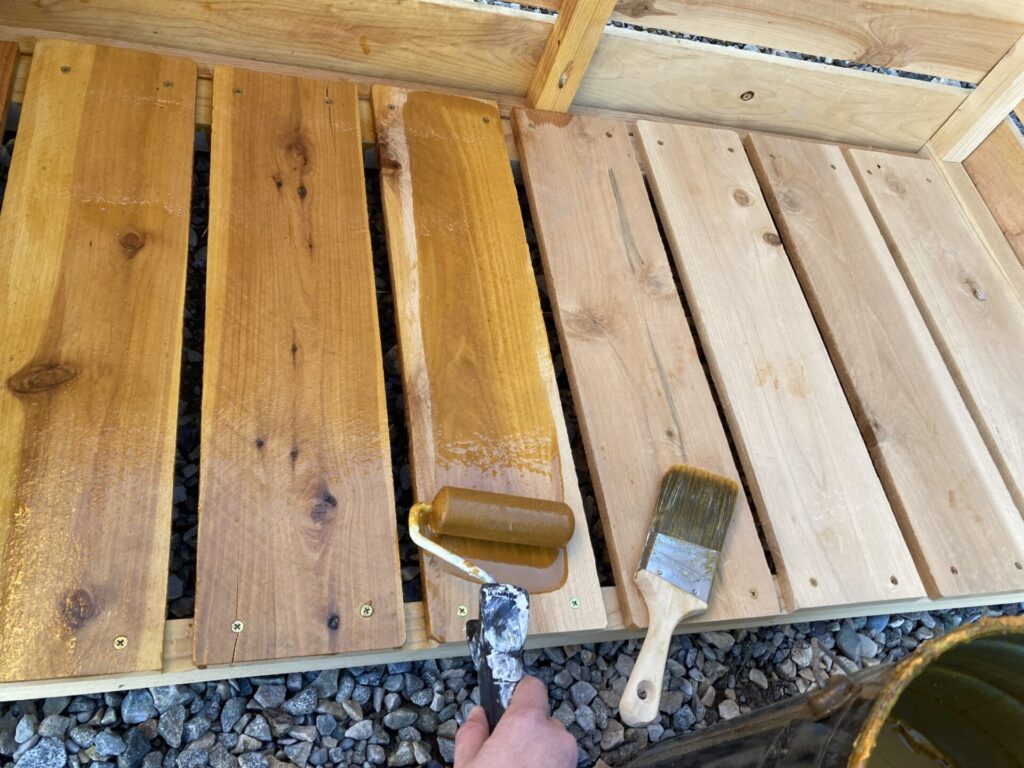
Step 5: Seal the wood
Using a brush and a roller, I applied stain and sealer.
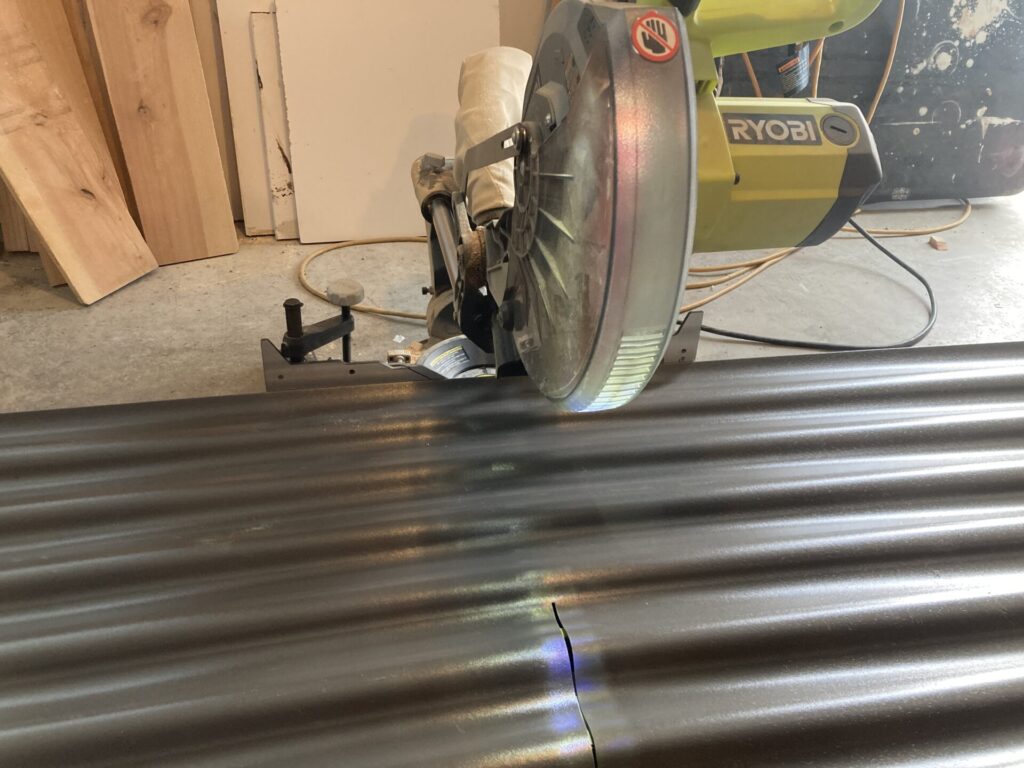
Step 6: Cut and Attach the Roof
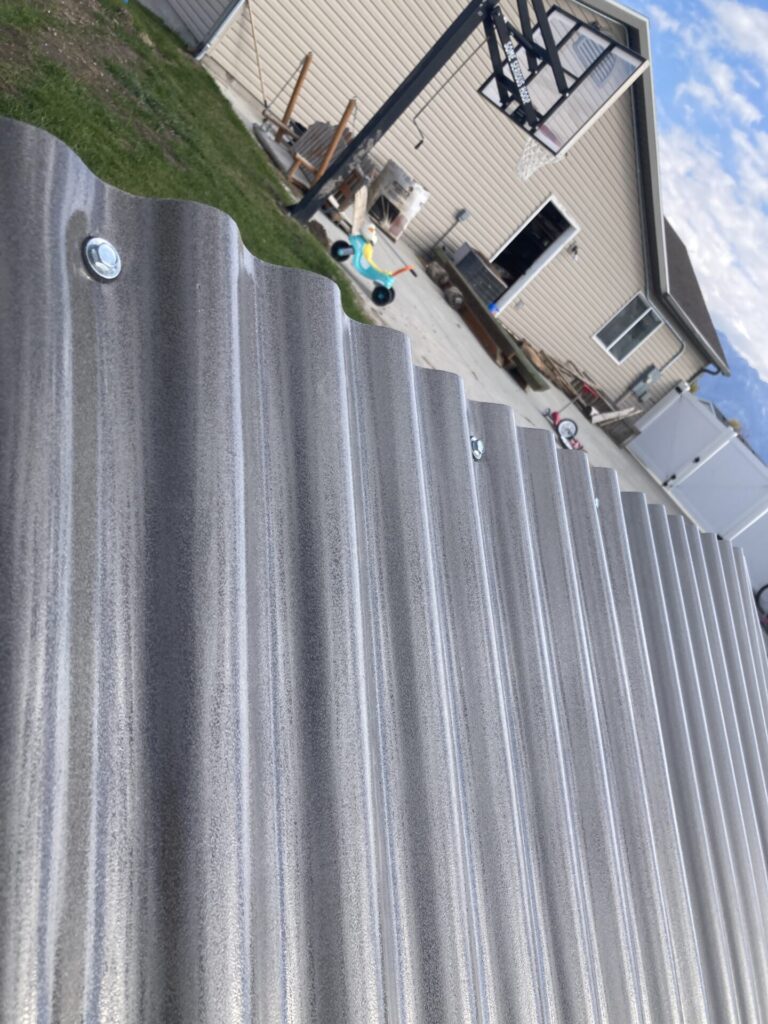
The roofing material I chose was Corrugated Foamed Polycarbonate. I liked this option because it is impact-resistant and lightweight. Hopefully, it will withstand the elements.
I used my miter saw to cut the roofing material. I was a little caught off guard when cutting it. Because of the shape/the ripples, it makes a kind of intense popping noise as it cuts through each ripple. It made me jump, which isn’t the best thing to do when using a power tool… so here’s your warning haha. But once I figured out the noise was just the material being cut and not my saw exploding, we were good to go!
Because of the depth of the panels, I had to cut one side, then flip it over and cut the other side.
You could also use a circular saw for this cut if needed!
Then I used sheet-to-wood fasteners to attach the roofing material to the frame.
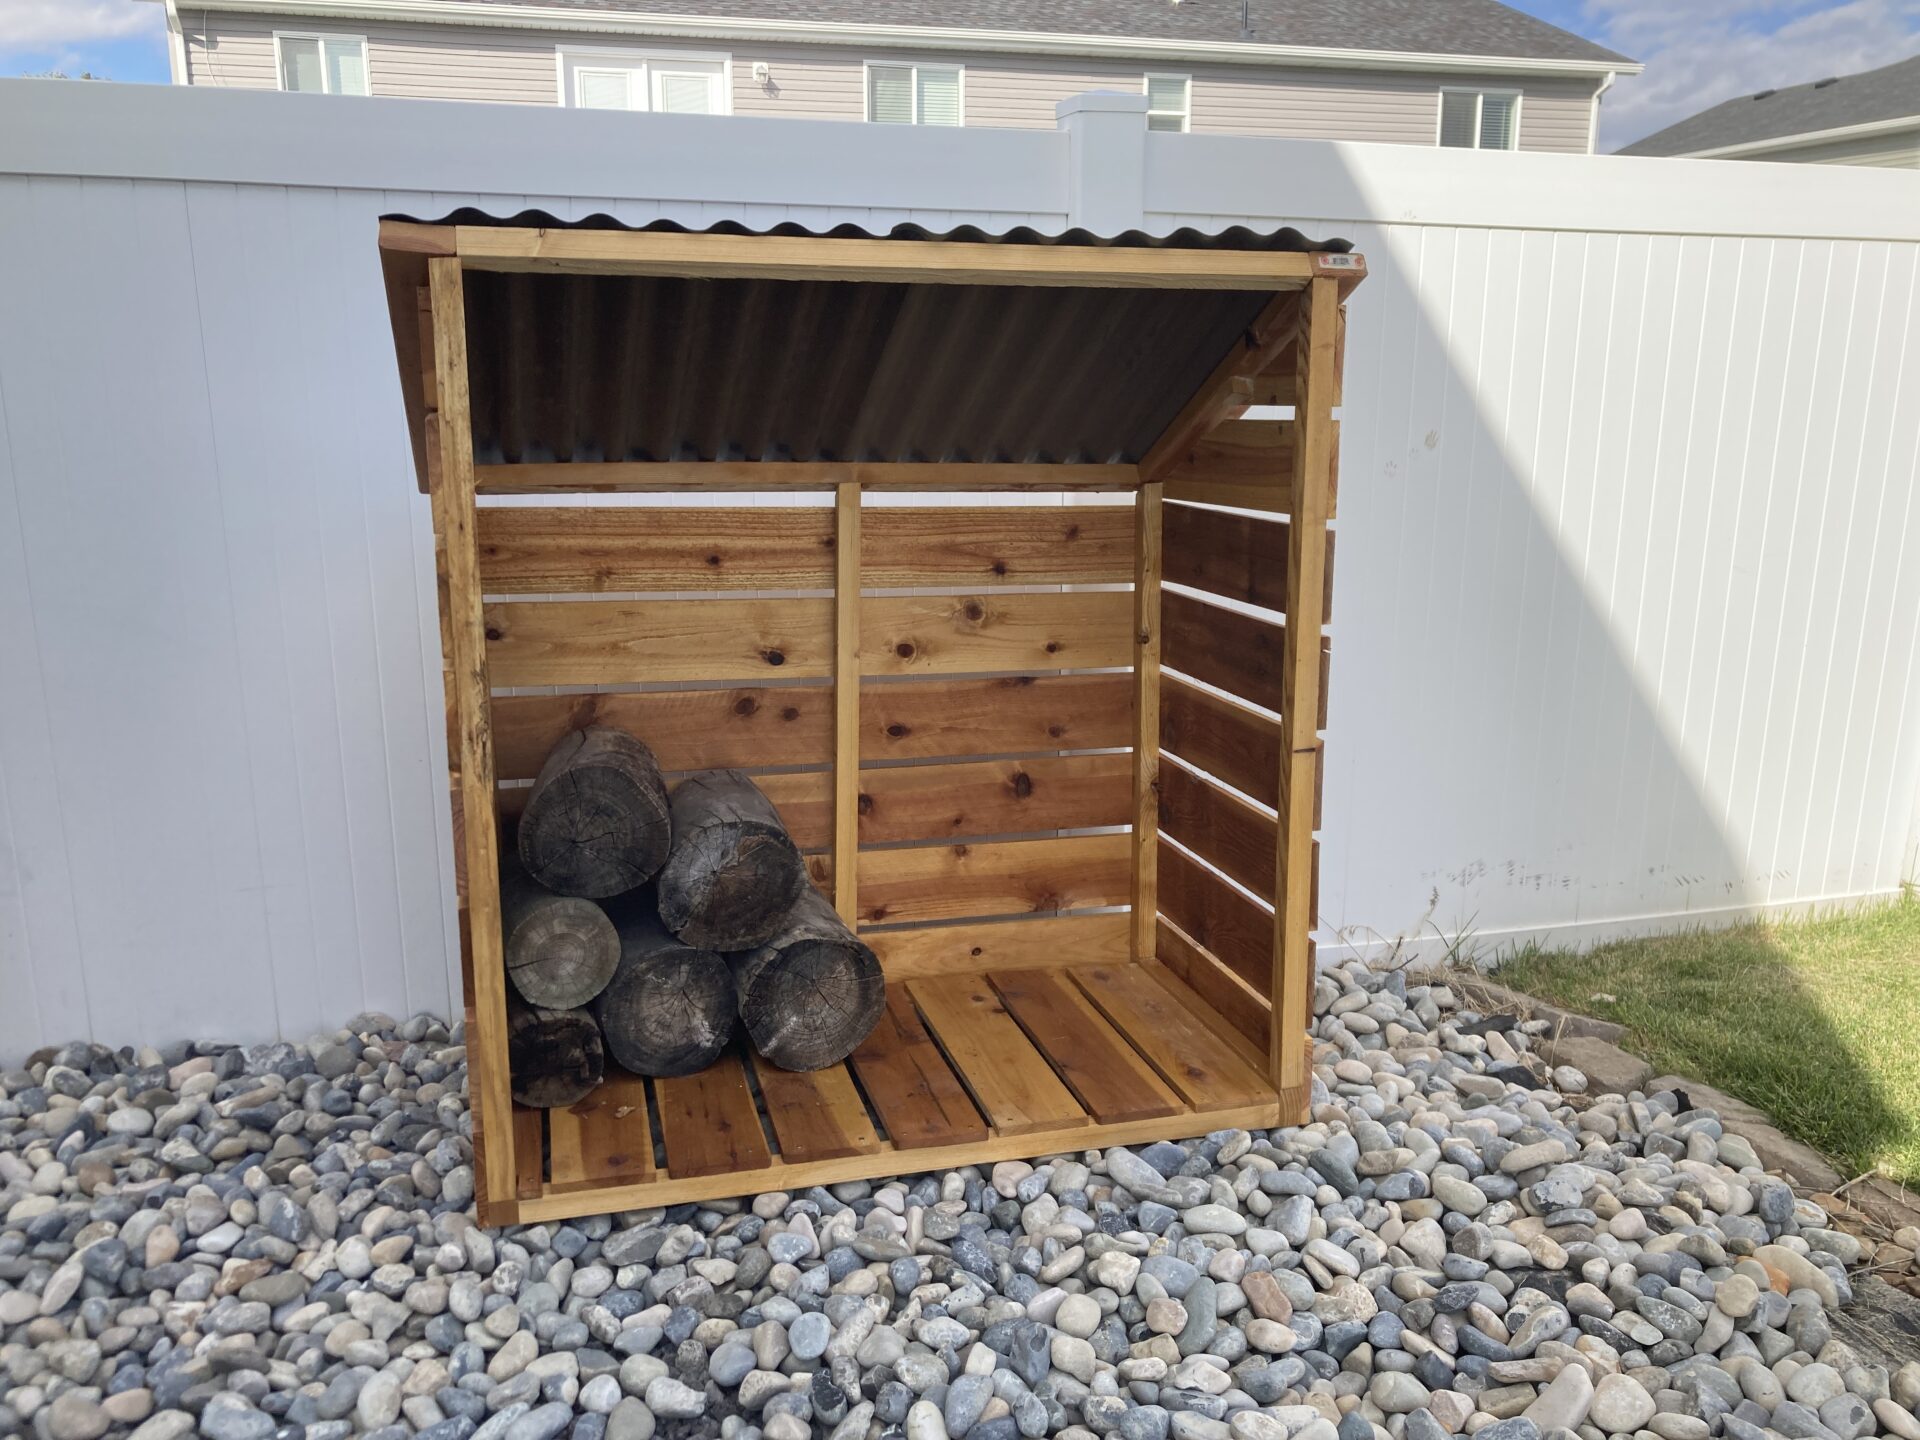
Step 7: Organize your firewood and enjoy!
I’m hoping to get at least one S’more roasting in before the snow comes!
These DIY firewood rack plans have brought some much-needed, and much-appreciated organization to our backyard firepit.
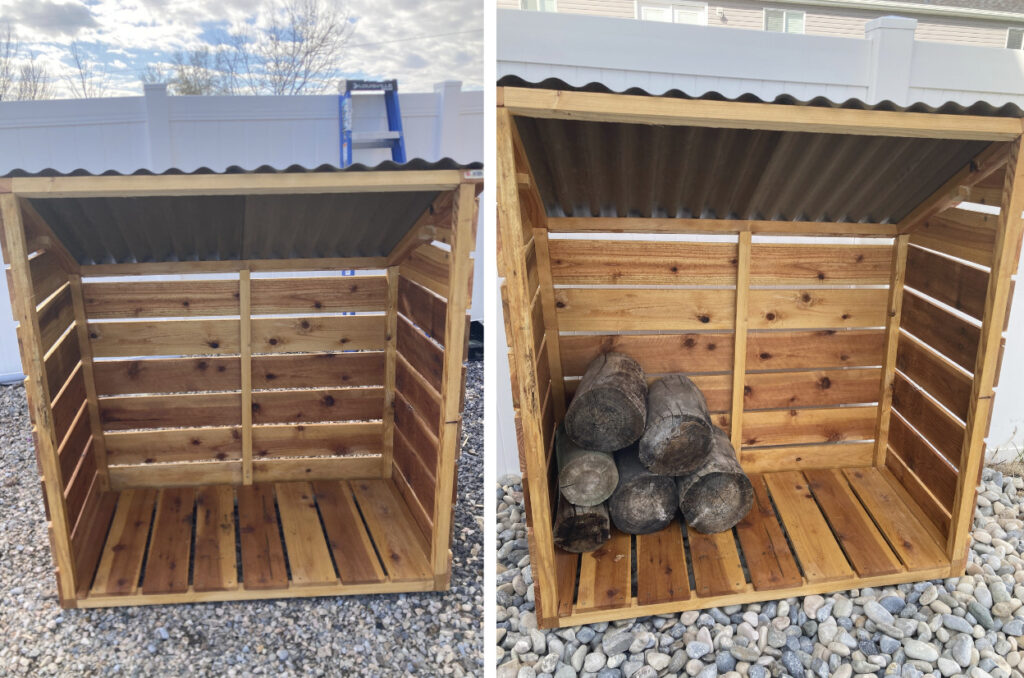
I am loving this new addition to my firepit space. Organization is so satisfying! Are you looking to build an outdoor firewood rack? I’d love to hear about your experience in the comments!
Pin DIY Firewood Rack Plans to Pinterest!