This post may contain affiliate links. I try to make my posts as helpful as possible and have great products easy for you to access. The use of these links provides me a small commission at no cost to you. As an Amazon Associate, I earn from qualifying purchases.
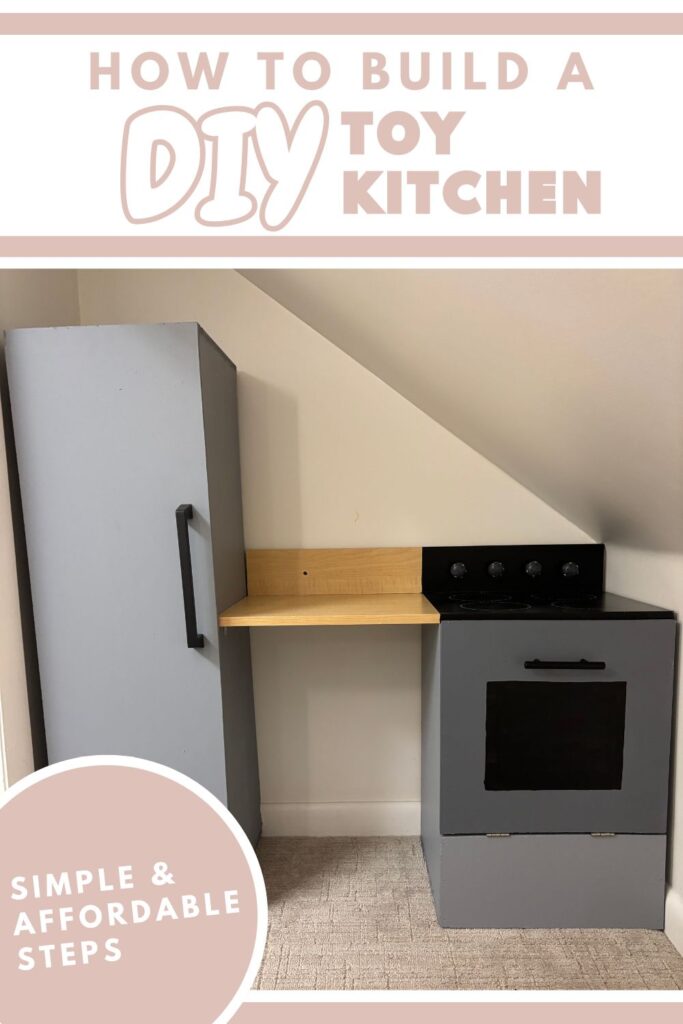
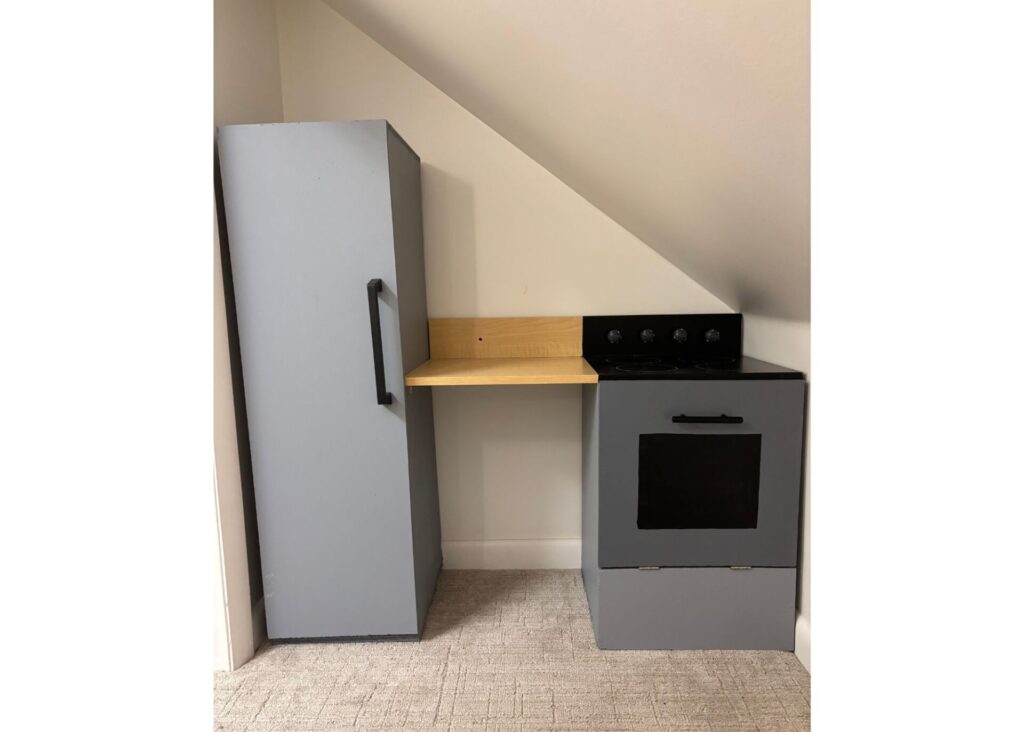
One of my very favorite ways to spend my project time is building fun things for my kids. This DIY Toy Kitchen was just the project I needed! We have a small “nook” upstairs in our playroom, I knew I wanted to turn it into a little “house”, which of course needs a kitchen! With the new year, my husband and I made some big financial goals, so there wasn’t much budget to accomplish this vision. Read this post to figure out how I was able to make this DIY Toy Kitchen for less than $25!
Included in this post:
Tools I used:
- Saw
- Brad Nailer
- Drill
- Paint sprayer -optional (I used Hychika and was not disappointed!)
Supplies I used:
- Wood glue
- Primer
- Various paint
- Hinges (4)
- Magnetic Latches
- Cabinet Hardware
- 3/4″ Plywood (see details about this in the Make Your Cuts section)
Steps to Build a DIY Toy Kitchen
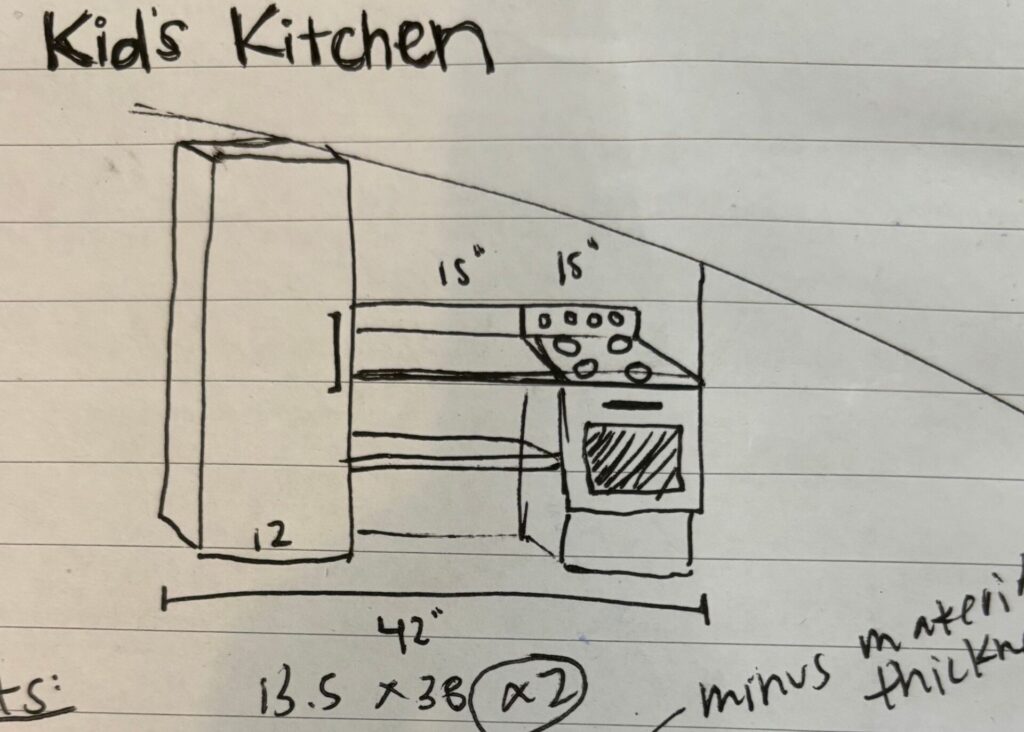
Sketch it out
My favorite way to start any project is with a sketch. It doesn’t have to be perfect – in fact I think this one was my 3rd or 4th draft. But it’s a great way to brainstorm what you want and what will fit your space.
Make Your Cuts
So, the real secret to keeping the costs of this project really low were how I sourced my plywood – I used an old bed that was falling apart. The base had a whole sheet of 3/4″ plywood, plus I was able to use some of the sides of the bed as well. Obviously this was very lucky on my part to have this bed on hand, but keep an eye on your local classified/marketplace pages and I can almost guarantee you can find something similar for extremely affordable or free. You could use a bed, book shelf, old desk, etc…
Below is a diagram of the cuts I made for this project. You can follow it exactly, or customize your own to fit your space.
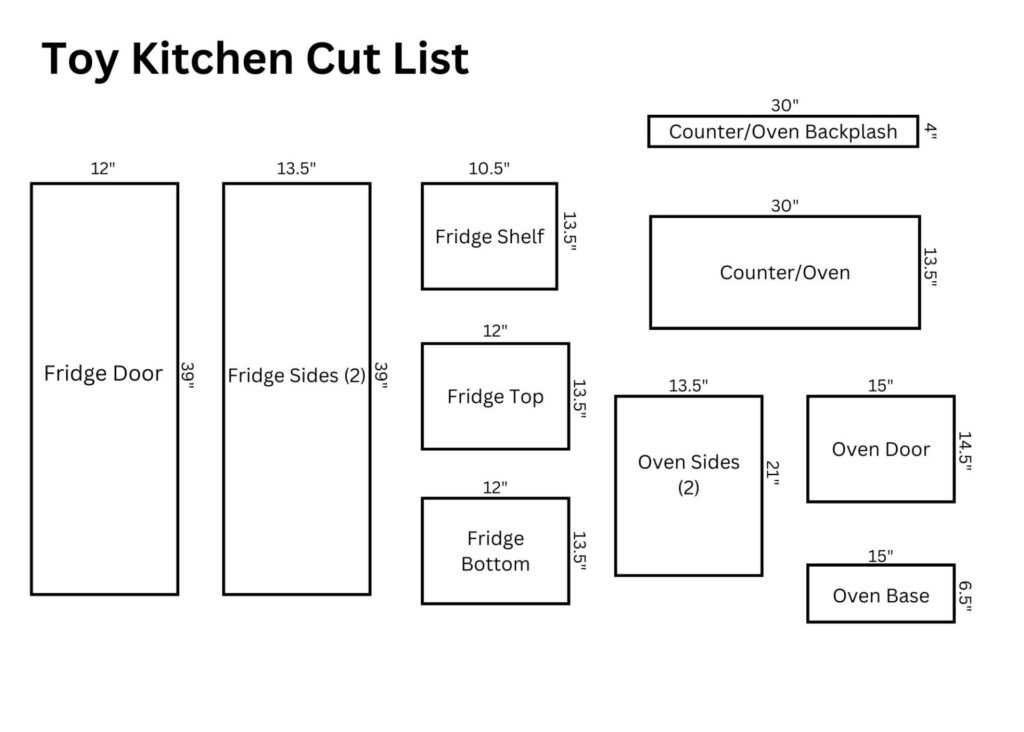
I used my Ryobi Circular Saw to make these cuts.
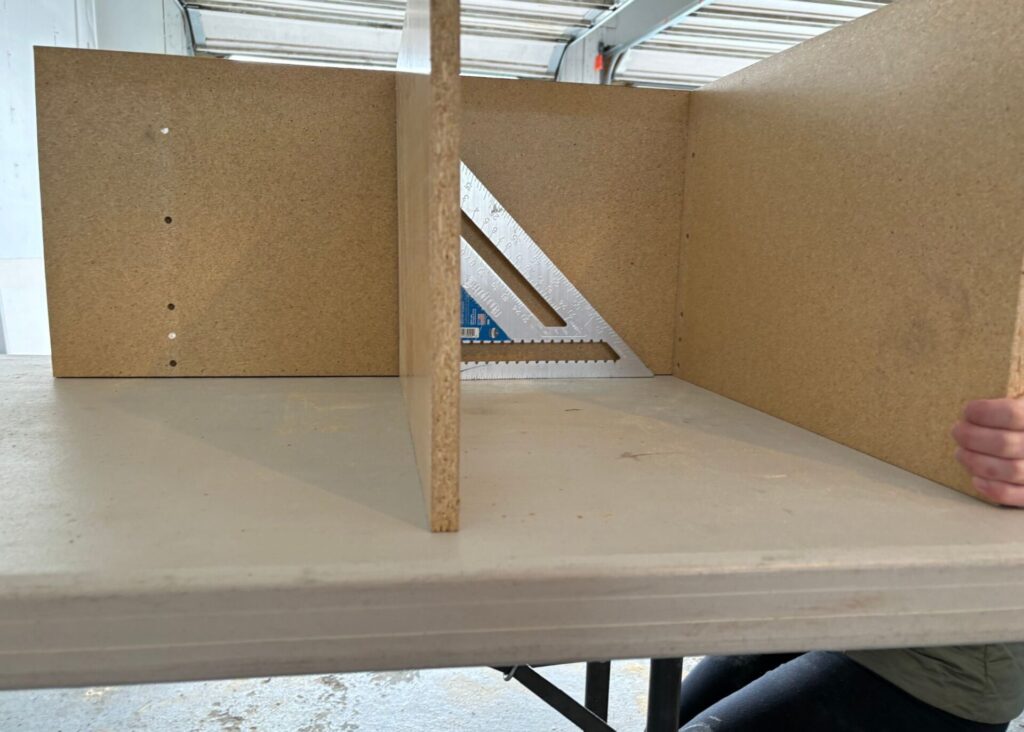
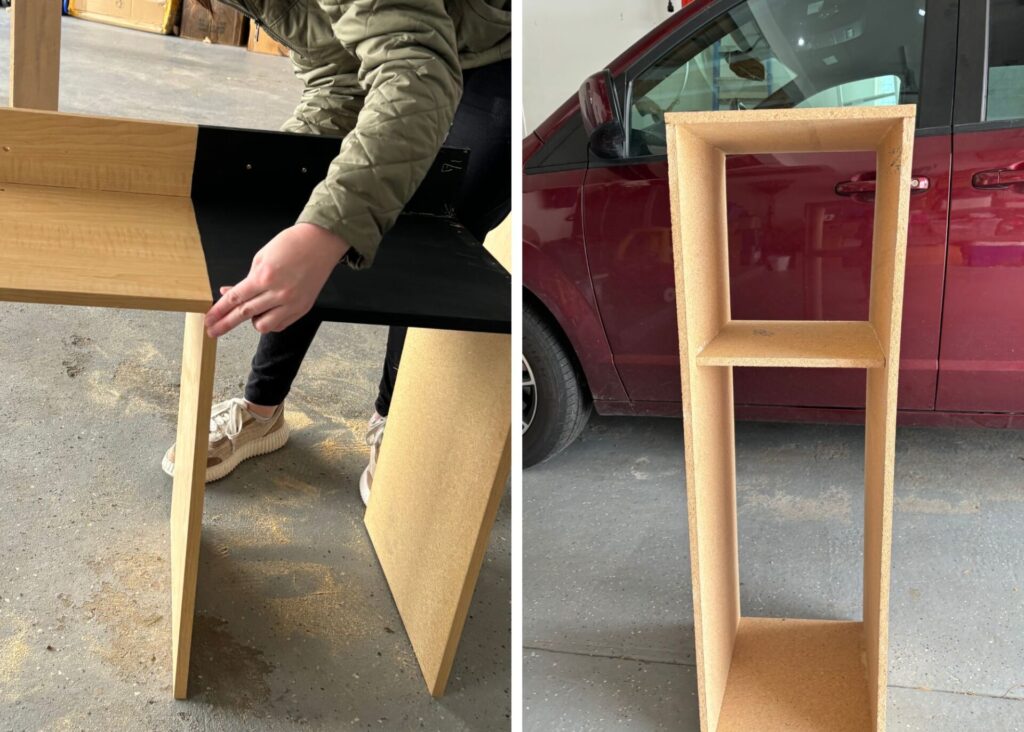
Assemble DIY Play Kitchen
This step and the next step (painting) can be a little interchangeable. Some parts I painted first then assembled, while other parts I assembled and then painted.
I used wood glue on all seams as well as my brad nailer. In areas that needed more support, I added L-shaped brackets.
Prime and Paint
A good coat of primer will make a big difference in how well the paint job looks and lasts. Since there are a lot of sides and angles to this project, I pulled out my Hychika Paint Sprayer. This is a much cheaper paint sprayer than other brands, but I wasn’t disappointed. The most important thing is to clean it out really really well once you’re done.
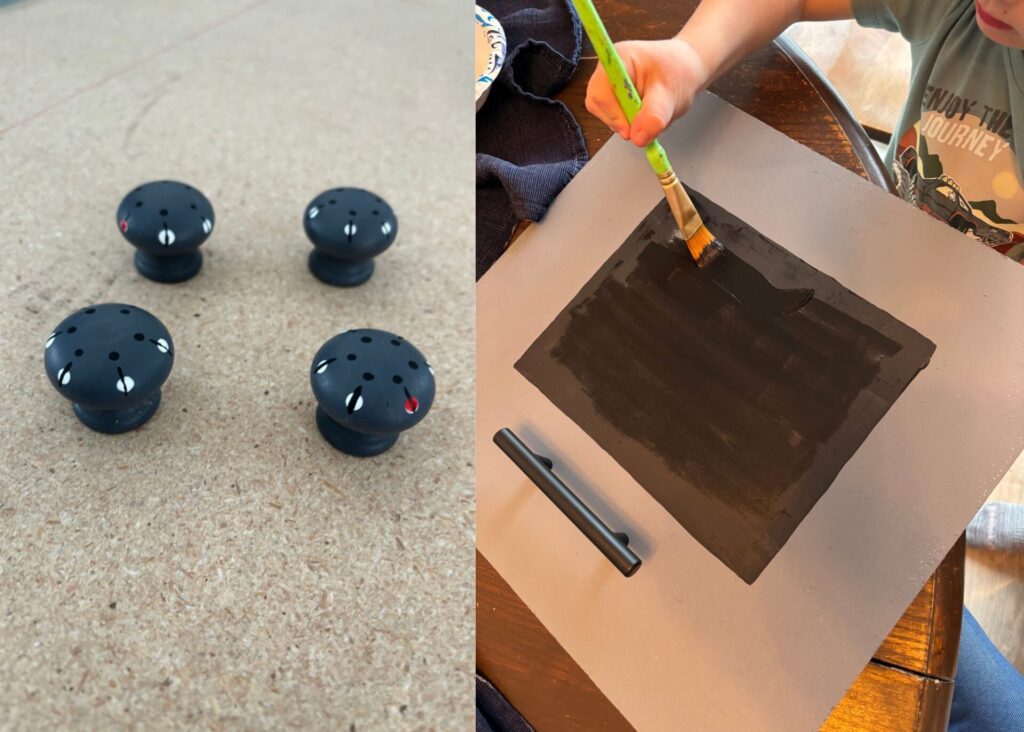
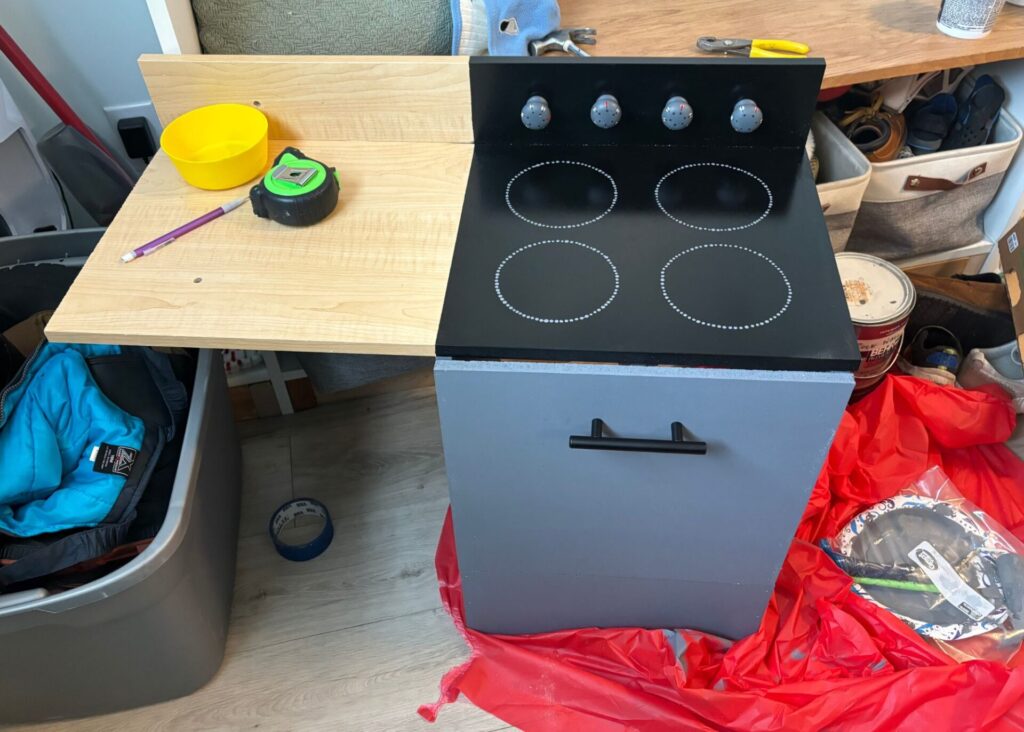
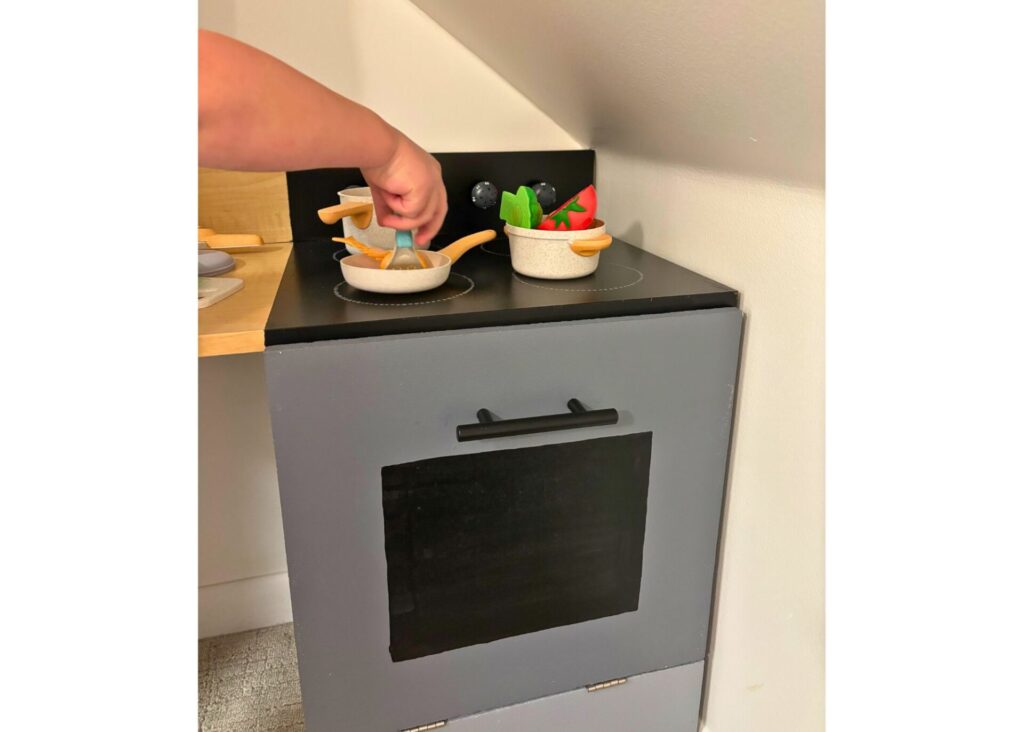
Once your primer has sufficiently dried, you can add whatever colors you’d like. I had fun painting the stove top. It took a little extra time, but I just took my time and enjoyed the process. I even tried to include my kids at certain points when I had the patience for it.
To make this step the most affordable, I just used any spare paint I could find in my garage, and it worked out!
I used old drawer knobs to make the oven knobs.
Add Hinges, Latches and Hardware
The oven door and fridge door need hinges, latches and handles.
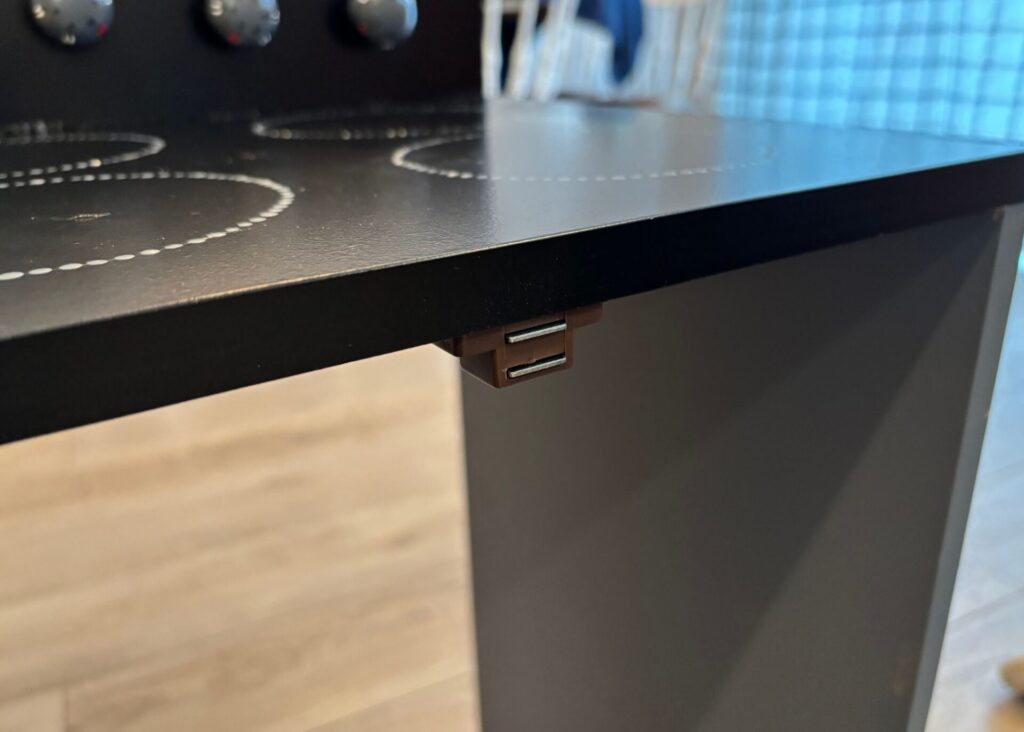
Since my material was thinner, I used these narrow 1-inch hinges on both the fridge and oven. So far they have held up great! I used two on the fridge door and two on the oven door.
I used these magnetic latches on both the fridge and oven. This helps keep the doors closed. They were quick and easy to install.
I had spare cabinet handles on hand from my dresser flipping projects, but these are some great handle options from Amazon. Again, using random things I had on hand were key in keeping project costs down. If you don’t have these random things on hand – ask your neighbors!
Seal DIY Toy Kitchen with a Top Coat
I had a can of spray top coat on hand, so I used that for the knobs, but I also used this polyurethane. I wanted this to last decades of kids playing hard on it, so multiple top coats was a must.
For tips on using and applying top coats, you can refer to our guide!
Optional: Anchor DIY Play Kitchen to the wall
I used these L-Shaped Brackets to anchor the full kitchen to the wall. With the fridge being relatively tall (compared to little kid bodies) I didn’t want it to end up falling on anyone.
Fun DIY Play Kitchen Products
What’s a toy kitchen without some fun play food, pots and pans!
I bought this kitchen set for my kids, and they have loved it.
But this toy kitchen set and this toy kitchen set are also worth considering!
Pin this DIY Toy Kitchen to Pinterest