This post may contain affiliate links. I try to make my posts as helpful as possible and have great products easy for you to access. The use of these links provides me a small commission at no cost to you. As an Amazon Associate, I earn from qualifying purchases.
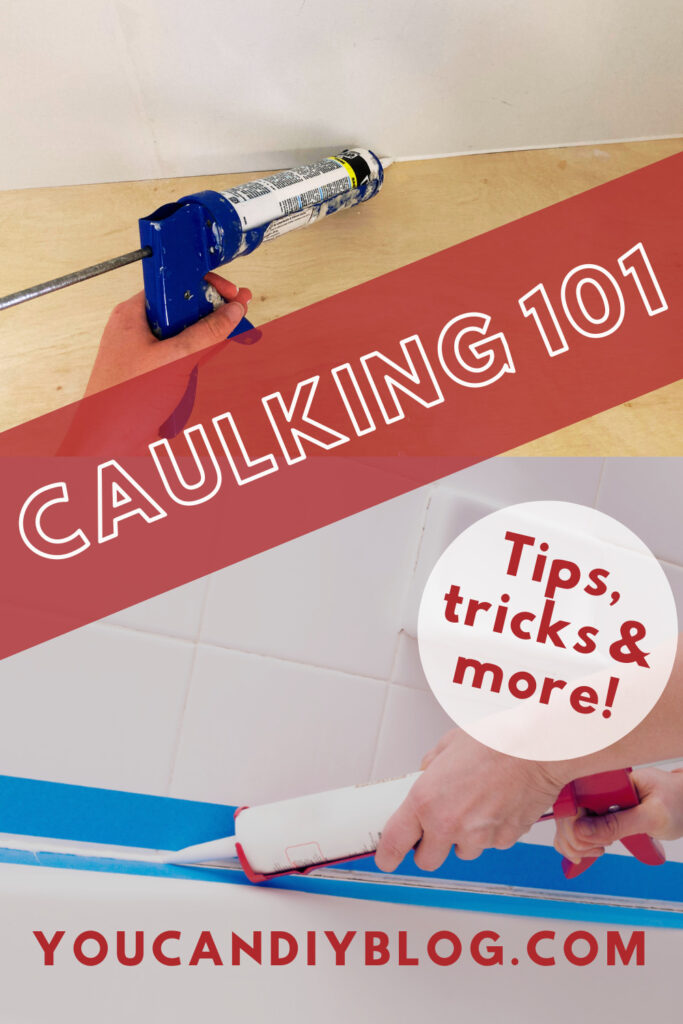
The Ultimate Caulking Guide
Caulking is a key step in a LOT of DIY projects. A quality caulking job can really make a project look beautiful and professional.
So I have gathered all the tips and tricks I could find and have learned along the way and compiled them into this post.
In this post you’ll find:
- Can You Caulk Without a Gun?
- Do You Caulk Before or After Primer?
- Can You Caulk Over Caulk?
- Best Caulk for Baseboards
- Best Caulk for Showers
- Best RV Caulking
- Caulking Hacks
Can You Caulk Without a Gun?
Can You Caulk Without a Gun? Yes! DAP has a squeezable tube of caulk that doesn’t require a caulk gun.
This is a great option for smaller projects. But for bigger projects, I’d recommend just getting a caulking gun and using regular caulking tubes. It will make for a much more efficient process!
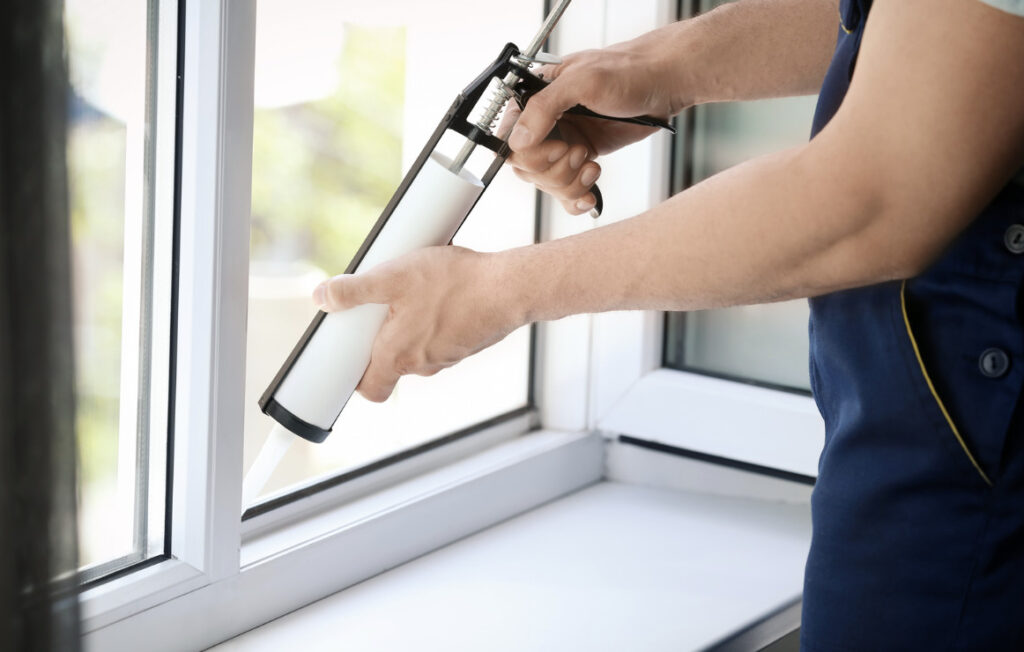
Do You Caulk Before or After Primer?
Do You Caulk Before or After Primer? Typically, you caulk after priming.
Primer helps improve the adhesion of the caulk to the surface, ensuring that it bonds securely. This is especially important on porous or uneven surfaces.
Also, primer can seal the surface and prevent moisture or other contaminants from getting underneath the caulk, which can extend the life of the caulk.
But when it comes to paint, always paint after caulking. It will let the caulk look more natural and do the job it was made to do.
Can You Caulk Over Caulk?
Can You Caulk Over Caulk? Yes, but if the existing caulk is moldy or damaged, it is best to remove it first and then apply a new layer of caulk.
When caulking over caulk, there are some important considerations to keep in mind to ensure a successful and long-lasting result:
- Clean and Prepare the Surface: Before applying new caulk over old caulk, it’s crucial to clean the surface thoroughly. Remove any dirt, dust, debris, or loose caulk. You can use a putty knife or a caulk remover tool to carefully scrape away any old, loose caulk.
- Choose the Right Caulk: Ensure that the new caulk you select is compatible with the old caulk and the surface you are working on. If you’re unsure, a silicone-based caulk is often a good choice for its flexibility and adhesion properties.
- Apply New Caulk: Apply the new caulk directly over the old caulk using a caulk gun or a caulk tube. Use a smooth, steady motion to create a uniform bead of caulk. Be sure to fill any gaps or cracks completely.
- Tool and Smooth: After applying the new caulk, use a caulking tool, your finger, or a putty knife to smooth and shape the caulk, ensuring it adheres well to both the old caulk and the surface.
- Cleanup: Wipe away any excess caulk while it’s still wet, using a damp cloth or sponge. Allow the caulk to dry according to the manufacturer’s instructions.
- Inspect and Maintain: Regularly inspect the caulked area for signs of wear or deterioration. Over time, caulk can shrink or crack, so it may need to be touched up or recaulked as needed to maintain its effectiveness.
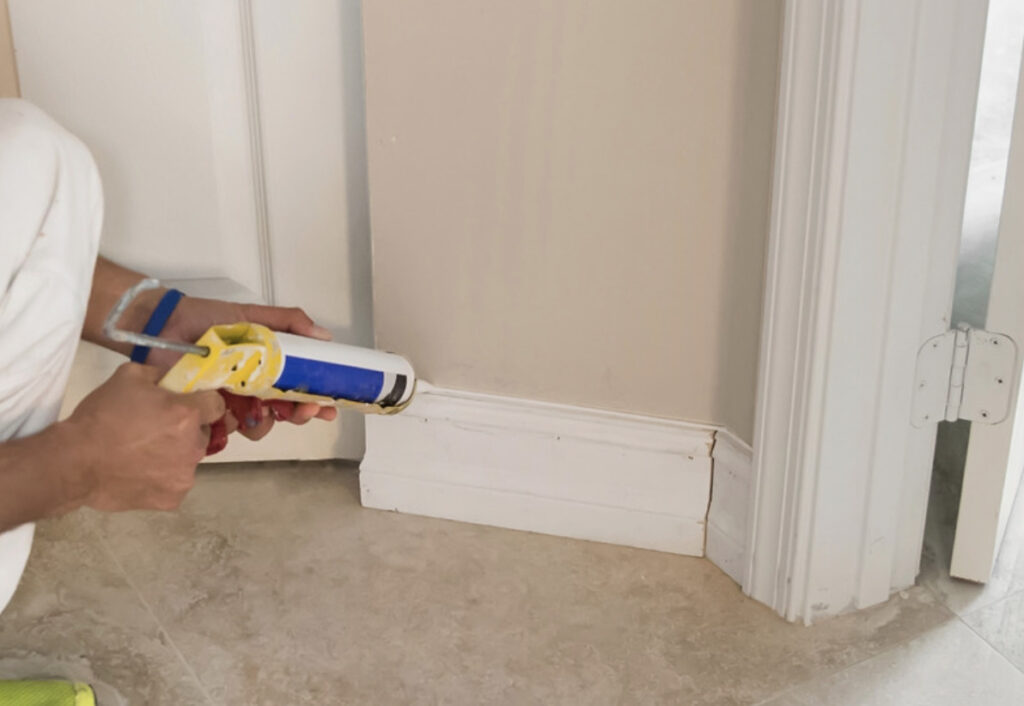
Best Caulk for Baseboards
When it comes to the Best Caulk for Baseboards, Paintable Acrylic Latex Caulk is the way to go.
Paintable Acrylic Latex Caulk is a versatile and commonly used caulk for baseboards. It’s easy to work with, dries relatively quickly, and can be painted over once it’s cured.
DAP Alex Plus Caulk is my go-to for caulking baseboards.
This caulk will also work for any kind of trim work.
I used DAP Alex Plus Caulk to caulk the trim on the picture frame moulding in my bathrooms.
Best Caulk for Showers
Choosing the best caulk for showers, and the best caulk for bathrooms in general, it is crucial to maintain a watertight seal and prevent mold and mildew growth. The ideal caulk for showers should be waterproof, flexible, and mold-resistant.
There are two good options for caulking a shower or bathtub:
100% Silicone Caulk: Silicone caulk is the top choice for shower applications. It offers excellent water resistance, flexibility, and durability. It won’t shrink or crack over time and can handle the constant moisture and temperature fluctuations in a shower. Look for a 100% silicone caulk specifically labeled as “mildew-resistant” or “mold-resistant” for added protection.
or
Siliconized Acrylic Caulk: Siliconized acrylic caulk combines the water resistance of silicone with the paintability of acrylic caulk. It’s a good choice if you want to match the caulk color to your tiles or fixtures. While it’s not as mold-resistant as 100% silicone, it still provides decent protection and is easier to work with.
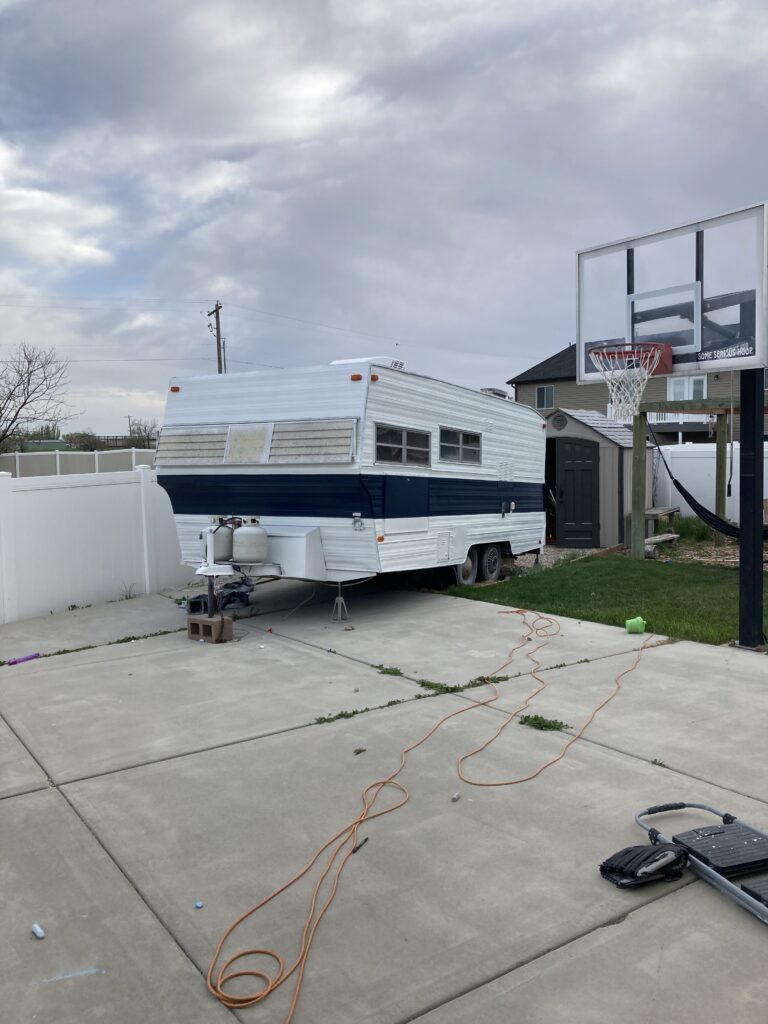
Best RV Caulking
What is the best RV caulk? Well, that answer depends on what you are caulking.
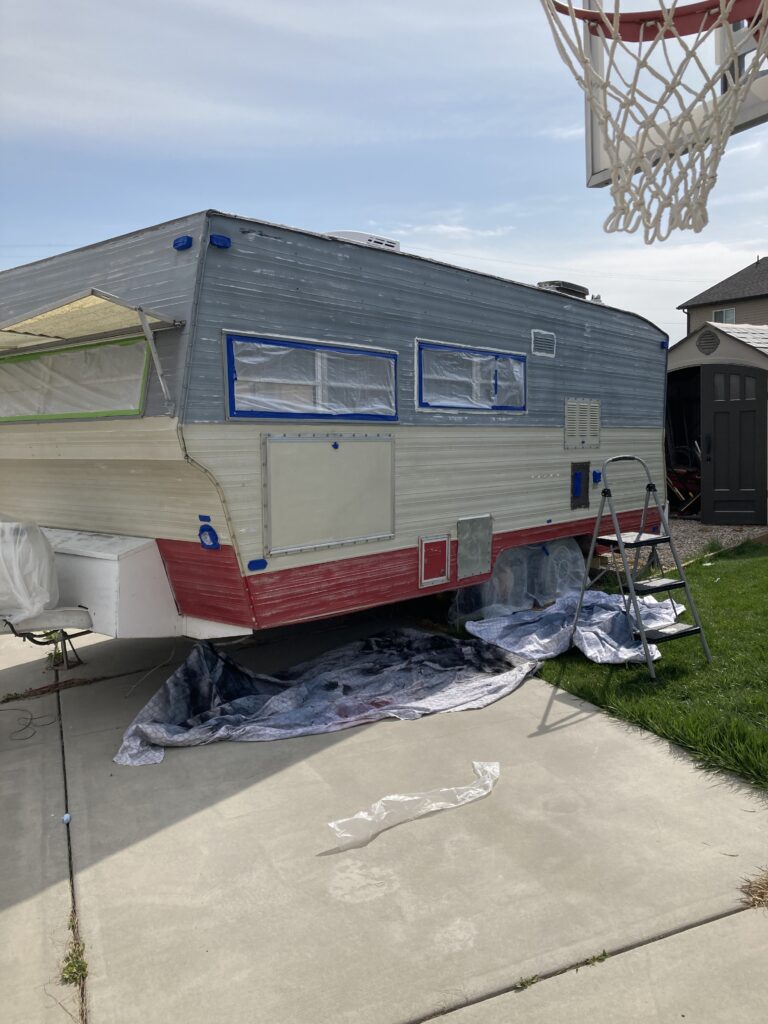
If you are caulking the exterior, Sikaflex is the way to go. When renovating my 1971 camper trailer, I picked my neighbor’s brain about what products to use. He works full-time at a trailer repair shop. He HIGHLY recommended Sikaflex to seal the exterior seams of the RV.
If you are caulking an RV bathroom or kitchen area, use a silicone-based caulk.
If you are caulking trim, baseboards, or paneling, use a paintable acrylic caulk.
Caulking Hacks
Here are a few caulking hacks to take your caulking to the next level –
Smooth the Caulk: When smoothing your caulk, wet your finger or a caulk smoothing tool with a mixture of water and a few drops of dish soap. This will help you smooth the caulk without it sticking to your finger or tool.
Keep a Wet Cloth Handy: Have a damp cloth, sponge, or baby wipes nearby to quickly wipe away excess caulk and clean up any mistakes or spills.
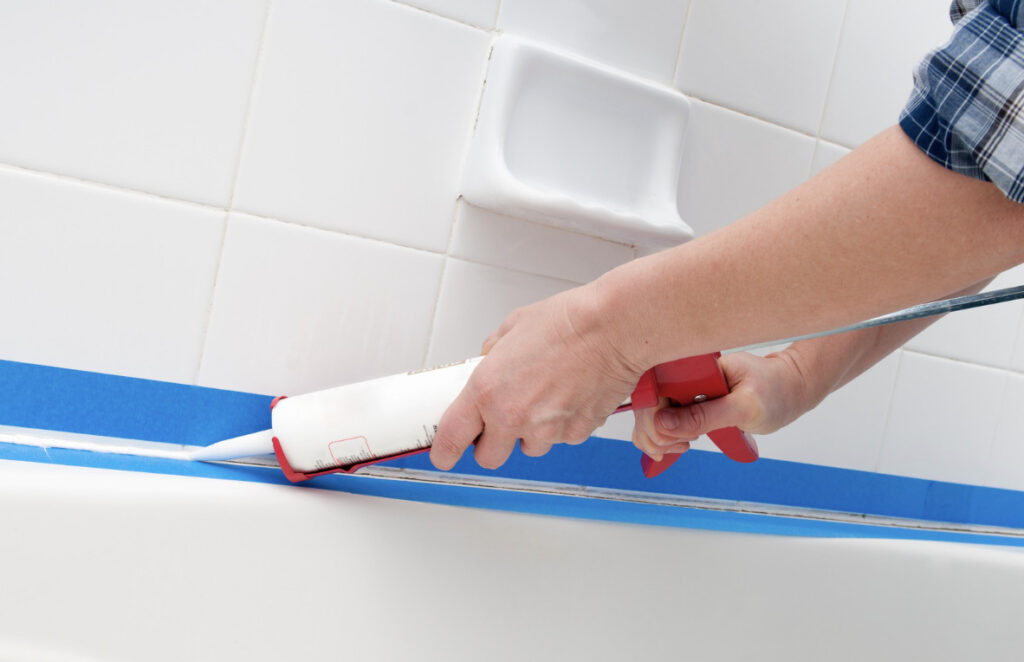
Use Painter’s Tape: Apply painter’s tape along both sides of the joint you’re caulking. This creates a clean edge and makes cleanup easier.
Caulk in One Continuous Bead: Whenever possible, try to apply the caulk in one continuous bead rather than stopping and starting. This results in a neater finish.
Remove Tape Before Caulk Dries: If you used painter’s tape, be sure to remove it before the caulk dries. This will prevent the tape from pulling off the caulk with it.
I hope you found these caulking hacks and FAQs helpful! Did I miss anything? Leave your thoughts in the comments. I’d love to hear from you!
Pin “Caulking 101: Hacks, FAQs, and Everything in Between” to Pinterest