This post may contain affiliate links. I try to make my posts as helpful as possible and have great products easy for you to access. The use of these links provides me a small commission at no cost to you. As an Amazon Associate, I earn from qualifying purchases.
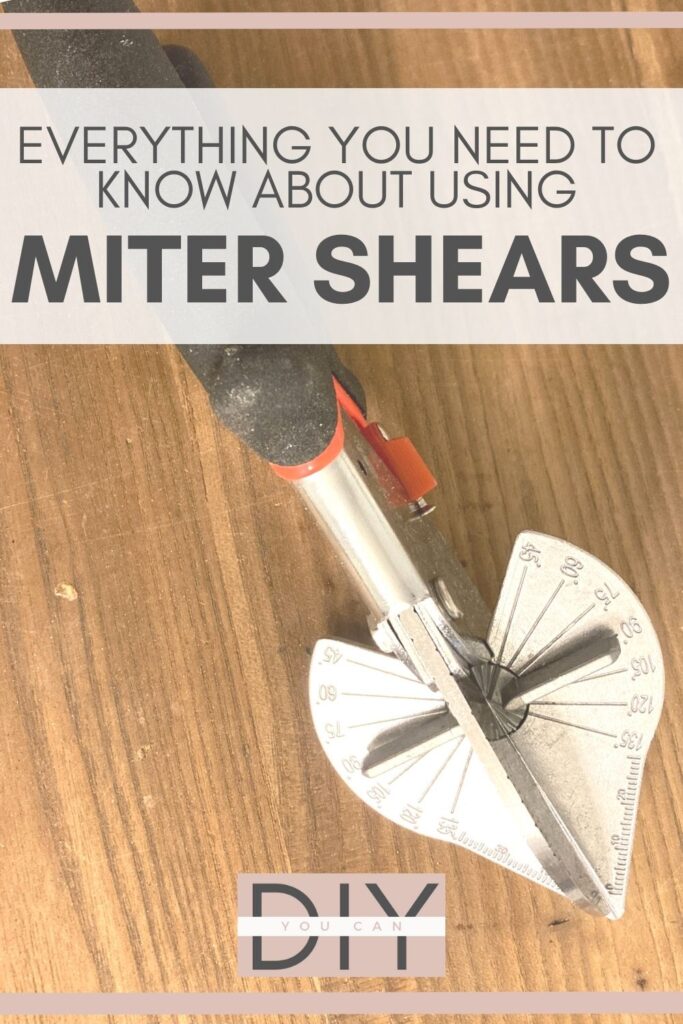
Guys. I may have found my new favorite tool. Have you heard of miter (or mitre depending on your country) shears? They are essentially glorified scissors, but they have the capacity to cut small trim work or small molding at custom angles. They are super convenient for detail work.
This post has everything you need to know about using miter shears and some project inspiration to put them to work.
Mitre Shear Basics
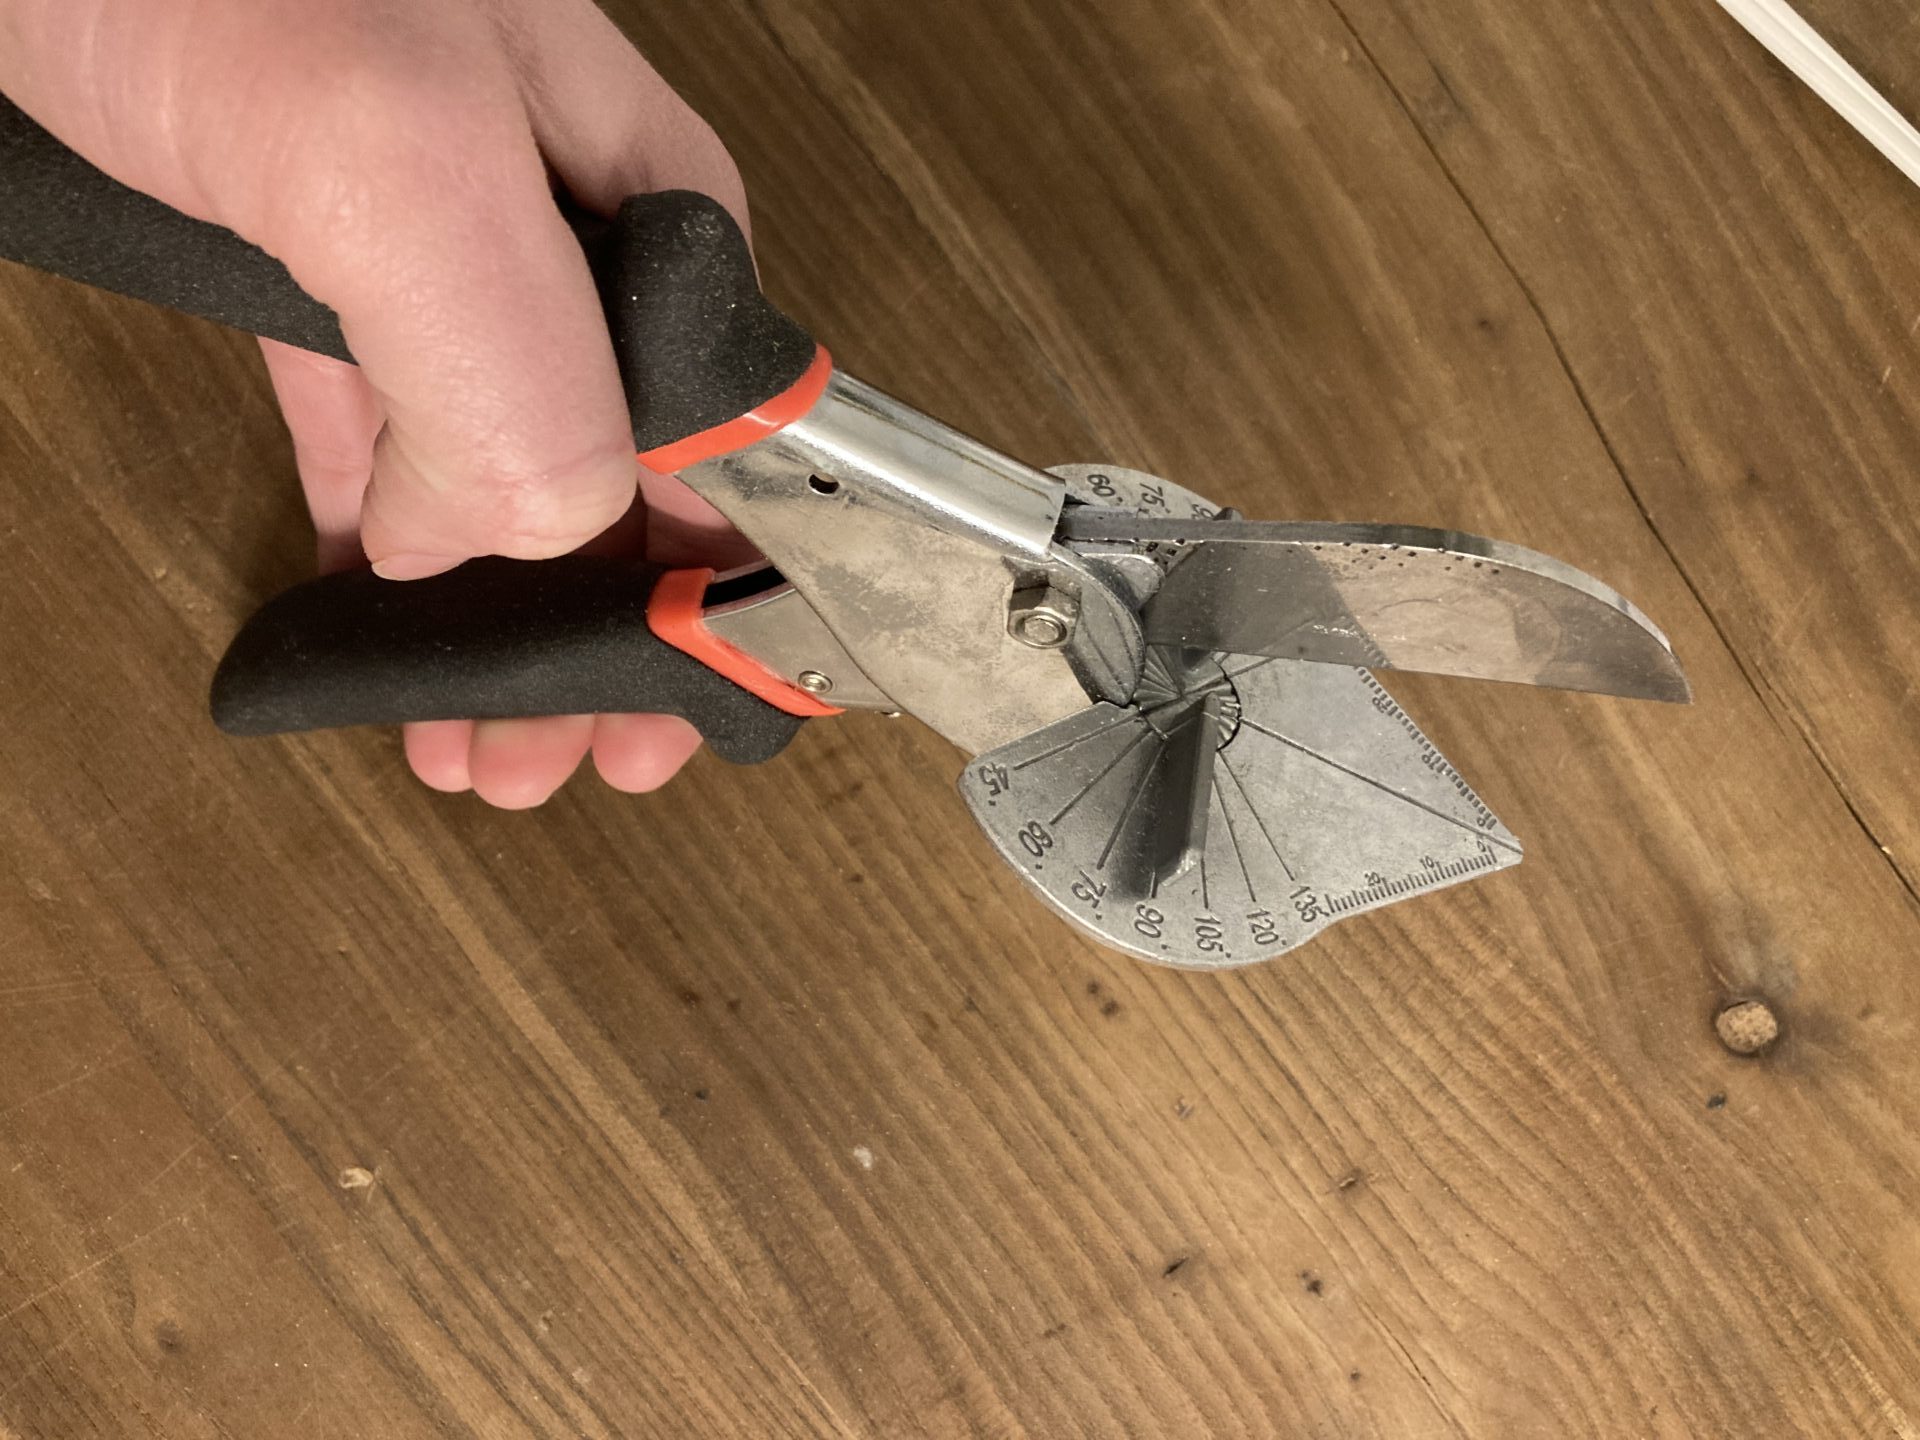
Miter shears, also known as compound miter shears, or trim cutters, cut angled or mitered joints in wood, plastic, and other materials. Unlike traditional saws or scissors, miter shears can cut through materials at an angle, allowing for a variety of cuts.
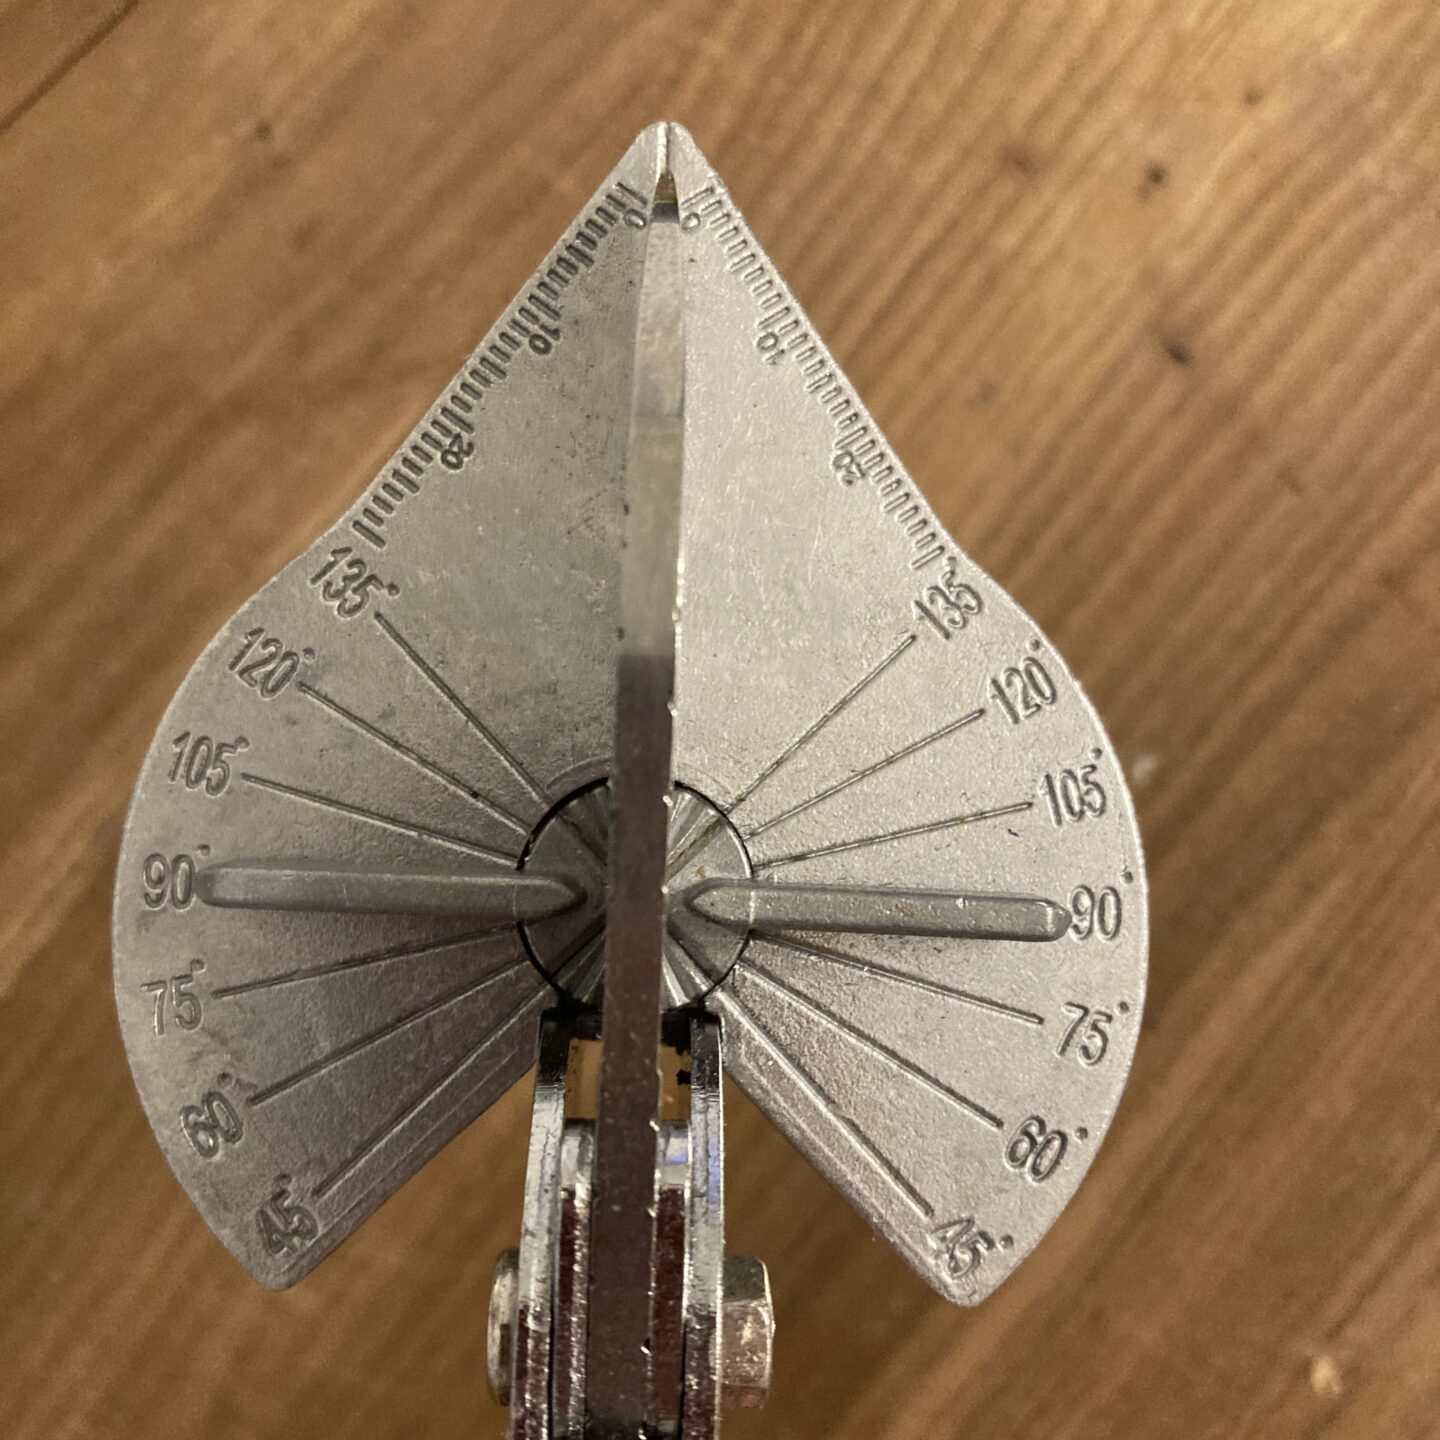
There are several miter shear options out there, but I bought these Gartol miter shears from amazon, and I really liked them!
How to Use Mitre Shears
Here are some steps to keep in mind while using your miter shears:
- Measure and mark the cut line on the material with a pencil or marker.
- Adjust the blade angle on the miter shears according to your desired cut.
- Place the material into the shears, positioning it carefully so that the cut line is aligned with the blade.
- Firmly hold the material so it doesn’t move while making your cut.
- Squeeze the handles of the shears together to make the cut.
- Release the handles and remove the cut material.
- If needed, sand the cut to smooth it out.
Now, unfortunately, miter shears don’t work for everything. I found it really difficult (nearly impossible) to cut through oak. But they cut PVC and my colonial trim moulding like butter.
You also have to be extra careful to hold your wood firm and consistent. I choose one side of the plate to really press down on, then I make sure with all my cuts to press on the same side. When I didn’t do this, I found my angles to be slightly off.
Safety Precautions:
- Always wear protective eyewear and gloves.
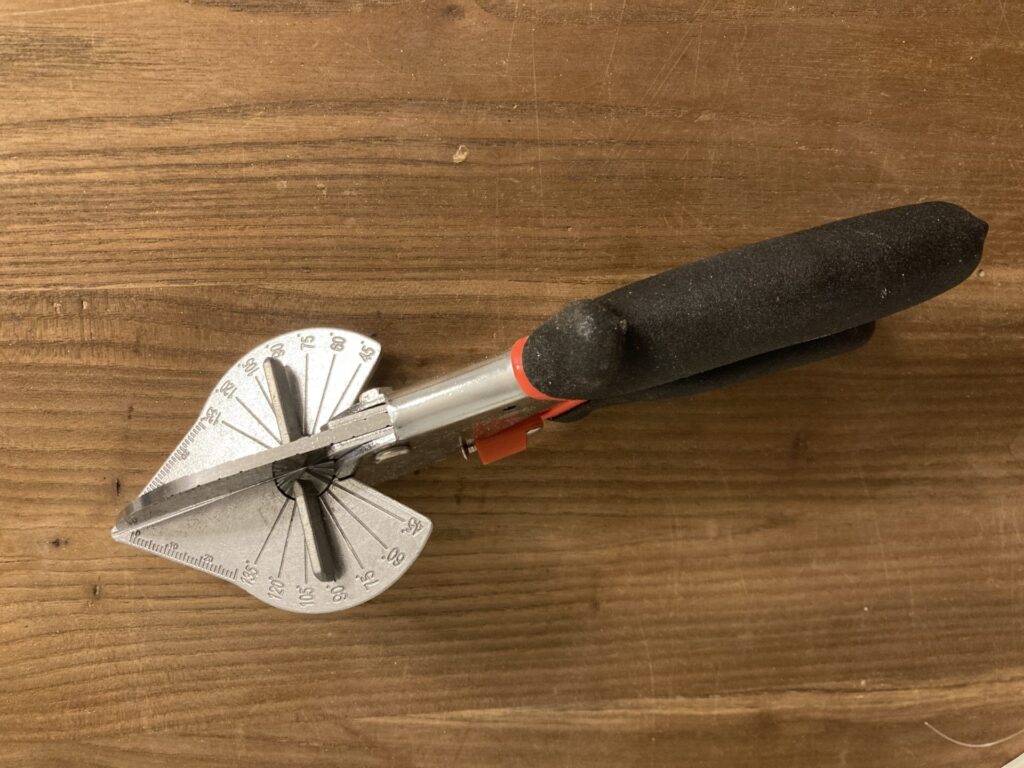
- Miter shear blades are extremely sharp, always make sure your fingers are clear of the blade.
- Make sure to keep the blade clean and sharp to ensure optimal performance. Replacing the blade as needed.
Projects You Can Do With Miter Shears
Mitre shears can be used for a variety of projects. And with the right project, miter shears will save you a significant amount of time. You can just keep your shears with you and cut as you go, rather than running back and forth between your shop/garage and your project.
Here are a few projects I used my shears for:
Picture Frame Moulding
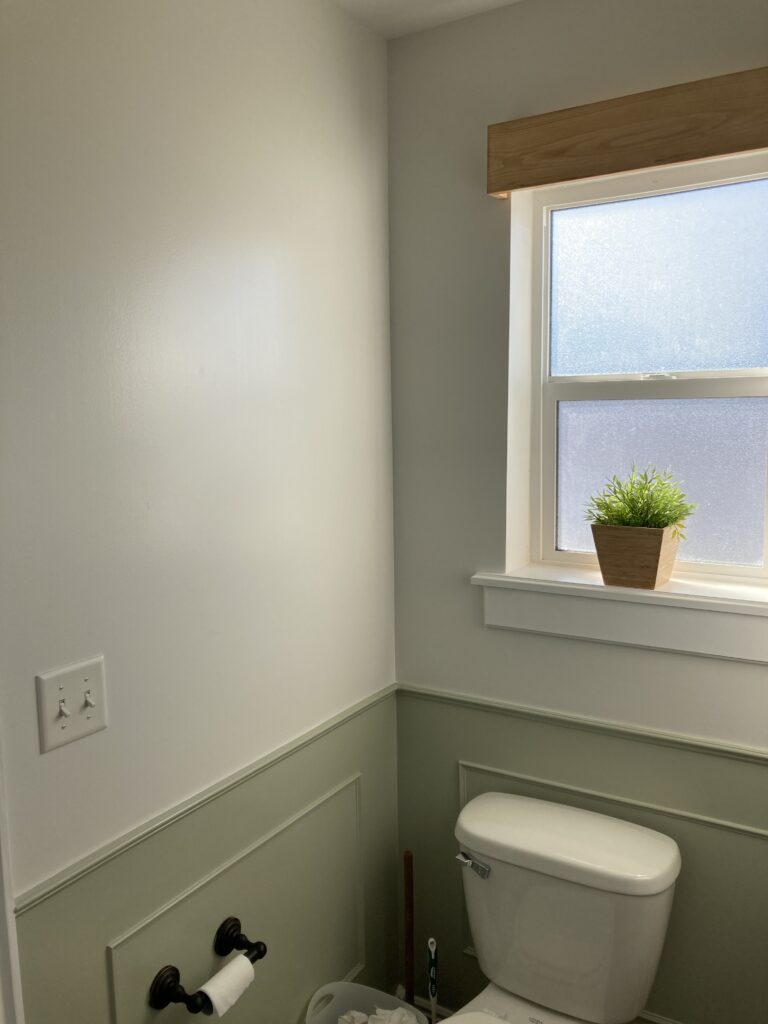
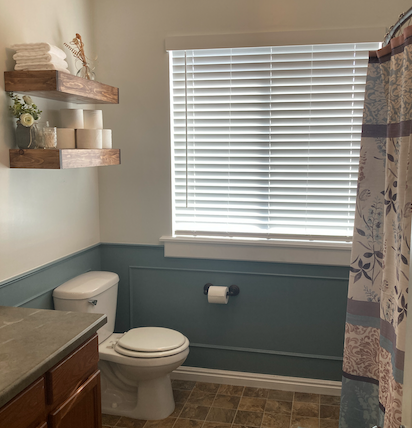
One of the first projects I used my miter shears for was installing picture frame moulding in my bathrooms. Check out the full project in this blog post. I especially loved that I could work on this project after my kids had gone down to bed without waking them up with loud power tools.

Trim Work/ Dresser Flip
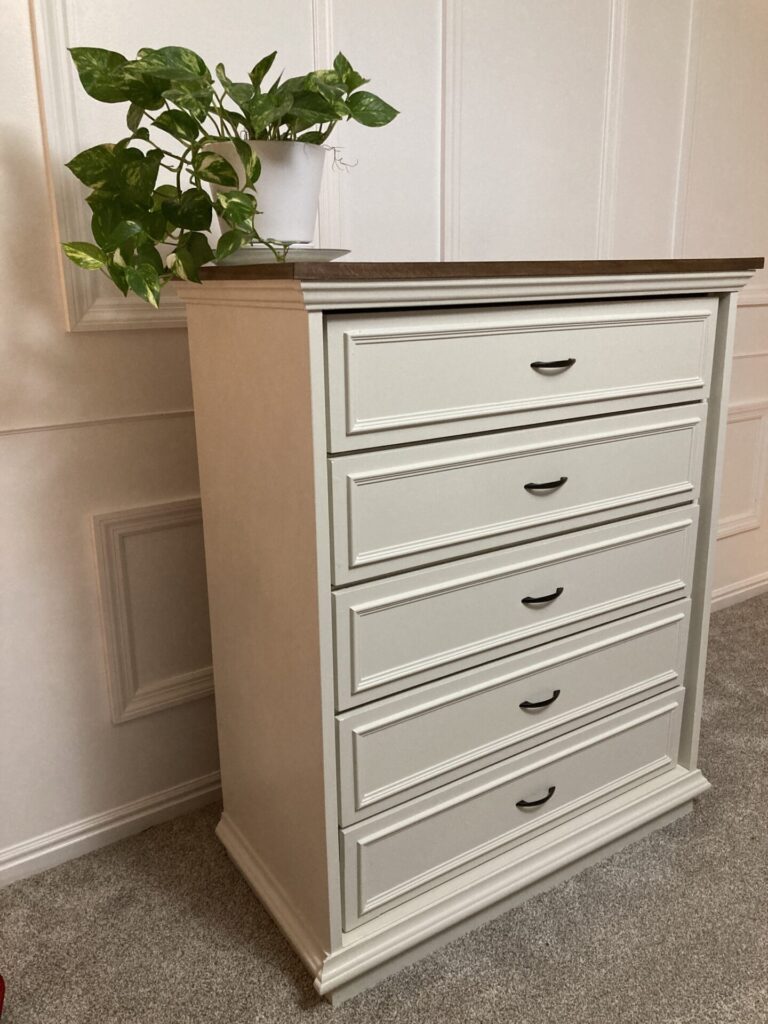
My miter shears allowed me to make a quick facelift to this dresser flip I worked on. The drawer faces were looking a little plain, so I used my miter shears to cut this trim. I love how it really took this dresser to the next level.
Shoe Moulding/Quarter Round
I used my miter saw to install quarter round on the flooring in my camper RV. It was so nice not creating a mess with my saw for this project. I could just measure, cut and install. So quick and easy!

There you have it. Everything you want to know about miter shears. Have I convinced you that you need a pair? What types of projects will you do with them? Drop them in the comments below!

