This post may contain affiliate links. I try to make my posts as helpful as possible and have great products easy for you to access. The use of these links provides me a small commission at no cost to you. As an Amazon Associate, I earn from qualifying purchases.
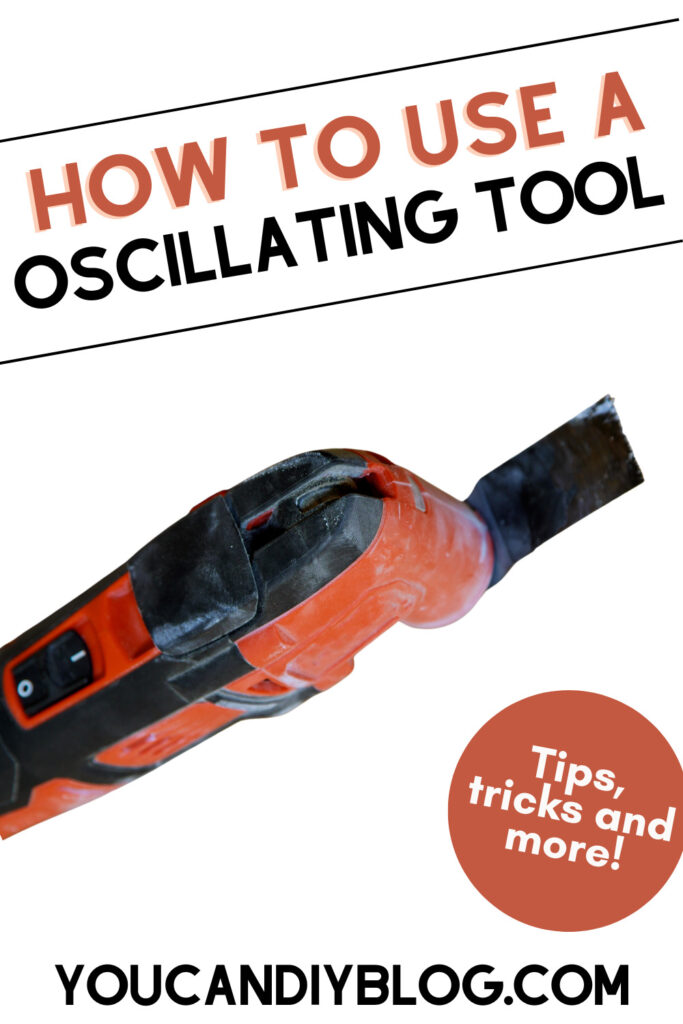
How to Use an Oscillating Tool
If you’re looking to enhance your home improvement projects with a versatile and efficient tool, then the oscillating tool (sometimes referred to as a multitool) is your new best friend. Whether you’re a seasoned DIY pro or just starting out, this comprehensive guide on how to use an oscillating tool is here to help you navigate the ins and outs of using an oscillating tool. From cutting and sanding to scraping and more, we’ll cover all the essential tips, tricks, and techniques. With the knowledge gained here, you’ll be able to tackle any project with confidence and ease.
In this post you will find:
- Oscillating Tool Uses
- Best Blades for Oscillating Tools
- How to Cut Tile With an Oscillating Tool
- Cutting Drywall with Oscillating Tool
- Best Cordless Oscillating Tool
Oscillating Tool Uses
The variety of attachments allows Oscillating tools to complete a huge variety of tasks! Here are just a few oscillating tool uses:
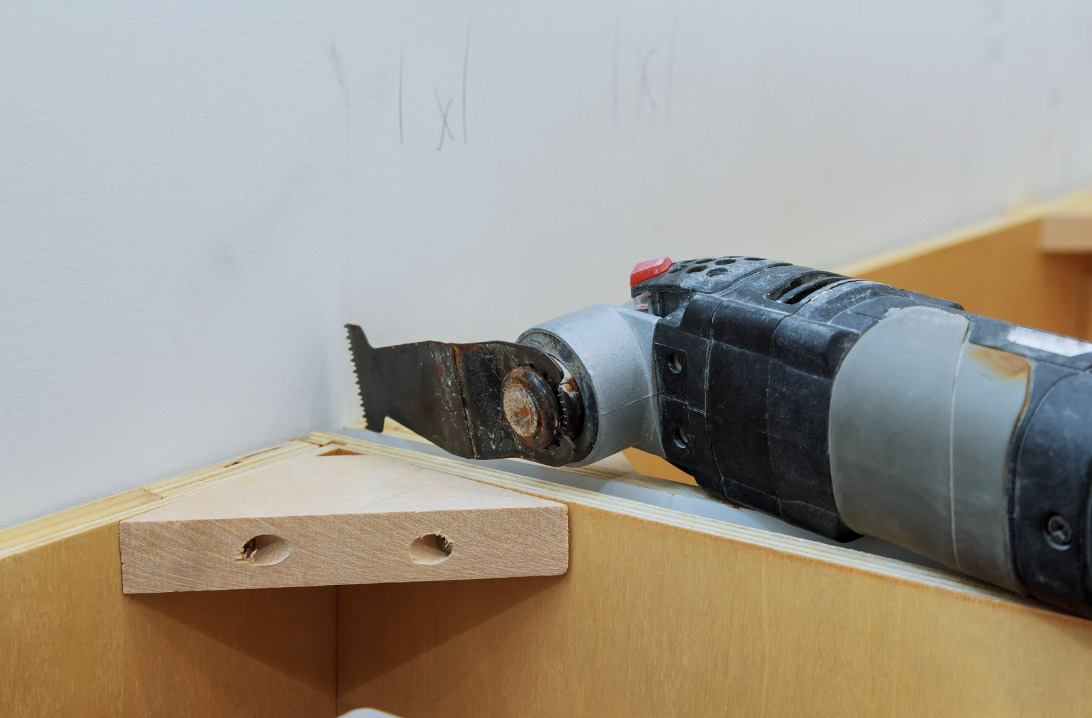
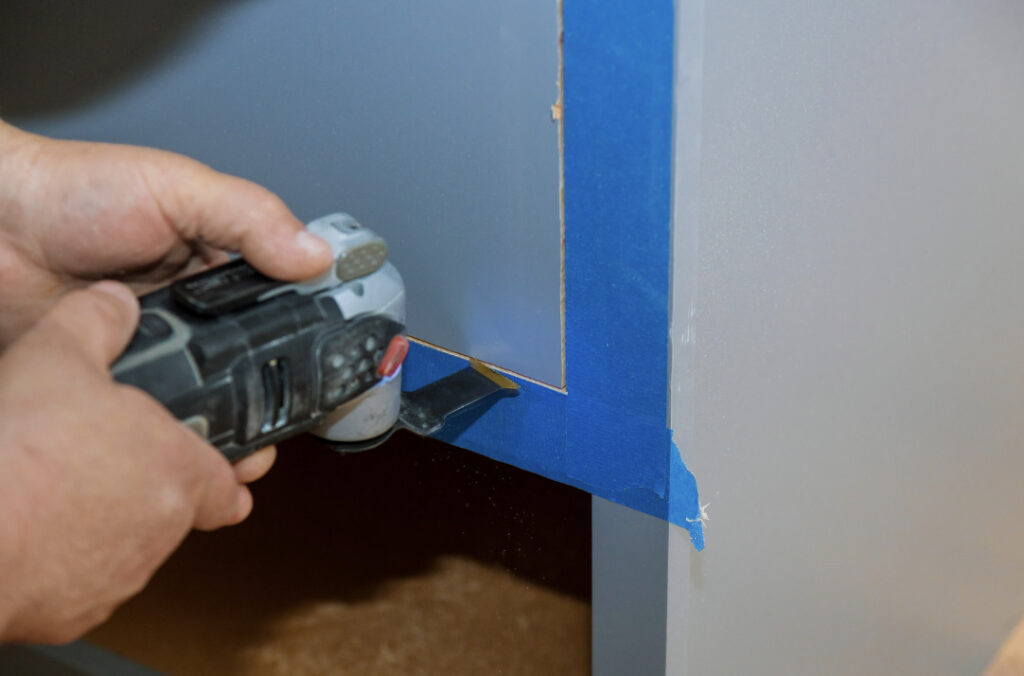
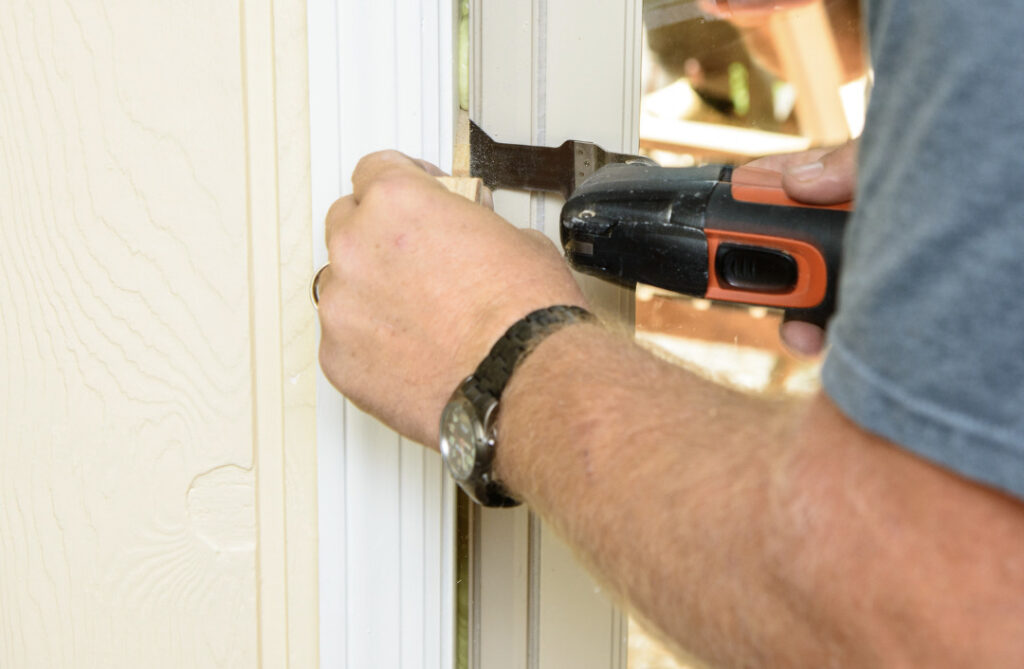
- Cutting:
- Plunge cuts, straight cuts, and flush cuts in tight spaces.
- Trim baseboards, remove flooring, create precise openings for fixtures.
- Sanding:
- Smooth surfaces, remove paint or varnish.
- Reach corners and curved edges.
- Prepare surfaces for painting or staining.
- Scraping:
- Remove adhesive residue, old caulk.
- Lift vinyl flooring.
- Efficient material removal without surface damage.
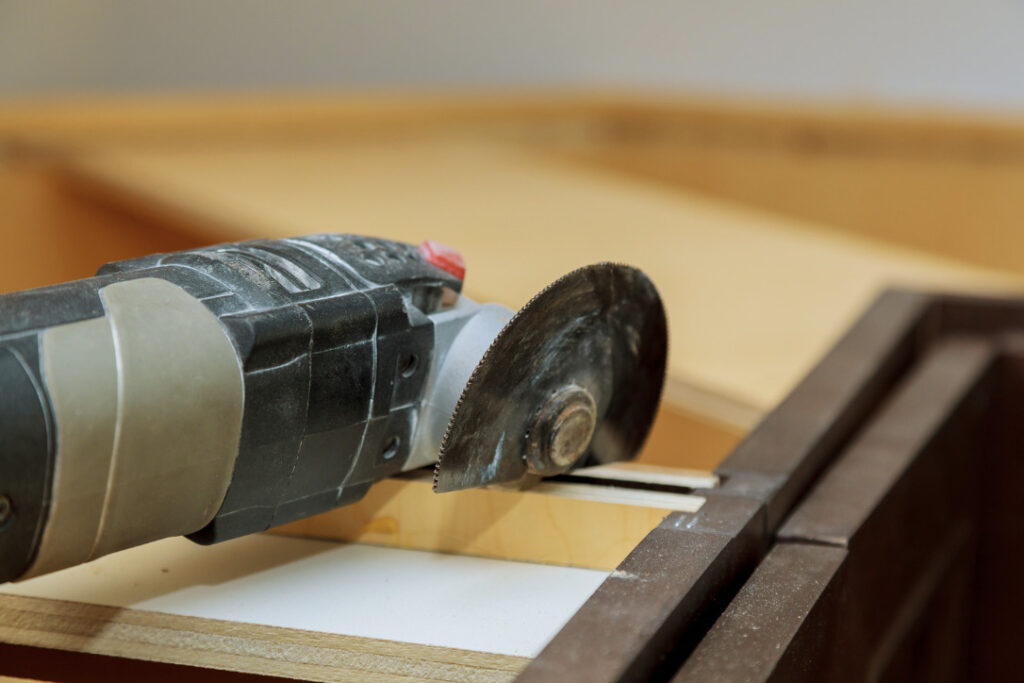
- Grout Removal and Tile Cutting:
- Remove grout between tiles.
- Make precise tile cuts.
- Plunge Cutting into Drywall:
- Create openings for electrical outlets or switches.
- Polishing, Buffing, and Shaping:
- Use appropriate accessories for polishing and buffing.
- Shape materials to desired form.
The versatility and precision of an oscillating tool make it valuable for DIY enthusiasts, professional contractors, and hobbyists alike. It simplifies various tasks, saves time, and offers convenience by allowing you to tackle different applications with a single tool.
Best Blades for Oscillating Tools
When it comes to choosing the best blades for oscillating tools, it depends on the specific task you need to accomplish. It is also important to make sure you buy a blade that is compatible with your specific oscillating tool. I made that mistake once, and won’t be making it again!
Here are some commonly used and highly recommended blades for different applications:
- Bi-Metal Blades: These blades have a durable construction with high-speed steel teeth and a flexible spring steel body. They are excellent for general-purpose cutting of wood, plastic, and metal.
- Wood Cutting Blades: Designed specifically for wood, these blades typically have large, widely spaced teeth for fast and efficient cutting. They excel at cutting through lumber, hardwood, plywood, and other wooden materials.
- Metal Cutting Blades: The best metal cutting blade for an oscillating tool will have finer teeth and are specifically designed for cutting through metal materials such as nails, screws, copper pipes, and sheet metal. They provide clean and precise cuts in metalwork applications.
- Grout Removal Blades: These blades feature a carbide grit coating or diamond grit edges for effectively removing grout between tiles. They help in renovating or repairing tile surfaces without damaging the tiles themselves.
- Sanding Pads and Sandpaper: While this isn’t exactly a “blade”, sanding is great for reshaping wood. The sanding attachments are great for smoothing surfaces, removing paint or varnish, and preparing materials for finishing.
- Outlet Blade: if you’re going to be cutting through drywall or paneling for outlets, this outlet blade is awesome! It is designed to the exact shape you need. So you just press it into your panel and you have a perfect hole for your outlet.

How to Cut Tile With an Oscillating Tool
Cutting tile with an oscillating tool is great for making small or intricate cuts. But, if you are making large cuts, or cutting large amounts of tile a wet saw or tile cutter would be a more ideal tool.
Here’s a step-by-step guide on how to cut tile with an oscillating tool:
- Prepare the tile: Measure and mark the area where you need to make the cut using a pencil or marker. Ensure that the tile is securely positioned and won’t move during the cutting process.
- Select the appropriate blade: Choose a diamond-grit or carbide-grit blade specifically designed for cutting tile. Ensure that the blade is compatible with your oscillating tool model.
- Attach the blade to the oscillating tool: Follow the manufacturer’s instructions to securely attach the blade to your oscillating tool. Ensure it is tightened properly to avoid any movement or wobbling during cutting.
- Put on safety gear: Wear safety goggles, a dust mask, and gloves to protect yourself from tile debris and dust.
- Set the tool at the correct speed: Adjust the speed setting on your oscillating tool based on the type of tile you’re cutting. Start at a lower speed setting and gradually increase if needed.
- Begin the cut: Position the blade at the edge of the marked line on the tile. Hold the oscillating tool firmly and steadily, then turn it on. Slowly guide the blade along the marked line, applying gentle pressure. Let the oscillating motion of the tool do the cutting work.
- Take breaks if necessary: Depending on the thickness and hardness of the tile, it may be necessary to pause periodically to allow the blade to cool down. This helps prevent overheating and ensures a smoother cutting process.
- Complete the cut: Continue following the marked line until the cut is complete. Take your time to maintain control and accuracy throughout the process.
- Remove any sharp edges: After cutting, use a file or sandpaper to smooth any rough or sharp edges on the cut tile.
Remember to always exercise caution and work slowly and carefully when cutting tile with an oscillating tool. Practice on scrap or spare tiles before attempting cuts on your actual project to gain confidence and refine your technique.
Cutting Drywall with Oscillating Tool
Cutting drywall with an oscillating tool is a great way to make small cuts around windows, outlets, or other objects. Often, a utility knife is all you need, but for quick detail cuts, an oscillating tool can be really useful. If you are going to be cutting a lot of boxes for outlets, this outlet blade is so helpful!
Here’s a summary of the process:
- Prepare the work area: Measure and mark the area on the drywall where you need to make the cut. Use a straightedge or level to ensure accuracy.
- Attach the blade to the oscillating tool: Follow the manufacturer’s instructions to securely attach the blade to your oscillating tool. Make sure it is tightened properly to prevent any movement or wobbling during cutting.
- Put on safety gear: Wear safety goggles, a dust mask, and gloves to protect yourself from dust and debris.
- Begin the cut: Position the blade at the edge of the marked line on the drywall. Hold the oscillating tool firmly and turn it on. Slowly guide the blade along the marked line, applying gentle pressure. Let the oscillating motion of the tool do the cutting work.
- Take breaks if needed: Depending on the thickness and condition of the drywall, it may be necessary to pause periodically to allow the blade to cool down. This helps prevent overheating and ensures smoother cutting.
- Complete the cut: Continue following the marked line until the cut is complete. Take your time to maintain control and accuracy throughout the process.
Remember to exercise caution and work slowly when cutting drywall with an oscillating tool to ensure accurate and clean cuts. It’s also a good practice to use a vacuum or dust collection system to minimize the amount of dust generated during the cutting process.

Best Cordless Oscillating Tool
When looking to purchase an Oscillating Tool you will have the option of cordless (battery-powered) or corded. I own the corded Dremel Oscillating Tool and have absolutely loved it.
If you’re looking for something battery-powered, there are a lot of really great options too! Make sure you keep in mind what comes with the tool you purchase. Some may not come with a battery or attachments. This will definitely impact your cost.
Here are a few Cordless Oscillating tools to consider:
Milwaukee Cordless Oscillating Multitool
Milwaukee is a well-trusted, quality brand. It has really great reviews as well! It offers variable speeds and a LED light to assist while cutting.
Makita Cordless Oscillating Multitool
Makita is another trusted brand that you can’t go wrong with. This cordless oscillating tool also offers variable speeds and has an adapter that is compatible with other brand’s accessories/attachments.
Craftsman Cordless Oscillating Multitool
If you are looking for a more budget-friendly cordless oscillating tool, this one is a fantastic option! The price point below includes the battery and attachments. It has very similar features to the other more expensive options, the only thing you might give up at the lower cost is the longevity of the tool.
Dewalt Cordless Oscillating Multitool
Dewalt is another great trustworthy brand. This cordless oscillating tool runs off of a brushless motor, which means you should be able to expect a longer life out of this tool. It also includes the features mentioned in the other tools including the LED light and variable speed options.
How to Use an Oscillating Tool
I hope you have found this post helpful! Leave any questions or your own oscillating tool tips in the comments. I’d love to hear them!
Happy DIY-ing!
Save “How to Use an Oscillating Tool” to Pinterest!
One of the projects I used my oscillating tool on the most was this Trailer Remodel. I couldn’t have done it with out my oscillating tool!

