This post may contain affiliate links. I try to make my posts as helpful as possible and have great products easy for you to access. The use of these links provides me a small commission at no cost to you. As an Amazon Associate, I earn from qualifying purchases.
Don’t hire someone to install your baseboards! It’s a simple process and a great beginner DIY project. In this post we’ll cover all the tips and tricks you need to successfully install baseboards.
In this post you’ll find:
- What are baseboards?
- Tips for Installing Baseboards
- Do You Caulk Baseboards?
- What is the Best Caulk for Baseboards?
- Best Saw to Cut Baseboards
- How to Cut Baseboards with a Miter Saw
What are baseboards?
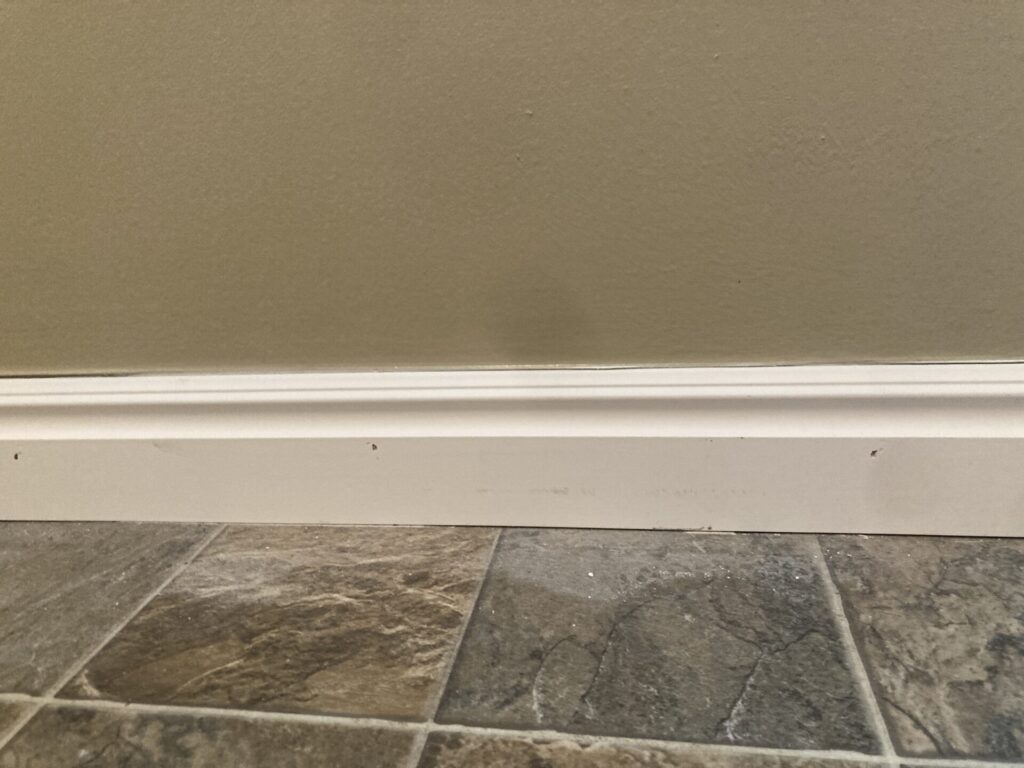
Baseboards are the strip of material that goes along the bottom of the wall and runs along the floor. They can be made of MDF, PVC, or wood. Baseboards add an aesthetic appeal as well as help cover the gap between your wall and the floor.
Where do I find it in the store??
If you’re walking through Lowes or Home Depot, you’ll find a variety of baseboard options in the Trim/Moulding aisle. You can usually find it towards the back near the lumber section.
You can purchase it by piece (usually 8′) or by the foot. Purchasing by the foot can look intimidating because the pieces on the shelf are 10-20 feet long. But you have two great options – the store employees are more than happy to cut it to your preferred length, they have a couple of saws in the back and they will measure and cut it.
Or near the trim aisle, they have a “cut it yourself” station. There is typically a hand saw, measuring tape and small space to cut it. It takes a minute to cut with a hand saw, but it’s a great option if there aren’t any employees around to cut it with their electric saw.

Tips for Installing Baseboards
When installing baseboards, start by measuring the length of each wall accurately. Even 1/8th of an inch makes a difference. Take time to make sure you cut the baseboards at proper angles, especially for corners.
Secure the baseboard to the wall with a brad nailer. If your nails don’t sink completely, use a nail set to countersink the nails. Head here for tips on using a brad nailer.
Fill any nail holes with wood filler. Sand the filler smooth and touch up with paint as needed. Head here for tips on using wood filler.
Apply caulk to the seam between the wall and baseboard. See more about this step in the next sections!
Do You Caulk Baseboards?
Do you caulk baseboards? YES! Caulk makes a huge difference in the finished look of your baseboards. But you want to do it right to get a good clean look.
Cut the tip of your caulk tube at a 45-minute angle and attach it to your caulk gun. Apply a thin bead along the edge of your baseboard. I’ve found that less is more when it comes to caulk. If you apply a thick bead, it is really difficult to get a clean look. Use your finger to gently sweep along the caulk line. Clean your finger as you go so you don’t get too much build-up. I like to keep baby wipes on hand to keep things clean as I do this step!
Head here to get more tips on caulking.

What is the Best Caulk for Baseboards?
My go-to caulk for baseboards is DAP Alex Plus Caulk. It is affordable, but it does the job! One important thing to *especially* keep in mind when choosing a caulk is if it is paintable.
For baseboards, you definitely want paintable caulk! So double-check before you buy, because trying to paint on top of non-paintable caulk is just a miserable mess.
Best Saw to Cut Baseboards
What is the best saw to cut baseboards? It depends – are you cutting just a few pieces? Then a miter saw box might be just right! If you have a large project, it would definitely be worth investing in a powered miter saw. If you’re in the market, I LOVE my Ryobi Miter Saw. It is used for just about every project I do and has never given me any issues. You could also check your local hardware stores to see if they have a tool rental option.
Either way, you want a saw that will allow for “miter” cuts. Miter cuts are angled cuts made across the face of a piece of material, often at 45 degrees, allowing for corners to be created.
How to Cut Baseboards with a Miter Saw
Miter saws are awesome for cutting baseboards because you can angle your blade to cut your corners.
Each miter saw will be different, but you’ll likely have a knob near the back of your saw; loosen that knob and adjust the blade angle to 90 degrees (or different angle depending on your wall).
You’ll want to double-check if it’s an inside corner or an outside corner.
It’s also good to double-check which side of your baseboard you want cut, the left or the right?
Head here for a deeper dive into miter saws and how to use them.

Pin “Baseboards for Dummies – What are Baseboards? Plus Everything You Need to Know About Installing Them” to Pinterest


