This post may contain affiliate links. I try to make my posts as helpful as possible and have great products easy for you to access. The use of these links provides me a small commission at no cost to you. As an Amazon Associate, I earn from qualifying purchases.
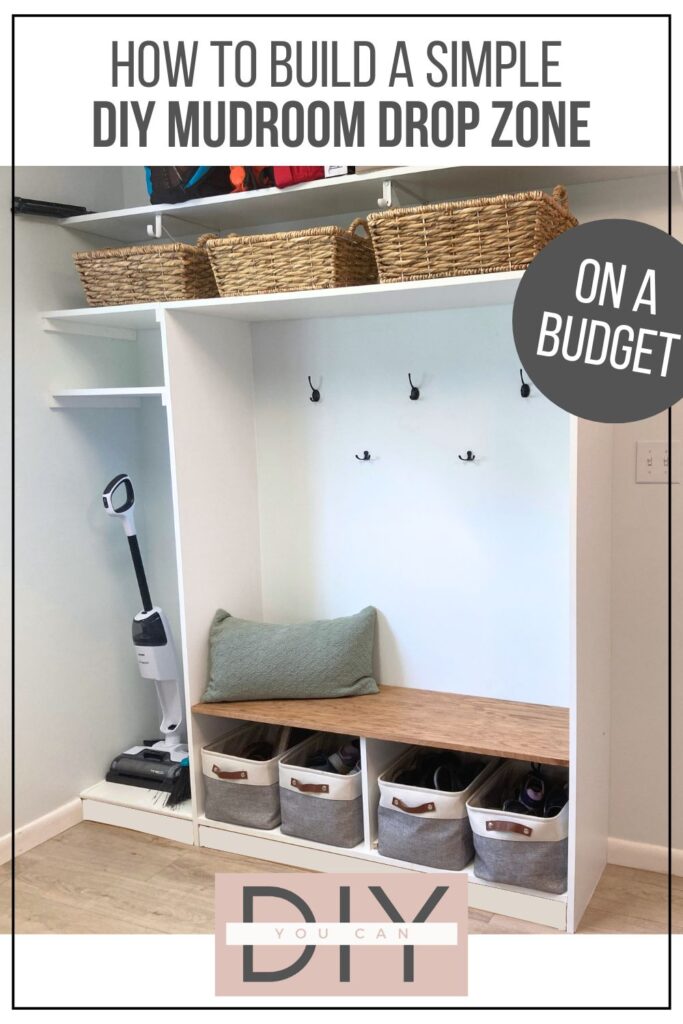
We recently moved into a new house which has my gears turning on all the projects I can do in this new space. It wasn’t long before I knew what my first project here would be – a DIY Mudroom. There is something about having an organized space when you first walk in or out of your house, it’s just a necessity for my sanity as a mom.
A DIY Mudroom, also known as a drop zone in a house, provides a functional and organized space for storing and managing everyday items like coats, shoes, bags, and keys, helping to keep the rest of the home clutter-free.
Let’s dive into some simple steps to take to make your own DIY Mudroom and customize it to your space.
Jump to where you want:
- Tools Used in Creating My Mudroom
- Supplies Needed
- What is a Drop Zone in a House?
- Steps to Build a DIY Mudroom
Tools Used in Creating My DIY Mudroom
These are the tools I used while creating my DIY Mudroom Built-In. Each one isn’t completely necessary, but they definitely make the project more slick.
Supplies Needed
Your supplies will vary depending on your space and chosen design but below is a list of supplies I used in my DIY Mudroom Build:
- 2x4x8 Boards (for the base)
- 1x2x8 Boards (for the cleats to hold the bench)
- 16″ Melamine Boards (for the main structure)
- Wood Filler
- Caulk
- Pre-stain
- Wood stain
- Top coat
- Hooks
- Baskets
What is a drop zone in a house?
A drop zone in a house is a designated area, typically located near an entryway, where people can easily place items they bring into the home, such as keys, bags, coats, shoes, and mail. It’s designed to keep the entrance organized and free of clutter, providing a convenient spot to drop off and pick up essential items when coming and going. Drop zones often include hooks, shelves, baskets, and benches to enhance organization and accessibility.
Steps to Build a DIY Mudroom
Step 1: Design your layout
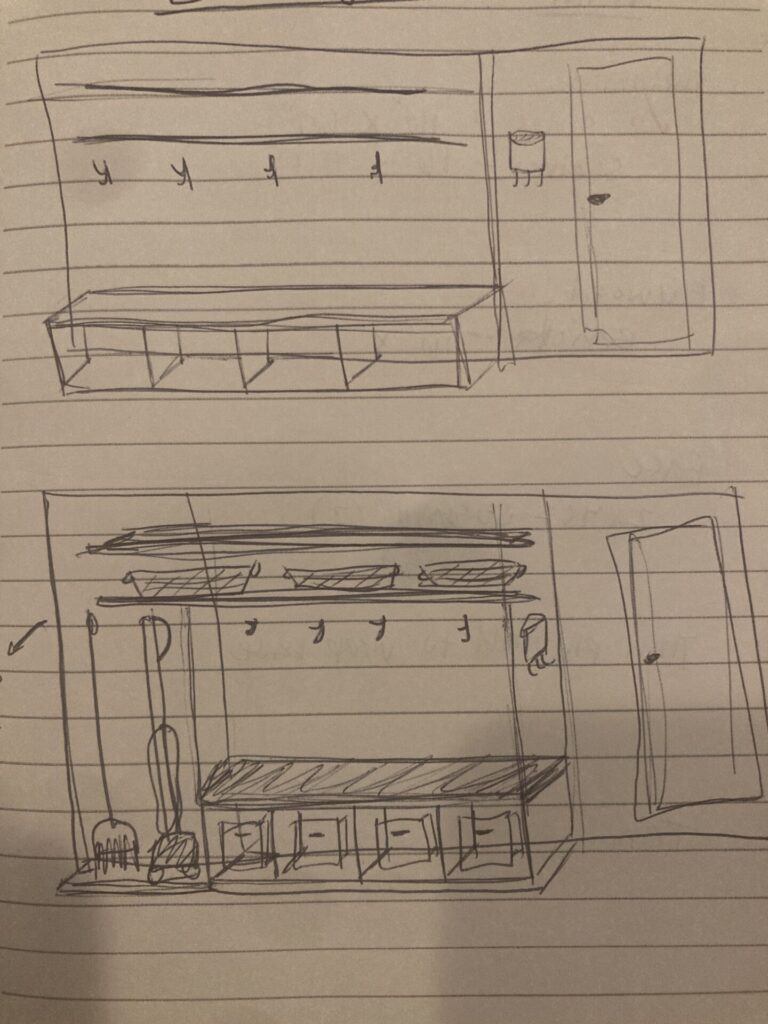
This is a fun phase of projecting for me – I have a little notebook that I use. I sit on the couch and just start sketching out ideas. I’ll often scroll through Pinterest to gather ideas and inspiration.
Once I have a design I like, I’ll measure out the space and get some more exact numbers so I can get the right amount of supplies.
For my mudroom I knew I wanted a space for shoes, coats, backpacks and my cleaning equipment. So I incorporated those into my sketches.
Step 2: Buy Your Supplies
From your design, create a list of supplies you’ll need. If your design is similar to mine, you can use my list below:
- 4 – 15.75 in. D x 97 in. L Melamine
- 3 – 2x4x8 wood studs
- 1 – 1x2x8 wood board
- Caulk
- Pre-stain
- Wood stain
- Top coat
- Hooks
- Baskets (there are so many cute options out there! I’ve used these for our shoes for a couple of years and they have held up great!
Step 3: Create a Base
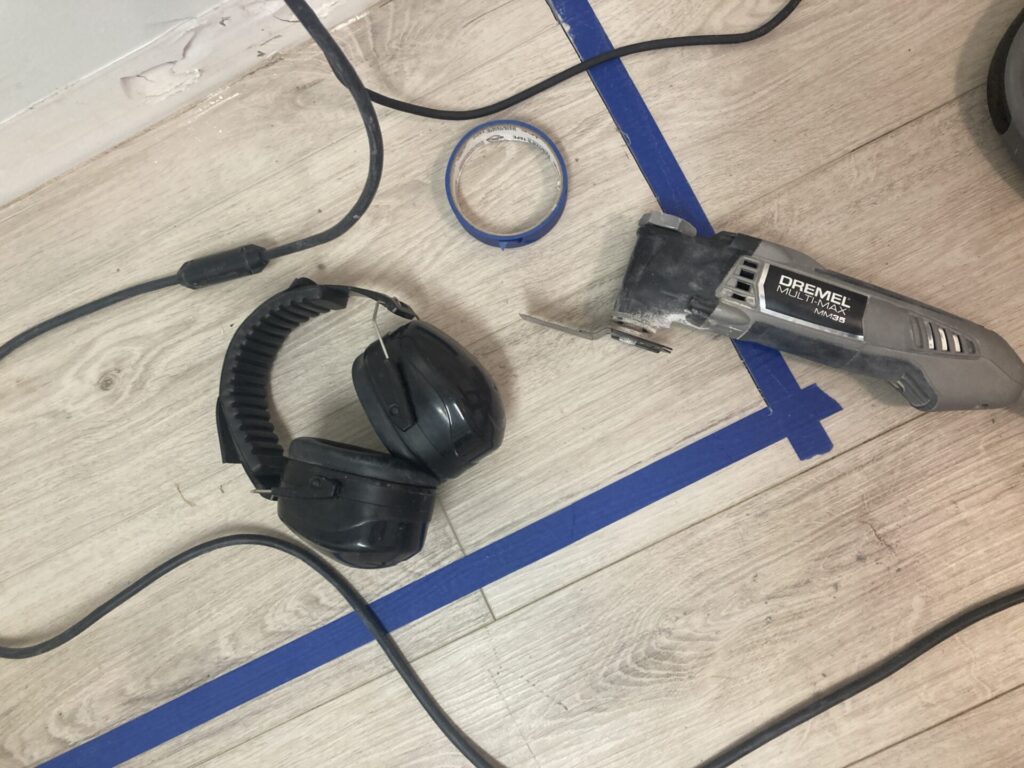
Using my Oscillating Tool, I cut out 16″ x 70″ of flooring and the surrounding baseboards. I used painters tape to create an outline to follow while I cut.
I love my oscillating tool for small unique cuts like this one. But of all the tools I own, this one always makes me the most nervous to use because the blade is just so out there! I wrote a blog post on all the tips and tricks I have learned about using my oscillating tool, so if you’re looking for some guidance on using this tool, check it out!
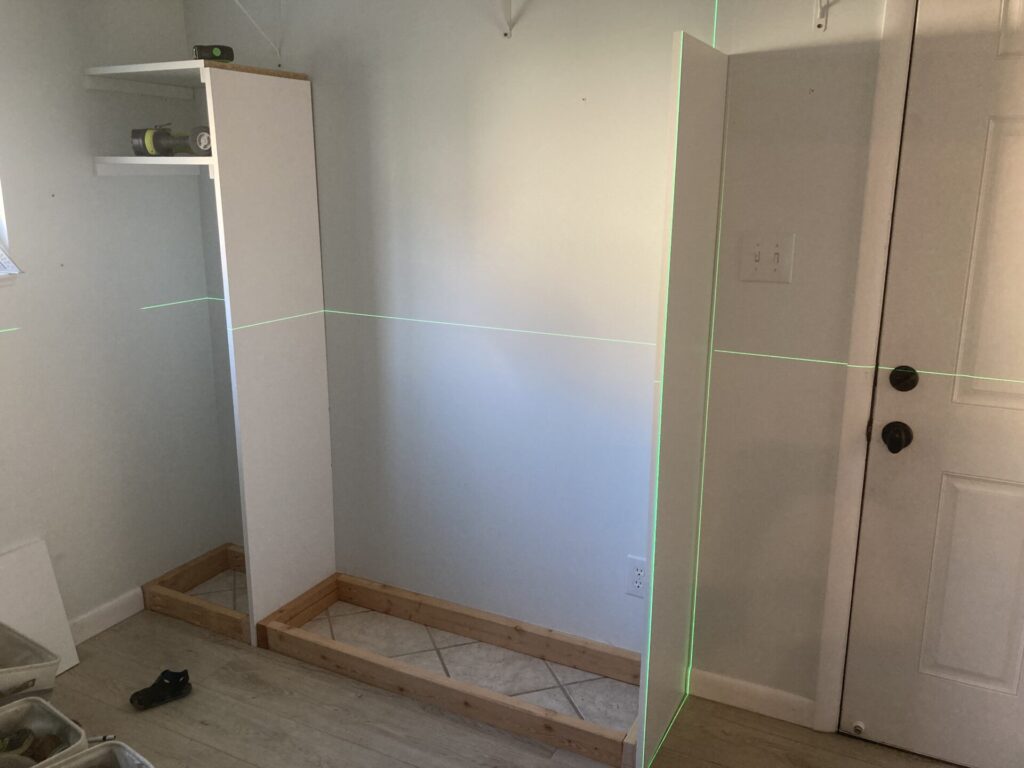
With the 2×4 studs, create a base to set your mudroom on. This gives it a more “built-in” look.
Step 4: Cut and Install Main Structure
Using your melamine, cut your main structure to size. Sides, top, and shelving.
I used my LasGoo Laser Beam level to make sure I was keeping the structure square and level. I have been hesitant for a while to get a laser beam level, I just wasn’t sure how much I would use it. So this is the first project I’ve used it on, and I’m hooked! It was incredibly helpful! Plus, I just got family pictures and I can’t wait to use it to hang frames on the wall!
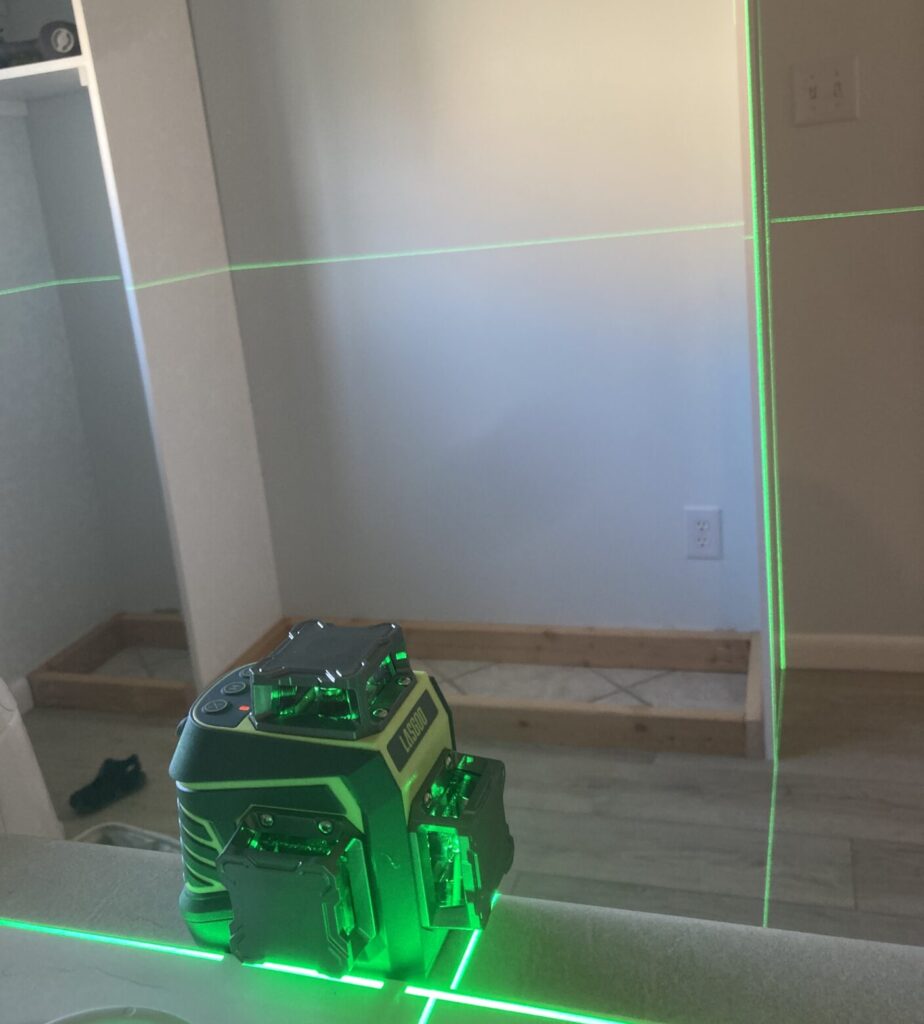
I used my Ryobi Brad Nailer to assemble the pieces together and to the base.
Step 5: Wood Fill and Caulk
Once your structure is put together, apply wood filler to all holes created by the brad nailer. For more tips on using wood filler, don’t miss this post.
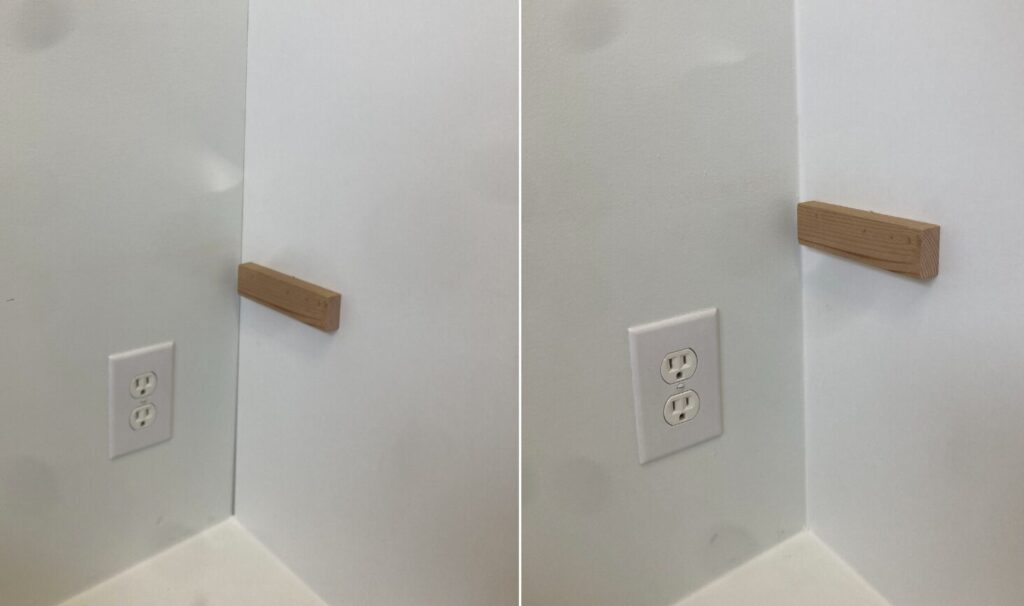
Caulk along all seems. This makes a world of a difference, so don’t skimp. We have some great tips in this caulking guide if you’re looking for some more guidance.
Below is a picture of a seam before and after caulking, it doesn’t really do it justice. But caulking really has a subtle but powerful impact!
Step 6: Install Bench
I love how the look of wood grain warms up a space! So I knew I wanted to add a wooden touch to this space. I had some scrap plywood on hand that was the perfect fit.
Since it was plywood and not solid wood, I added edge banding to give it a solid wood look. I love edge banding, it totally transforms the wood!
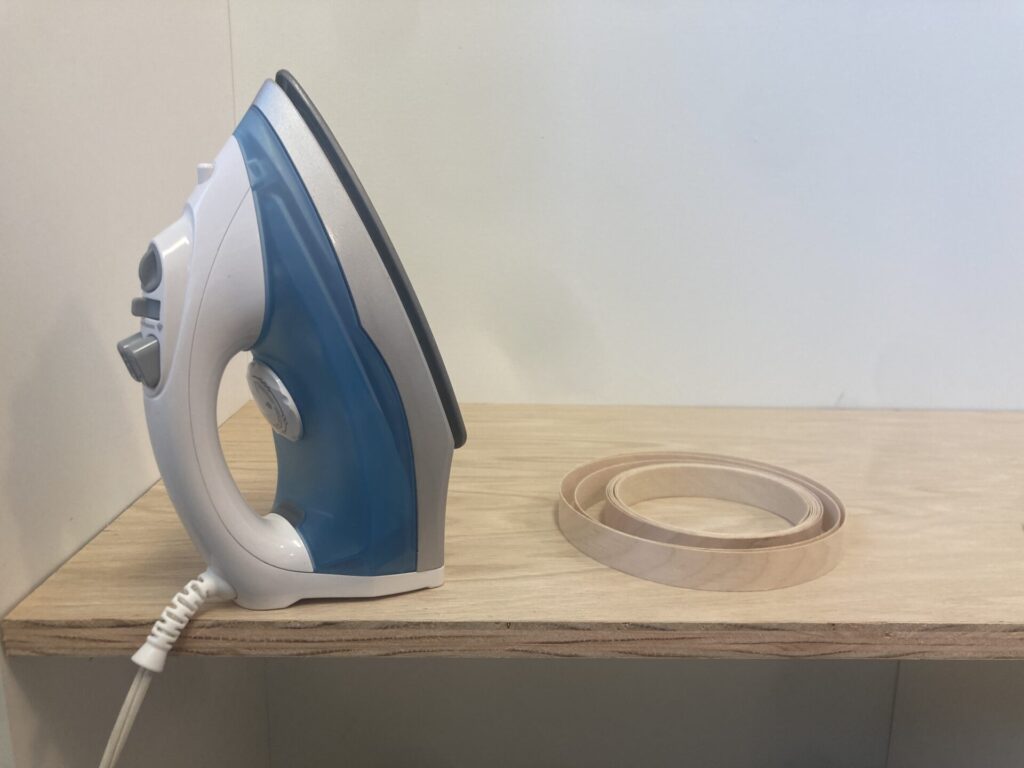
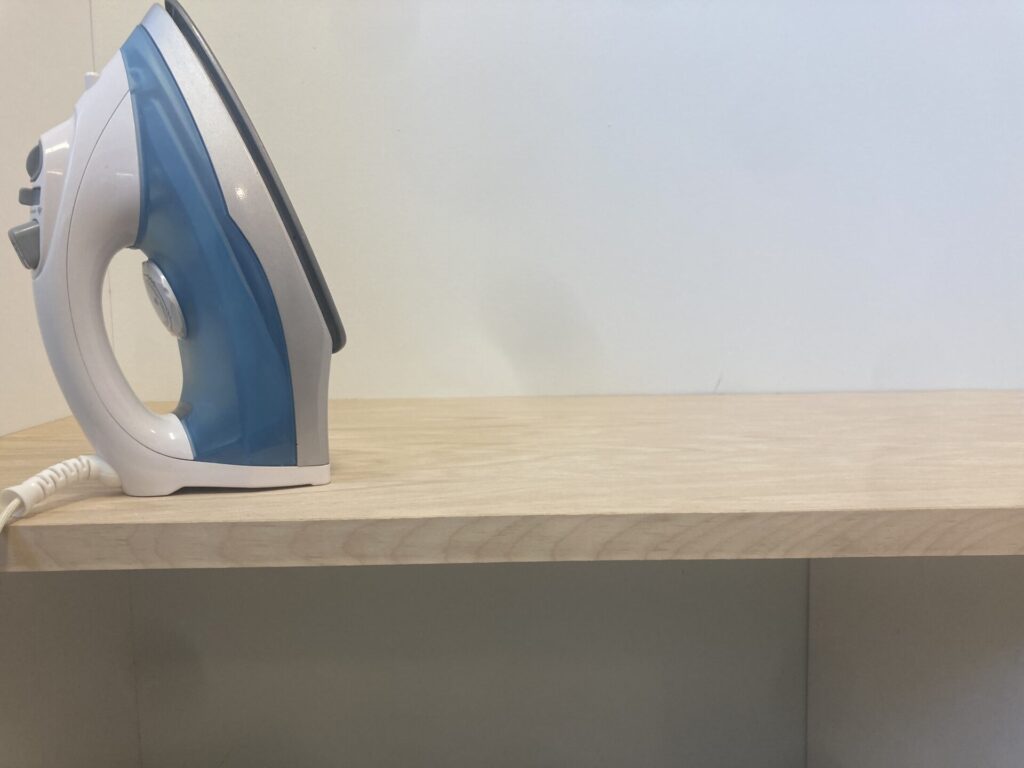
I treated it with wood conditioner, then stained it with a Minwax special Walnut wood stain.
Once my stain had adequate time to dry, I added two coats of polycrylic.
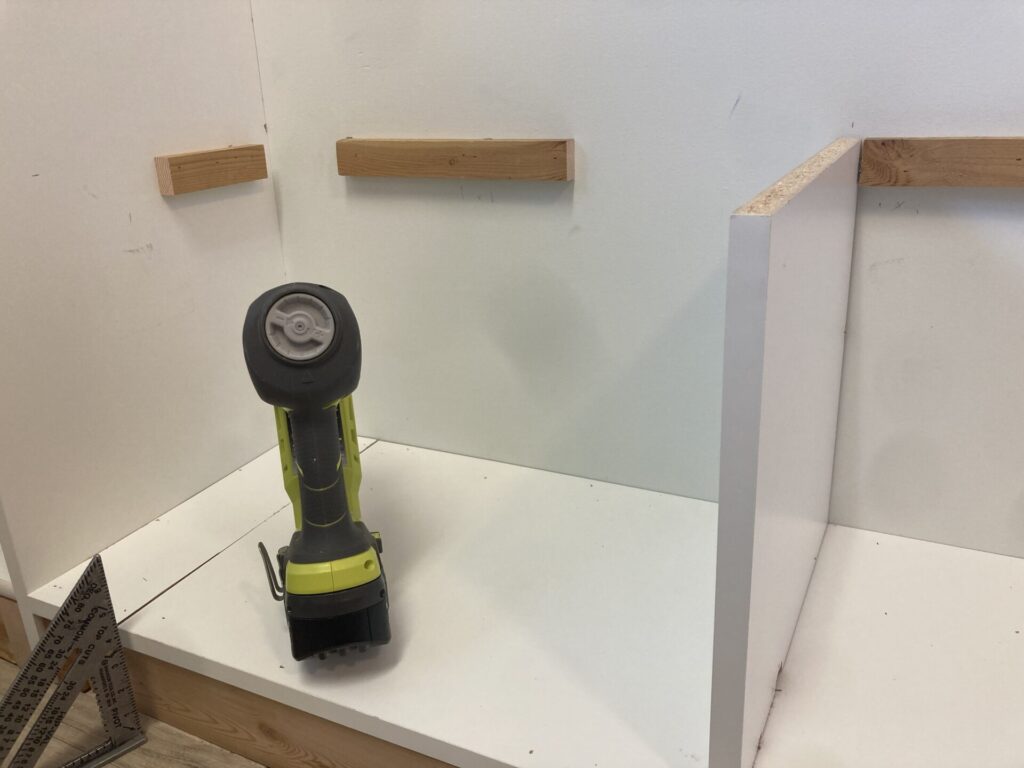
Once the bench piece was dried and ready to install, I added “cleats” or supports to hold the bench up, plus an additional melamine board in the middle for extra support. Make sure your cleats are anchored into studs, that will provide the best support.
Step 7: Add Hooks & Baskets
Now for the fun final touches!
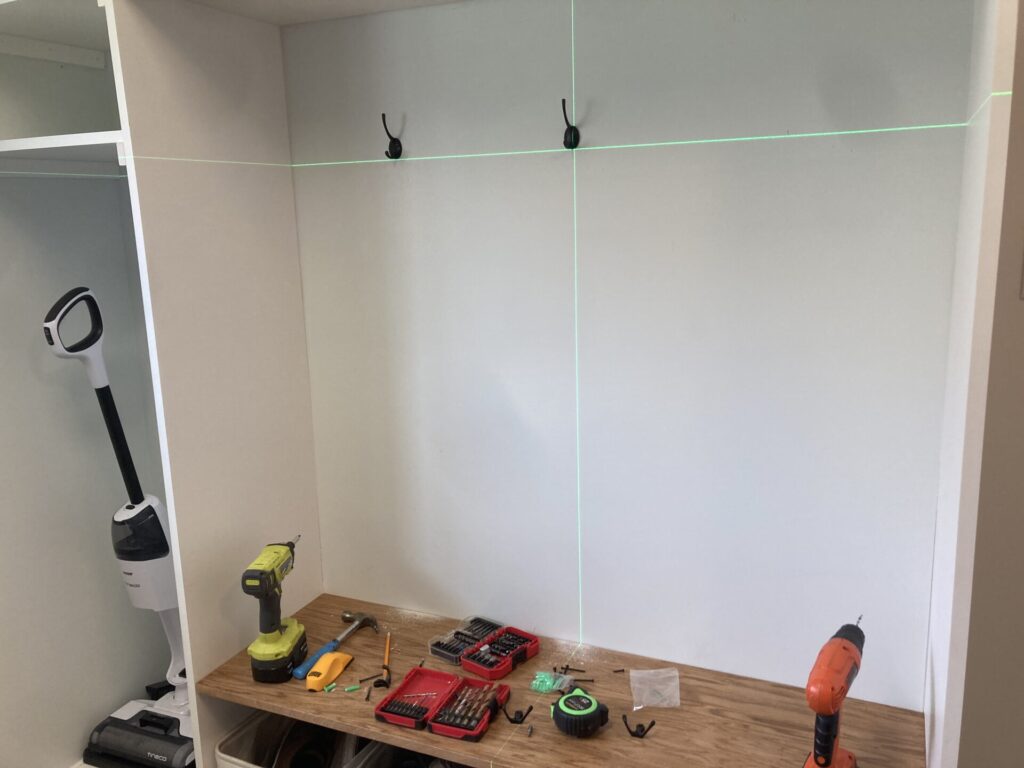
I added 5 hooks for coats and backpacks. If you do not have a stud to screw into, make sure you use GOOD drywall anchors. Not the crappy ones provided in the hooks packaging. You don’t want your backpacks pulling the hooks out of the wall.
Once again, I used my Lasgoo Laser Level to hang my hooks. It was incredibly useful!
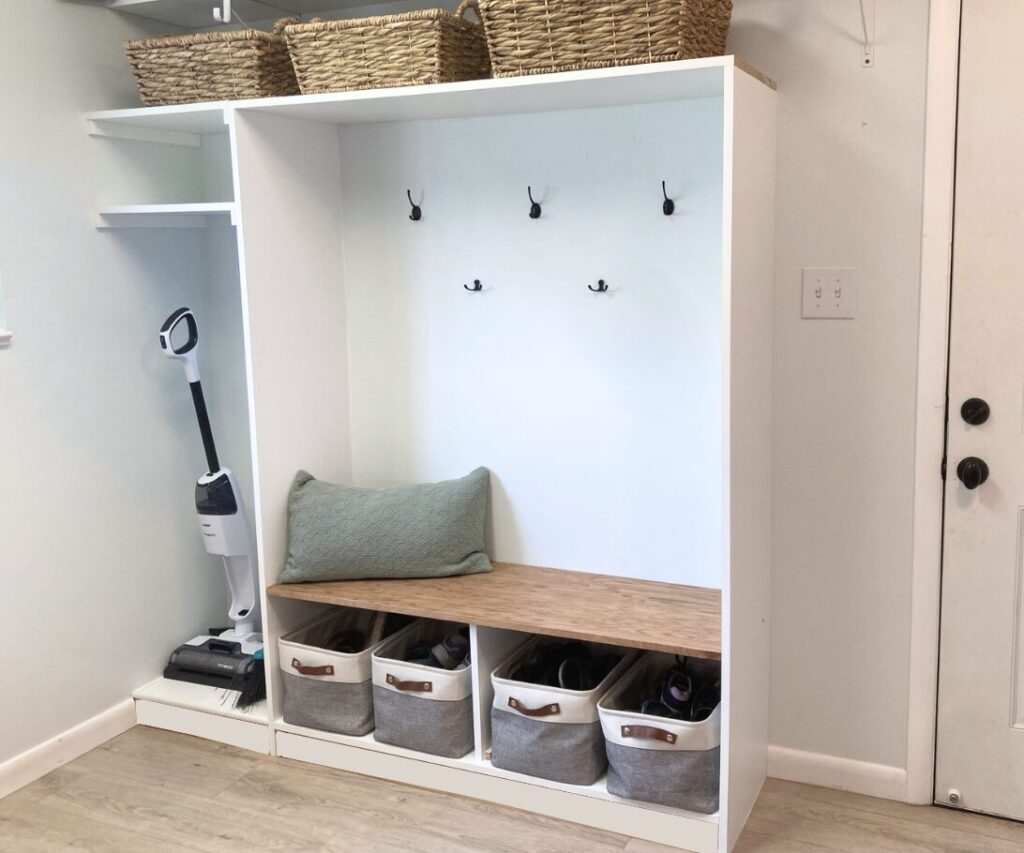
I have loved these baskets, we’ve had them for over 2 years and they haven’t shown hardly any wear and tear. They have been perfect for shoe storage. But I also love the look of these baskets, I think they would look great with the wood grain of the bench.
Mudroom Bench DIY
I am so thrilled with how my drop zone turned out in my house. It has done a lot of good for my sanity! Making your own DIY Mudroom is totally doable. Just pick up those power tools and follow these steps. You might surprise yourself.
Happy DIY’ing! I’d LOVE to hear from you and if you are building a mudroom in your house!
Pin DIY Mudroom on Pinterest
