This post may contain affiliate links. I try to make my posts as helpful as possible and have great products easy for you to access. The use of these links provides me a small commission at no cost to you. As an Amazon Associate, I earn from qualifying purchases.
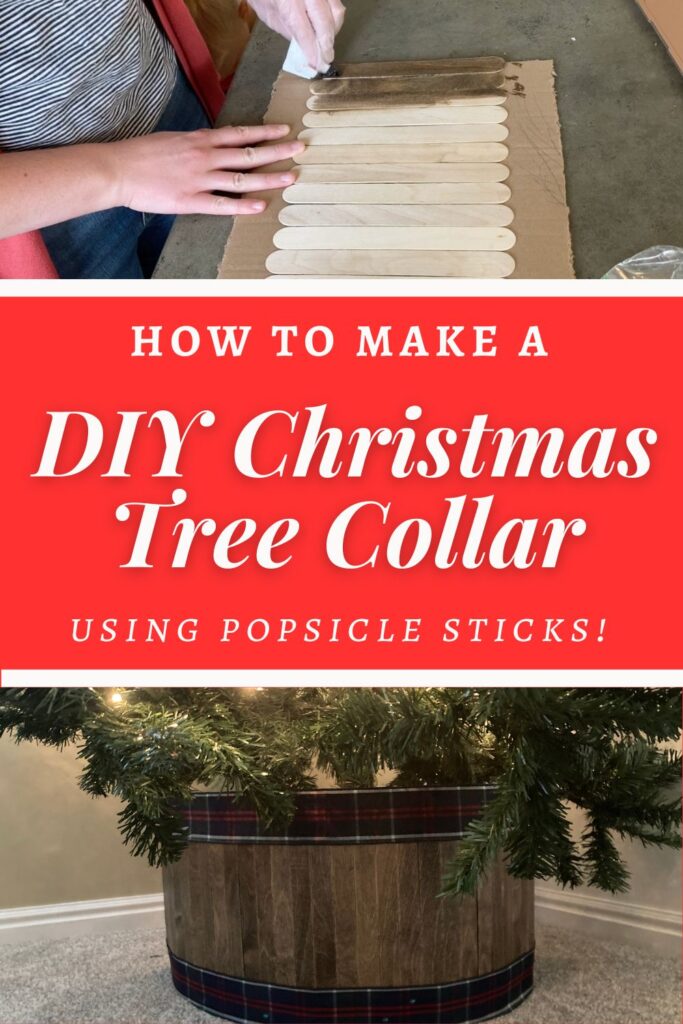
I’ve seen a few Christmas tree collars lately that are so beautiful, but not quite in my budget. Which is my favorite time to DIY! So I created this DIY Tree Collar that is easy to make, incredibly cheap, and so beautiful! I can’t wait to share it with you.
Jump to the video of making a DIY Christmas Tree Collar.
Jump to the steps to make a DIY Christmas Tree Collar.
Supplies to Create a DIY Tree Collar
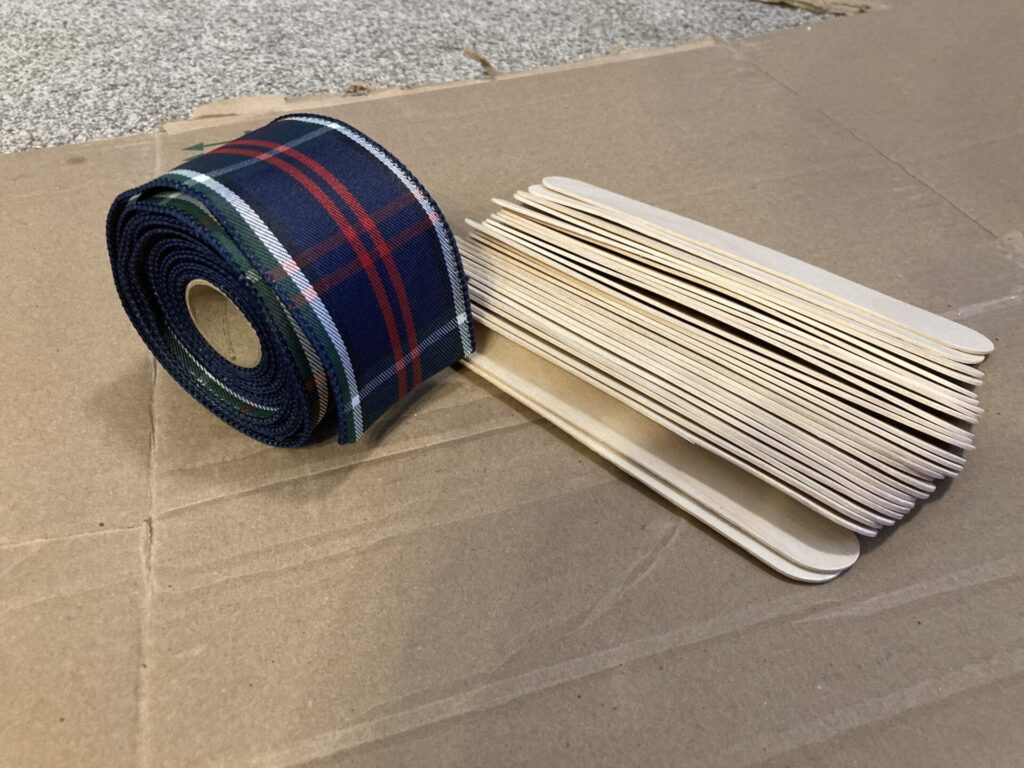
I had most of these supplies on hand, all I had to buy was ribbon and popsicle sticks. So this tree skirt alternative cost me only $6!
- Cardboard
- Super Jumbo Popsicle Sticks
- Hot glue gun and sticks
- Wood stain
- Top Coat (optional)
- Ribbon
Video of Making a Collar for a Christmas Tree
Steps to Make a DIY Christmas Tree Collar
Follow these six simple steps to make the perfect tree skirt alternative.
- Step 1: Cut and Roll Cardboard Rectangle
- Step 2: Glue Jumbo Popsicle Sticks to the Cardboard
- Step 3: Stain Popsicle Sticks
- Step 4: Apply a Top Coat (optional)
- Step 5: Attach Ribbon
- Step 6: Add Your DIY Tree Collar to your Christmas Tree and Enjoy!
Step 1: Cut and Roll Cardboard Rectangle
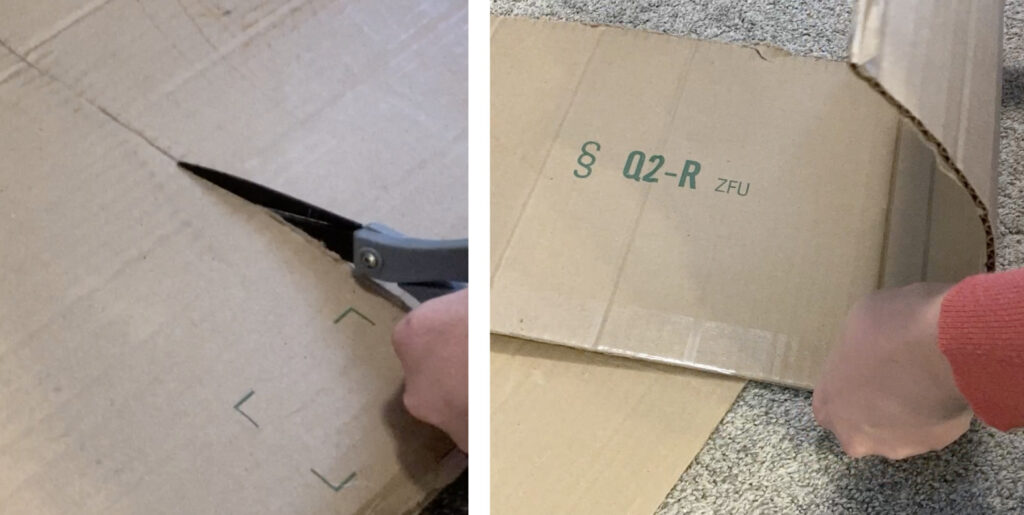
Grab some spare cardboard from your Amazon boxes pile and cut out a rectangle. Mine was 11″x 48″.
You might want to measure the gap of the space between your tree and the floor and adjust the size accordingly.
At this point, I also rolled the cardboard to help create the curved edge.
Step 2: Glue Jumbo Popsicle Sticks to the Cardboard
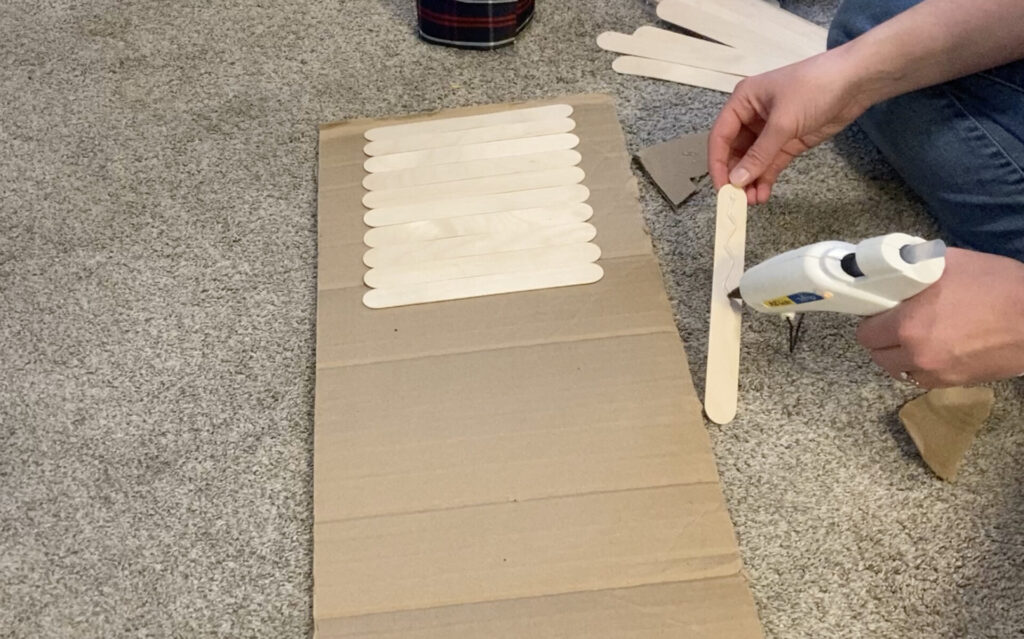
One at a time, using hot glue, attach your jumbo popsicle sticks to your cardboard.
The top and bottom edges will be covered by ribbon, so don’t worry about the gap!
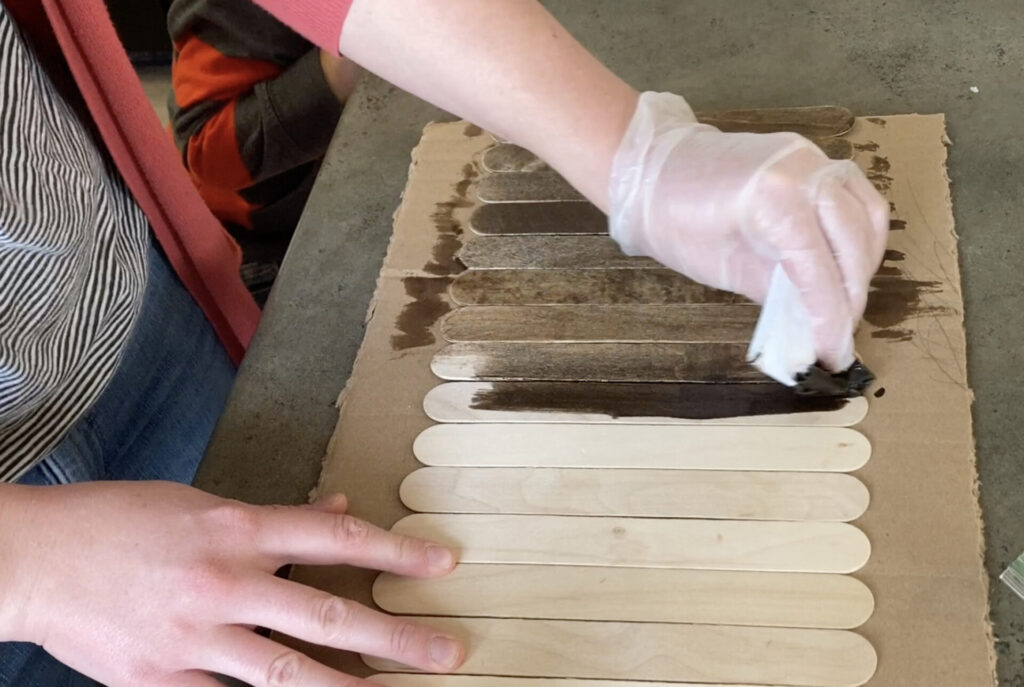
Step 3: Stain Popsicle Sticks
I used a combination of Weathered Oak and Dark Walnut stain and I love how it turned out!
For tips on staining wood, head to our FAQs about staining post.
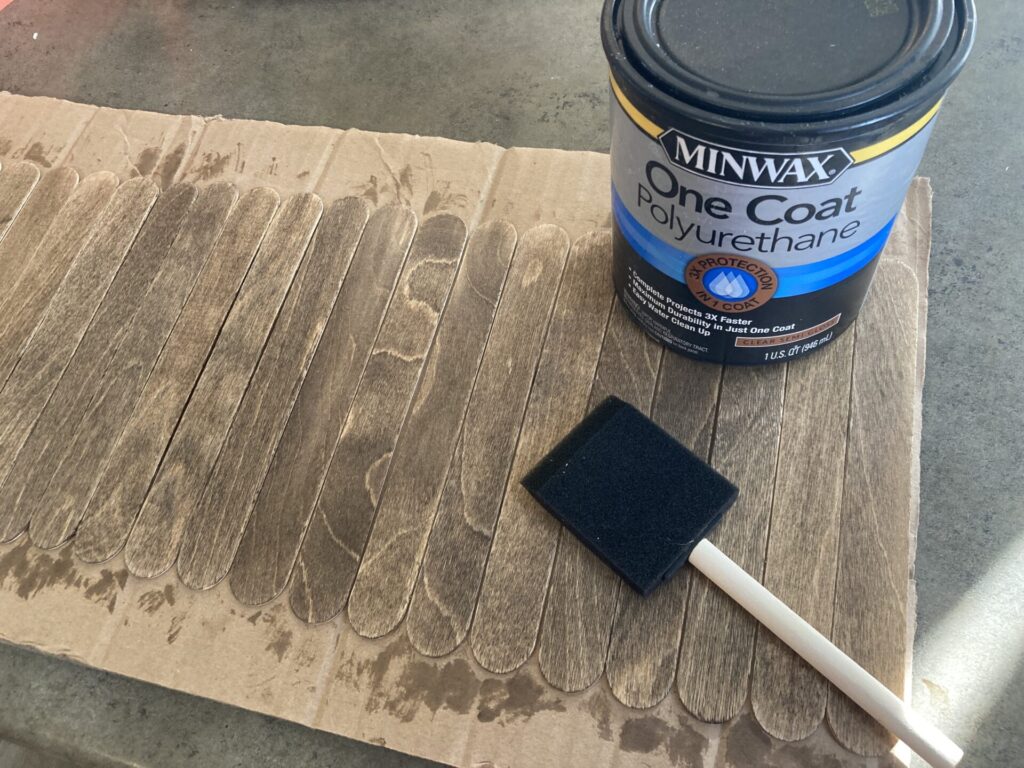
Step 4: Apply a Top Coat (optional)
Once my stain was dry, I applied a polyurethane top coat. This isn’t totally necessary, but it will make your tree collar more durable!
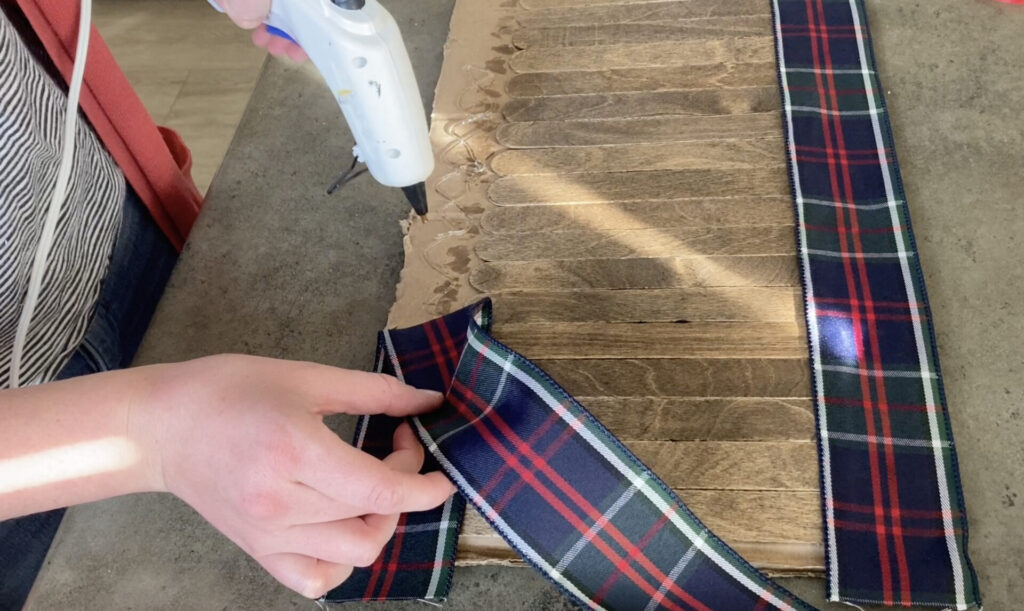
Step 5: Attach Ribbon
Now for it to finally start looking pretty!
Using hot glue again, I attached my ribbon along the top and bottom. I left a little excess on the ends to wrap on to the back to give it a clean edge.
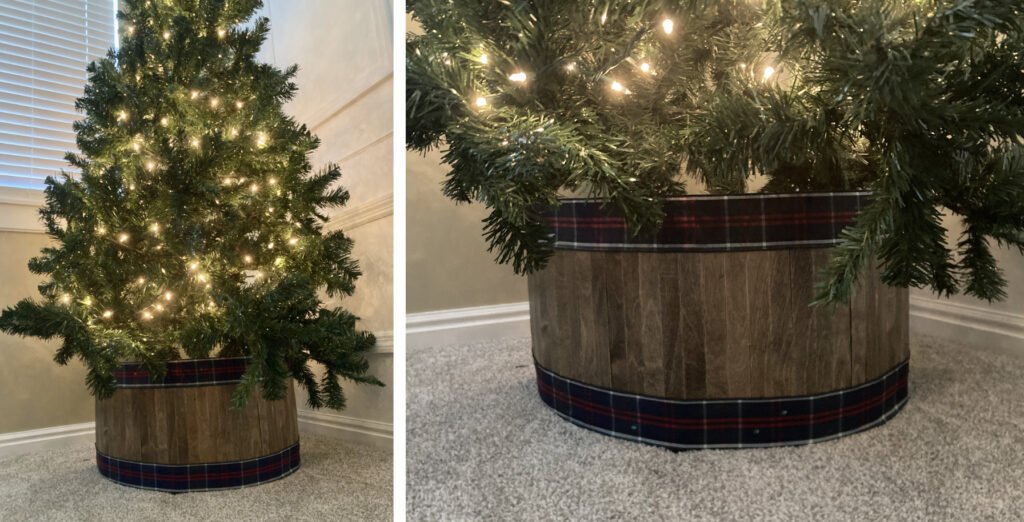
Step 6: Add Your DIY Tree Collar to your Christmas Tree and Enjoy!
And that’s it! So simple! So cheap! So cute!
Will you be making a tree skirt alternative? I want to hear about it! Tell me about it in the comments below!
Pin “DIY Tree Collar” to Pinterest!
