This post may contain affiliate links. I try to make my posts as helpful as possible and have great products easy for you to access. The use of these links provides me a small commission at no cost to you. As an Amazon Associate, I earn from qualifying purchases.
Shed Floor Paint
If you read my post earlier this month, then you heard about my exciting development in my DIY journey. I got a workshop shed! For the last several years, I have been working out of half of my garage. But now I have a whole space dedicated to my projects, and I am pumped!
I started by painting the exterior. And now I’m moving on to the shed flooring. I wanted something that would hold up to some wear and tear, and be easy to clean. So I settled on shed floor epoxy paint.
I journaled each step of my experience and want to share everything I learned in the process and how you can do your own shed floor paint.
In this post you’ll find:
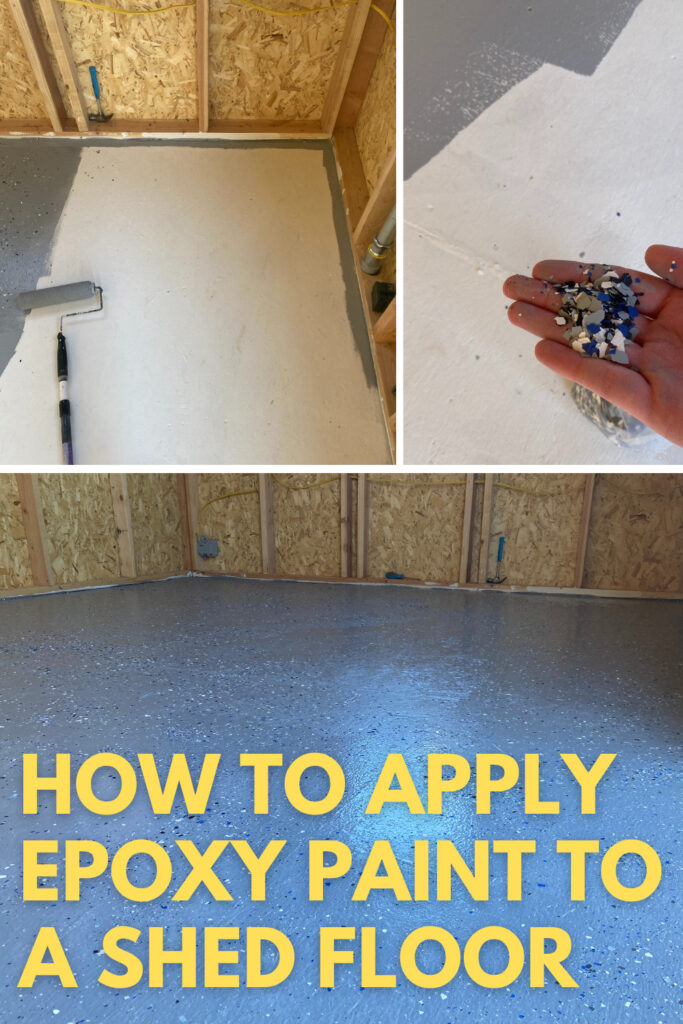
Shed Floor Paint Steps
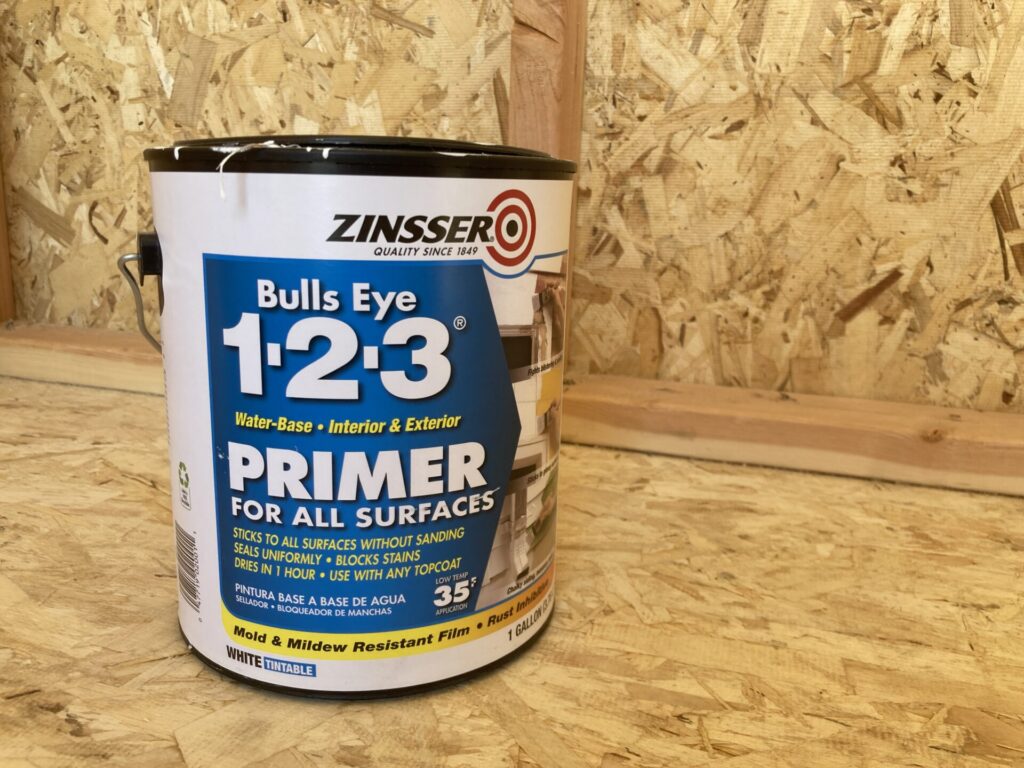
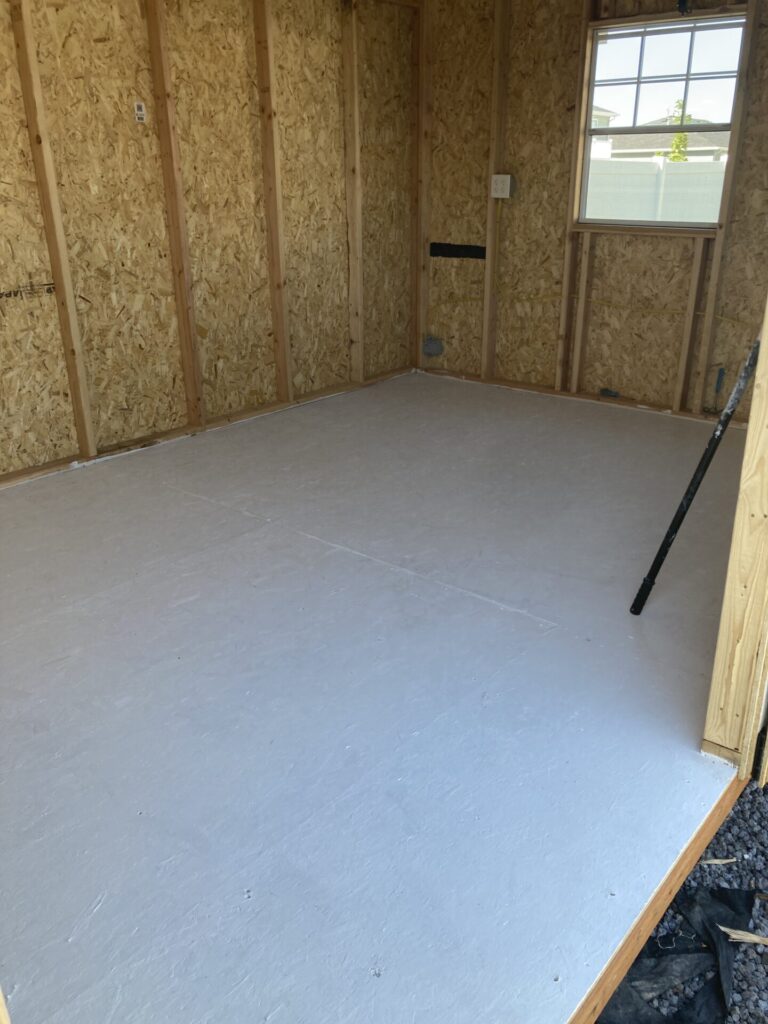
Step 1: Prime Wood Shed Floor
After thoroughly sweeping/cleaning the floor, I got started by priming the wood.
I used Zinsser Bulls Eye Primer.
Using a brush I cut in all my edges first.
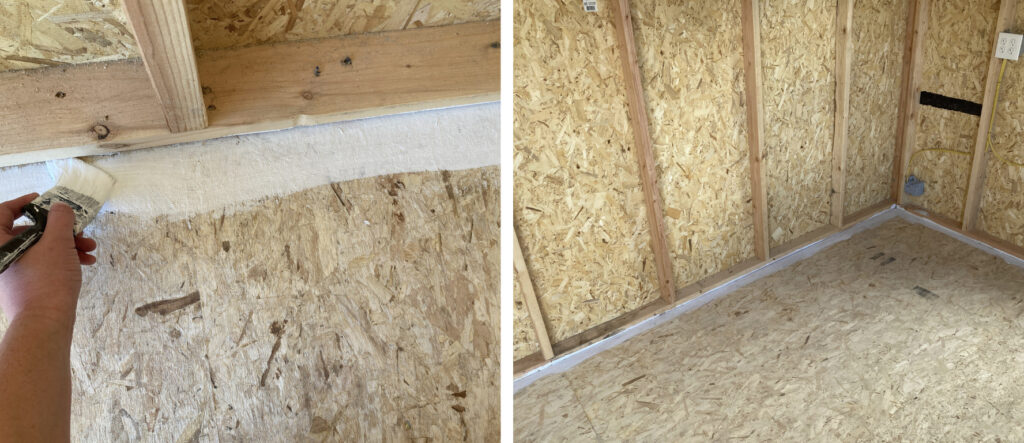
Then I used a roller attached to an extension pole to roll out the rest of the primer.
Make sure to start in the back corner and work your way out. You don’t want to paint yourself into a corner!
Also, give your primer adequate drying time. Typically primer needs 24 hours to completely cure.
Step 2: Apply Wood Filler to Shed Flooring
Luckily the company who installed my shed applied wood filler to the seams. But if you have large seams or dents, applying wood filler will give it a much cleaner look.
For this type of project, you will want a good durable wood filler like Bondo. Check out my ultimate wood filler guide for more tips and tricks for this step.
You can always wood fill before priming. I just like to prime first because it makes the imperfections easier to pick out.
Step 3: Sand and Clean the Shed Floor
Once your wood filler has dried, sand it flat using 220 grit.
Then when you have it nice and smooth, go through it again with a broom and make sure all dust is removed.
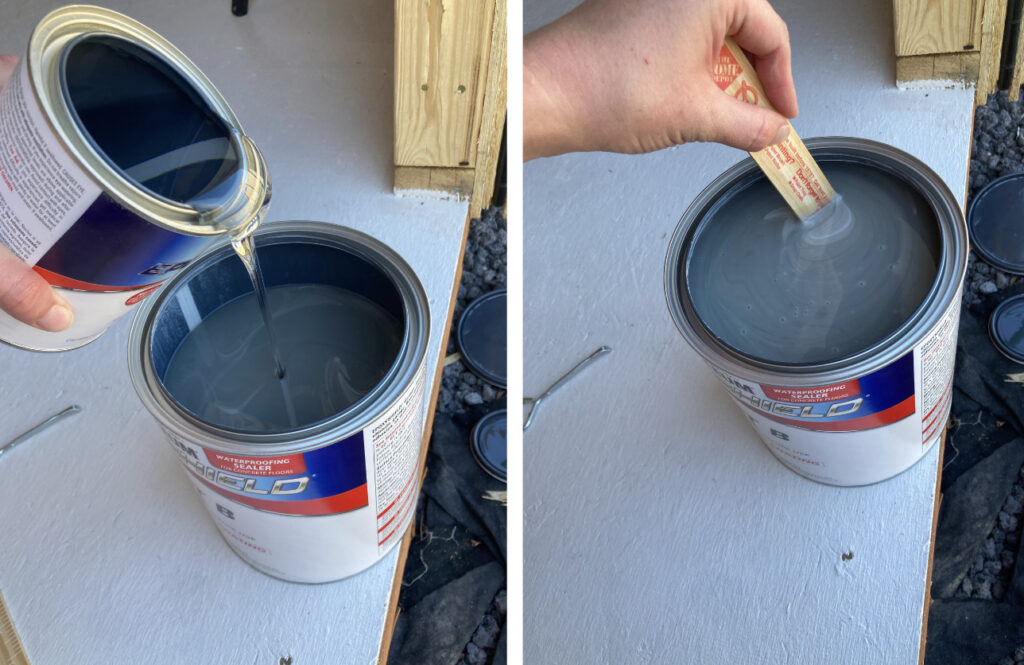
Step 4: Combine and Mix Epoxy
For my shed floor paint, I used this Rustoleum Epoxy Sheild One Car Garage Kit. My shed is 10′ x 16′ and I only used about half of the kit!
You will have two parts- part A and part B.
They leave a gap of space in the can of part B, so you can pour part A into the larger can.
Then you need to mix the two together for at least 3 minutes. This is an important step to have your epoxy cure.
Depending on your temperature, you’ll need to let it sit for a few minutes before applying.
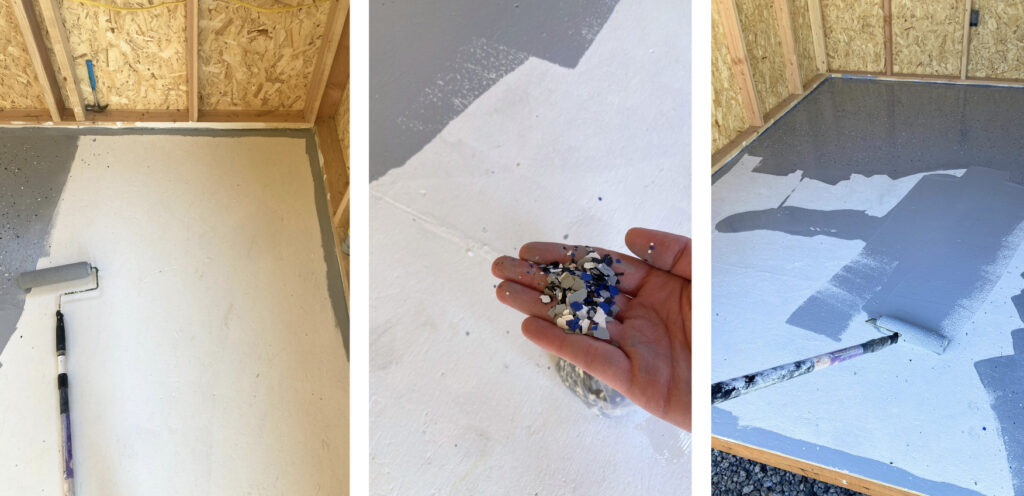
Step 5: Cut in and Roll Shed Floor Epoxy in Small Sections
Now the most fun part! But also a little stressful because you have to work quickly.
Working in small sections (4’x4′), you will:
- Using a brush, cut in the edges
- With a roller attached to an extension pole roll out the epoxy. I just poured out a small amount straight onto the floor rather than using a paint pan.
- Next, sprinkle your paint chips. This part is a lot of fun. I even got my two-year-old to come help me spread them out.
- Then move quickly to your next section.
You want to work quickly from section to section because you don’t want the sections to have weird seams from drying separately. You also want to get your paint flakes down before the shed floor paint dries.
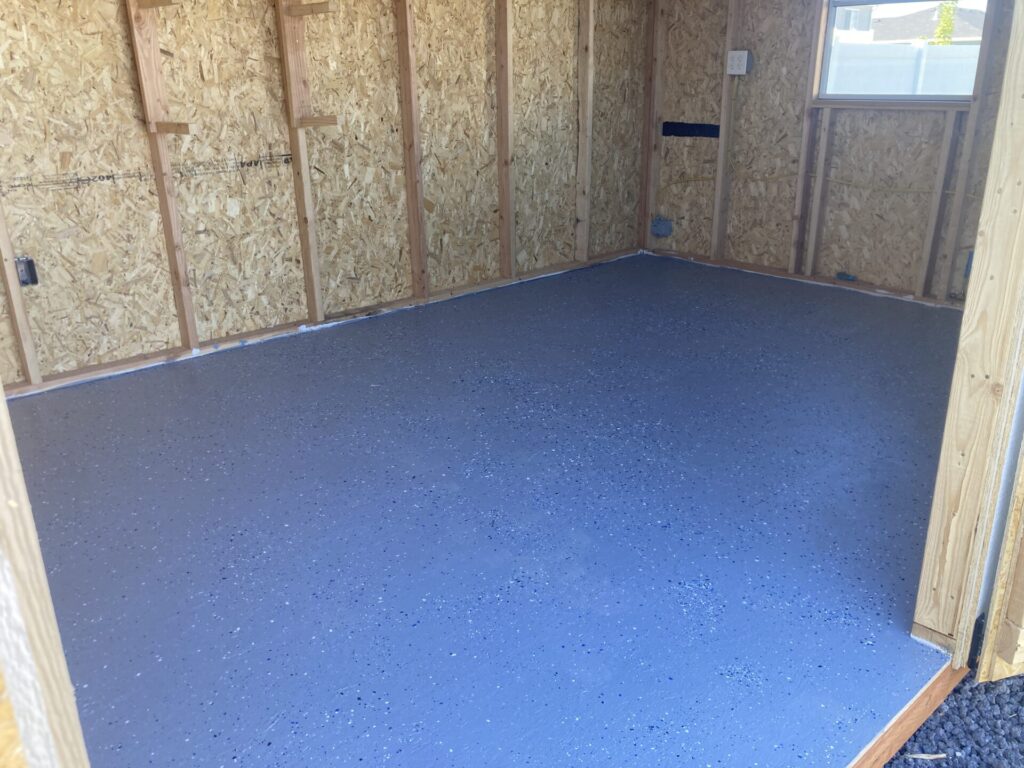
Step 6: Allow Drying/Curing Time
Now all you do is wait for the epoxy to cure! The packaging said to wait 24-48 hours for regular traffic and 3 days for a vehicle to drive on it.
I don’t plan to have a vehicle at mine, but I am chomping at the bit to move all my tools and workbench in!
I’m so happy with how it turned out! And honestly, so shocked at how easy it was to apply this shed floor paint.
Well, what do you think? Are you going to epoxy any wood or shed floors? Tell me about it in the comments! I would love to hear from you.
Shed Floor Ideas
If epoxy flooring isn’t what you want to do, here are some other shed floor ideas to consider:
- Concrete Floor: A concrete floor is durable, easy to clean, and perfect for heavy machinery and workbenches. You can apply epoxy coatings for added protection and aesthetics.
- Wooden Flooring: Wooden floors provide a warm and inviting atmosphere in your workshop. Hardwood or plywood can be sealed or finished to resist stains and wear.
- Rubber Flooring: Rubber mats or tiles offer comfort and shock absorption, making them ideal for workshops where you stand for long periods. They also provide insulation against cold or damp conditions.
- Vinyl Flooring: Vinyl sheet or tile flooring is easy to clean, resistant to stains, and comes in various styles. It’s a practical option for workshops that may encounter spills or heavy traffic.
- Interlocking Floor Tiles: Interlocking tiles made of materials like PVC or foam are DIY-friendly and allow you to create a customized floor with ease. They provide cushioning and are resistant to chemicals and oil.
- Cork Flooring: Cork is a natural and eco-friendly flooring option that’s comfortable to walk on and provides insulation against noise and temperature changes.
- Anti-Fatigue Mats: Consider placing anti-fatigue mats in areas where you’ll be standing for extended periods. These mats reduce fatigue and strain on your feet, legs, and back.
- Industrial-Grade Carpet Tiles: Carpet tiles designed for commercial or industrial settings can provide warmth, sound insulation, and durability in your workshop.
Pin “Simple Step-by-Step Shed Floor Paint: A How-To Guide” to Pinterest